How to Enable Frontend Posting on WordPress Website? (Step by Step Guide)
Frontend posting can be a crucial feature if you are running a website that accepts and publishes user-submitted content. This feature will allow your contributors to submit/publish their content to your WordPress website. In doing so, you can save time on finding and copying the submitted document from the long list of emails. Moreover, allowing front-end posting will also make your website secure as you don’t have to provide access to your admin dashboard to anonymous visitors to add/publish their content.
How can you Enable Frontend Posting on your WordPress website?
Frontend Posting can be enabled on your website by using the WordPress frontend posting plugin available. These plugins come with different features and functionalities to create special types of forms that can be added anywhere on your WordPress website with the help of shortcodes. By filling up the form, your audience can directly publish their published content or save it to draft.
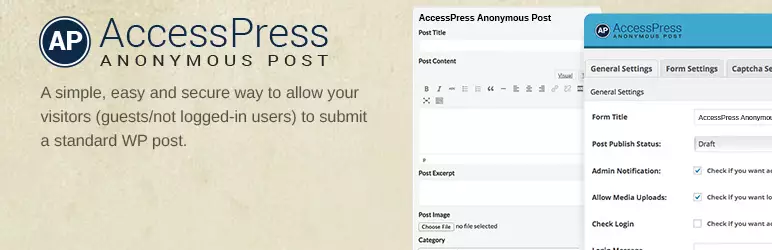
Here, in this article, we will be using AccessPress Anonymous Post – a free WordPress frontend posting plugin to show you how to allow frontend posting on your WordPress website.
So, let’s get started:
Step 1:
Download AccessPress Anonymous Post from the WordPress repository. Then, install it on your WordPress website. If there is any difficulty while installing the plugin you can take the help of its documentation.
Step 2:
After you successfully install the plugin, activate it. Then, you will see “AccessPress Anonymous Post” appear on the left menu of your dashboard. Click on it to continue.
Step 3:
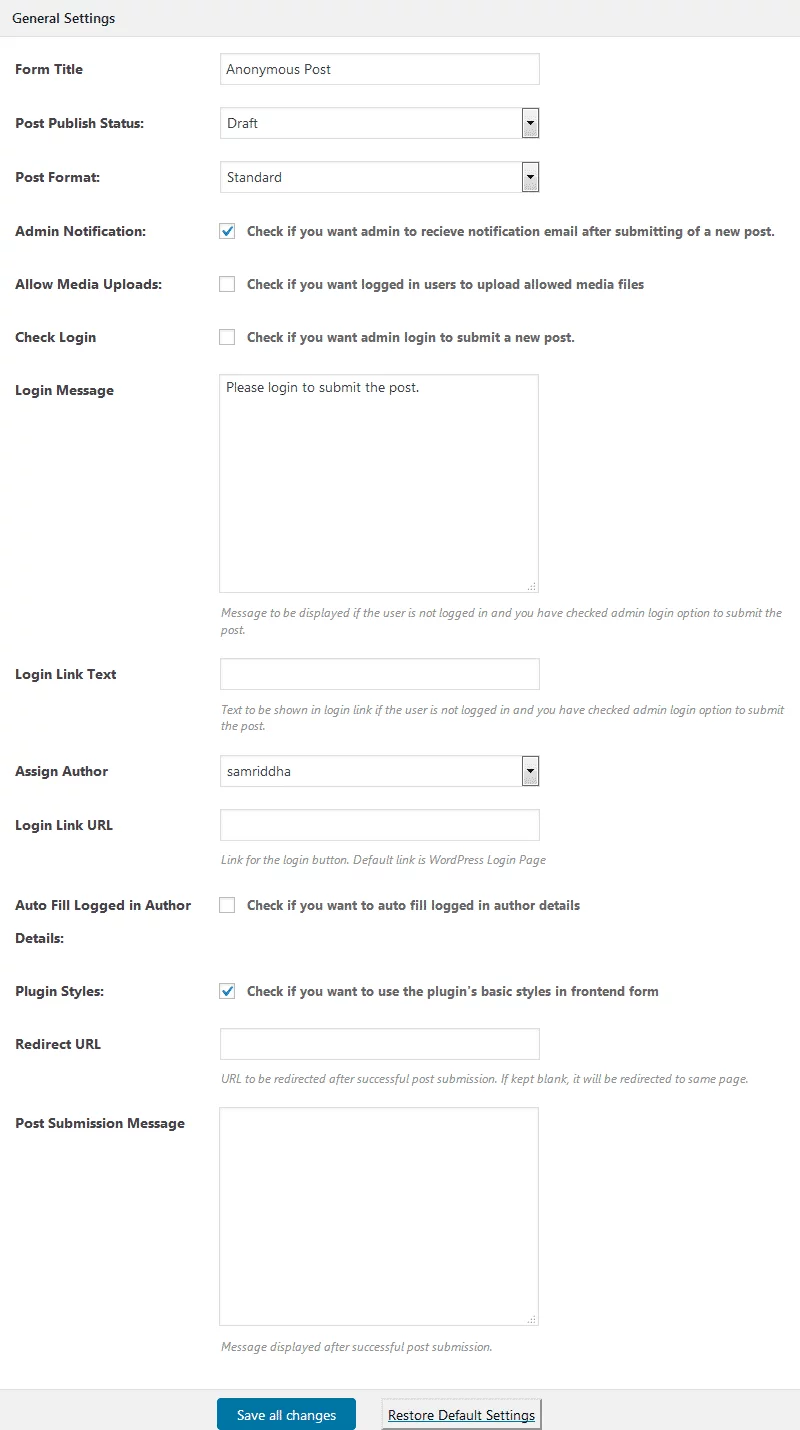
You will land on the “General Settings” tab of the plugin. It contains all the options required to allow front-end posting on your WordPress website. Also, you can enable/disable the email notification to the site’s admin for notifying any post-submission carried out on the WordPress website. Besides, you can also assign the category and author name for your submitted post.
Step 4:
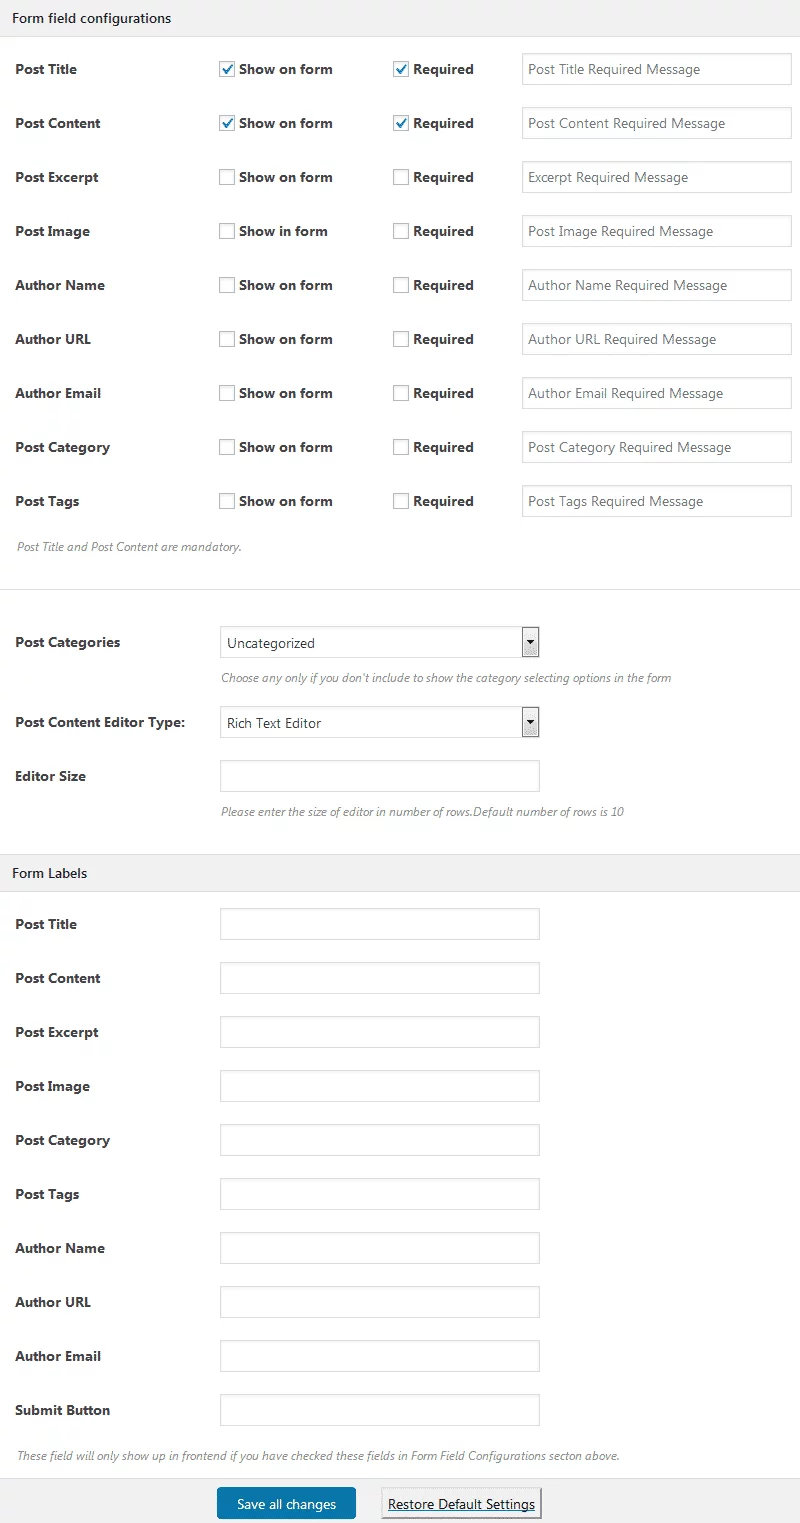
After you have configured all the options in the “General Settings” tab, move to the next tab – “Form Settings”. It contains all the fields that you can add to your post-submission form. Tick the “Show on Form” to add the field and tick the “Required” to make it compulsory to be filled on your submission form. Also, you can add a custom post message and custom label field for each of the form fields available.
Step 5:
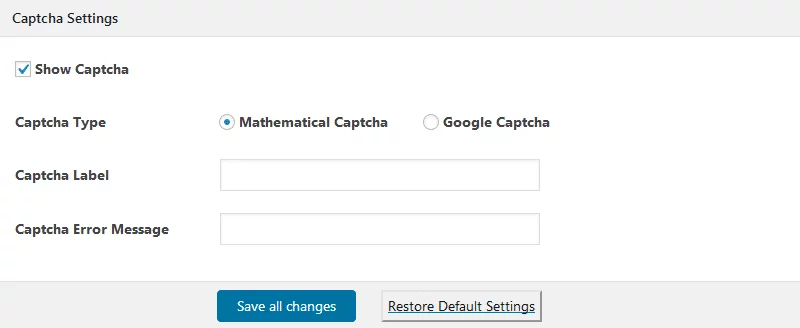
Then, go to the “Captcha Settings” tab where you can set up the Captcha for your post submission form to keep away spammers and abusers. The plugin supports 2 different Captcha i.e. Mathematical Captcha and Google Captcha. So, choose any one of them as per your preference. Also, you can add a custom label and error message on the Captcha.
Step 6:
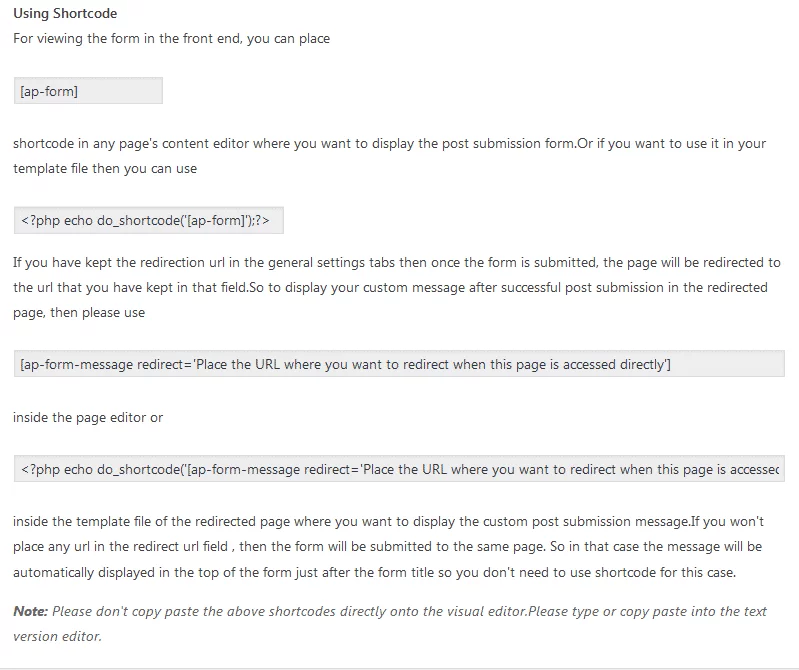
Then, copy the given shortcode and paste it on any page, post, or custom post type of your WordPress website to add the submission form that allows the frontend posting.
For additional features, you can upgrade this plugin to its premium version – AccessPress Anonymous Post Pro.
Wrapping Up
In this way, you can enable frontend posting on WordPress website. So, if you want to allow your audience submit or publish on your website directly from the frontend then, you can follow this step by step tutorial.
You can also check out the step by step tutorial of: