How to Add a Floating Side Tab on WordPress Website? (Step by Step Guide)
Adding a floating side tab on the WordPress website can be a great way to make your WordPress website more accessible and usable. These sticky tabs work as an extra navigator for your website and allow you to engage your visitors with a different call-to-action button. Moreover, you can also place a subscription form, social icons or Twitter feeds on your side tab to boost the email subscribers and social media followers of your business.
A floating Side Tab can be added to your WordPress website with the help of WordPress plugins. Hence, you need to be careful while choosing the right plugin for your WordPress website. You might look for the availability of the features of the plugin, in terms of the contents you can add to your side tab, layouts that the plugin offers, a position where you can place your side tab, etc. Besides, you can also some of the advanced features of the plugin such as fixed or absolute positioning, page-wise configuration, etc.
Here, we will be using Easy Side Tab Pro to show you how to add a floating side tab on the WordPress website.
So, let’s get started and add a floating side tab on your WordPress website:
Step 1:
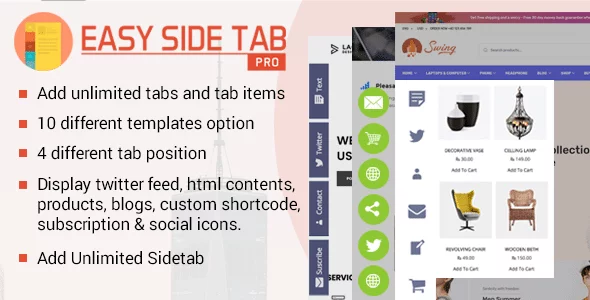
Get Easy Side Tab Pro from the CodeCanyon marketplace at the discounted price of $16.
Then, install the plugin. If you need any help in the installation of the plugin, you can check out its documentation.
Step 2:
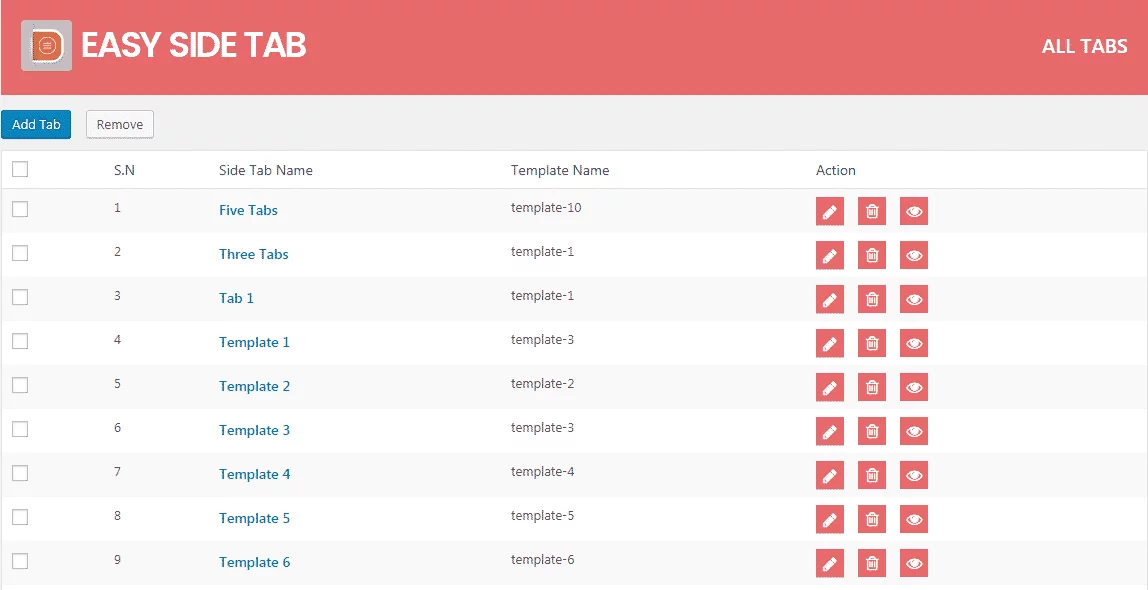
After you have successfully installed the plugin, you will see “Easy Side Tab Pro” in the left menu of your WordPress dashboard. Click on it.
You will land on the “All Tabs” page. It consists of all the side tabs, you have created for your WordPress website. To create a new side tab, click on “Add Tab”.
Step 3:
You will be directed to the main setting page. Here, you have to set the name of your tab and then, click on “Add Tab Items” for adding tab items. You can add unlimited tab items. So, add as many tabs as per your requirement.
On each of the tab items, you can select your own custom icons and add different content like Social Icons, Twitter Feed, Custom Shortcode, Subscription Form, Recent Blogs, and HTML Content.

Step 4:
Then, go to the layout tab and choose the most suitable layout for your floating side tab. Then, set the display position. Moreover, you can also customize the background color, text color, background hover color, and text hover color.

Then, save your settings.
Step 5:
Then, go to Side Tab Settings to add your Floating Side Tab on various locations of your WordPress website. You can enable your side tab for mobile and set the page where you want to display your tabs.

Wrapping Up
In this way, you can add floating side tab on your WordPress website. Floating side tabs can be used for multiple purposes and are sure to catch attention of your audience and engage them to different contents. So, if you want to add a floating side tab on your WordPress website then, you can use the above mentioned plugin and follow this step by step tutorial.
You can also checkout the collection of:
5+ Best WordPress Floating Side Tab Plugins (Premium Listing)