How to Manage Your Blog Post Using WP Blog Manager? (Step by Step Guide)
A well-designed blog page can play an effective role in decreasing the bounce rate of your WordPress website. You might want to promote your work or provide different information through blogs to attract a lot of traffic to your website. However, if the design of your blog page is boring or unappealing then, your visitors may walk away without even reading the whole content. So, to keep your readers on your for a longer period on your website, you might consider managing your blog page and making it attractive and engaging.
WordPress, being the most used platform for blogging contains a large number of blog-specialized themes with inbuilt configuration options for the blog section. However, if the template you are using on your website does not have a blog section or has one with limited features then, you can enhance the blogging functionality of the same theme by using the WordPress blog manager plugins available. These plugins come with beautiful layouts, advanced blogging features, and customization to design an appealing blog section on your website.
Here, in this article, we will be using WP Blog Manager Lite to show you how to manage blog posts on a WordPress website:
Brief Introduction: WP Blog Manager Lite
WP Blog Manager Lite is a free WordPress plugin for managing your website’s blog. It is packed with 7 ready to use blog page templates and different customization options to create a beautiful blog page for your WordPress website. Moreover, the plugin also lets you create different categories and tags for sorting your blogs easily.
Some of the Major Features of WP Blog Manager Lite
- Create an Unlimited Number of Blog Sections
- Add an Unlimited Number of Blogs in a Single Post/Page
- Sort Blog Posts from All Possible Taxonomies or Categories
- Sort Retrieved Post from Order and Order by Parameter
- 7 Ready to Use Blog Page Template
- Enable/Disable Social Media Links on Blog Posts
- Enable/Disable Meta Data of Posts
- Manage the Number of Posts to be Displayed on Frontend
Full Details and Features of WP Blog Manage Lite
Installation and Activation
Download WP Blog Manager Lite from WordPress.org for free of cost. Then, install and activate it on your website. If you feel any difficulty regarding the installation of the plugin then, you can take the help of its documentation.
After you have successfully activated the plugin, you will see “WP Blog Manager” on the left menu of your backend. Click on it.
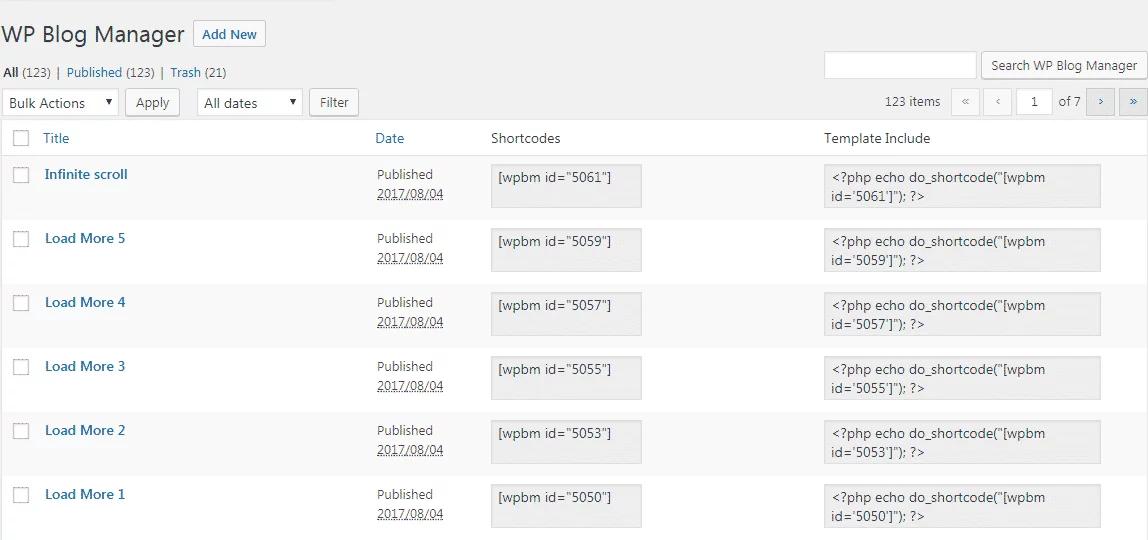
You will land on the “All WP Blog Manager” page that contains all the blog designs you have created. To add a new blog design, click on the “Add New” button.
You will be directed to the “Add New” page of the plugin. It contains 4 different settings sections for configuring your blog posts. They are:
Post Settings
Here, you can choose the post type, categories, and taxonomies for your blogs. Then, you can set the order and post the status of your blogs.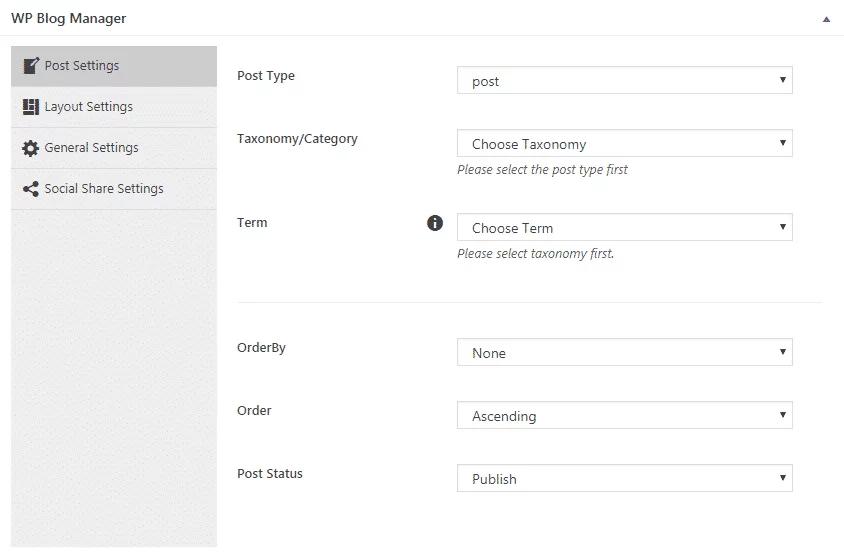
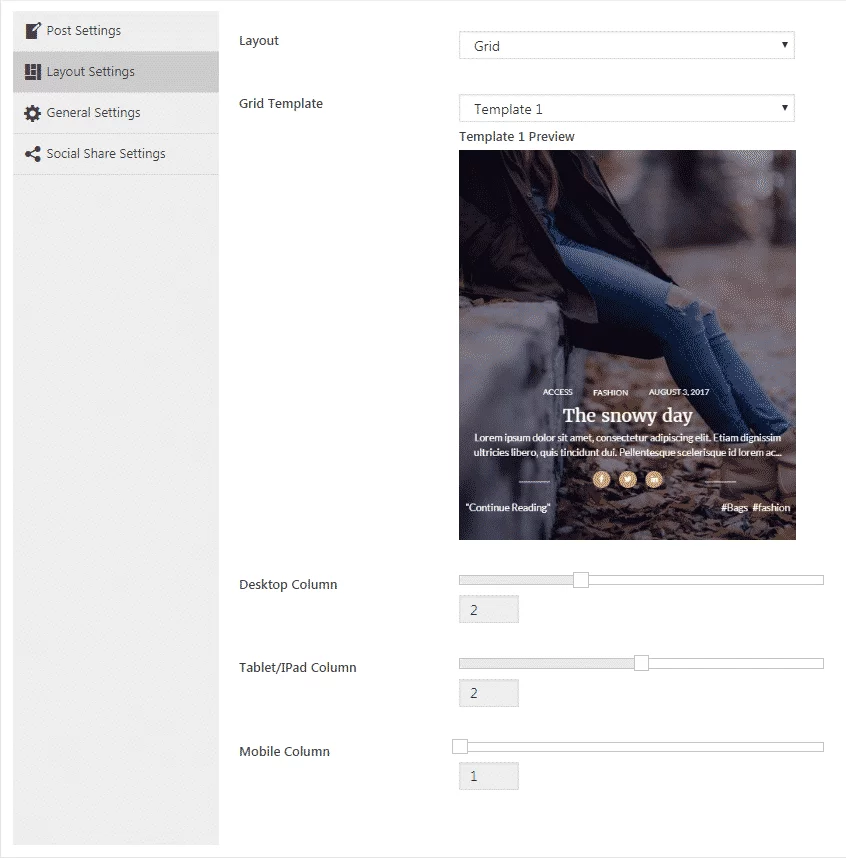
Layout Settings
Here, you can select the layout and template of your blog post. Each of the layouts contains multiple templates and separate customization options. So, choose the best matching layout for your website and configure it as per your preference.
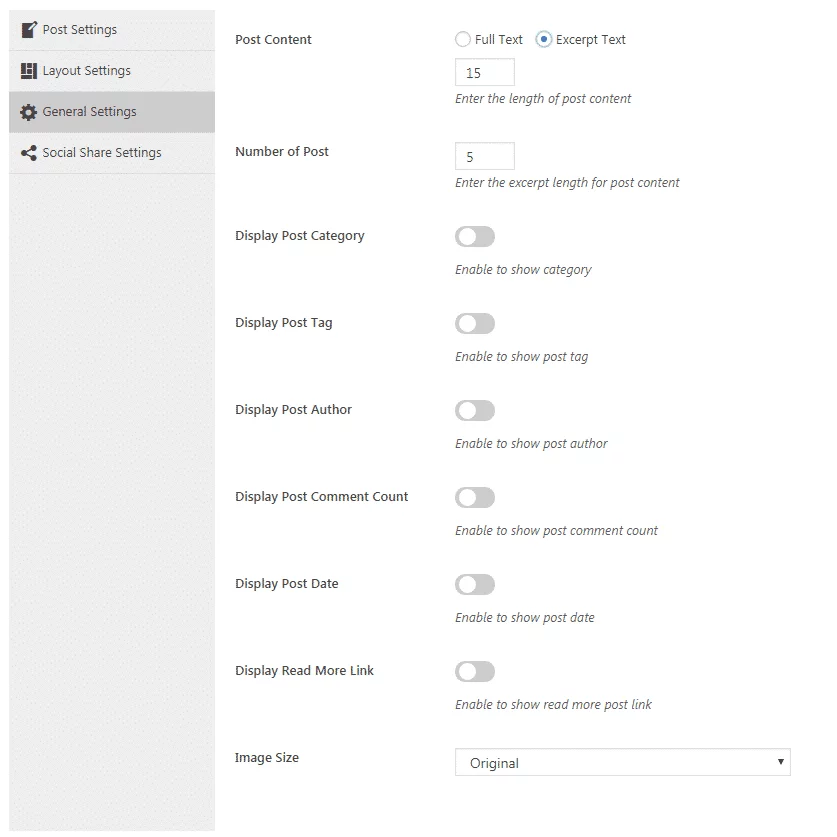
General Settings
Here, you can set the number of posts that you want to include on the blog list. Also, you can enable/disable the post category, post tags, post author, post comment count, and post date, and read more links on the post list. Besides, you can also the image size of the images present on your blogs.
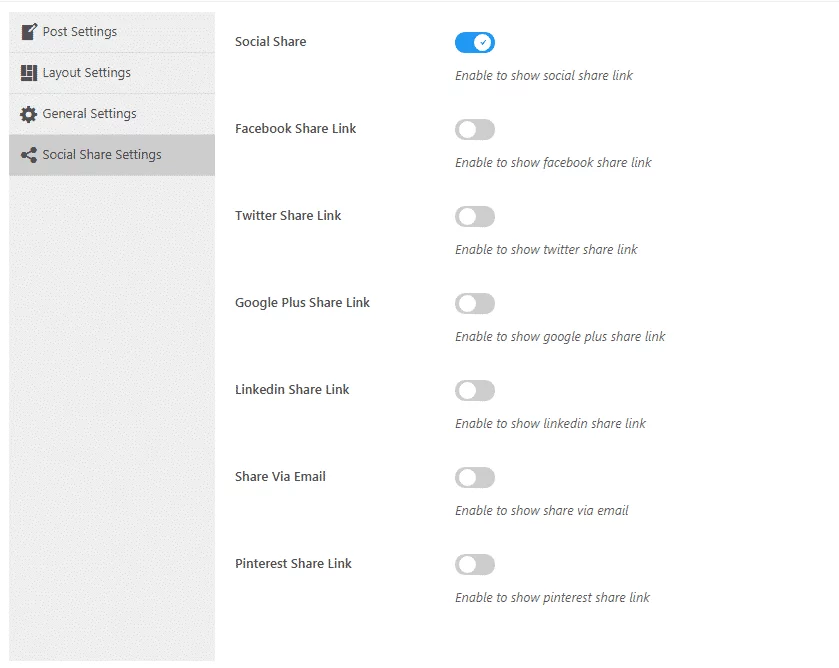
Social Share Settings
From here, you can enable the social sharing of your blog posts. The supports 6 major social media channels (Facebook, Twitter, Google Plus, Linkedin, Email, and Pinterest) for social sharing, and you can enable/disable them individually as per your preference.
After you have finished configuring your blog design, click on the “Publish” button to save it. You can also view the preview of your post list by clicking on the “Preview” button.

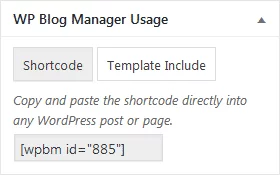
Then, go to “WP Blog Manager Usage” to copy the generated shortcode. Then, paste it anywhere on your website to display your blog list.
You can upgrade this plugin to its premium version – WP Blog Manager for additional templates and features.
Wrapping Up
In this way, you can manage your blog post using WP Blog Manager plugin. Blog post are very essential element for the development of any website and can play a major role on attracting traffics. So, it must be properly managed.
You can also checkout the collection of: