Need a Simple Theme With Professional Features? – Wimpie Lite is Ready

Wimpie Lite – Powerful, Feature-Rich, and Beautiful Business WordPress Theme
Wimpie Lite is a powerful, feature-rich, and beautiful business theme that is super flexible, totally customizable, packed with unlimited features, and ravishing. It is very powerful with all kinds of options that let you configure the theme the way you want it. The unlimited features are special assets of the theme. The passionate professionals for the best appearance of your website beautifully designed the theme. So, I can strongly state that Wimpie is the best choice for anybody looking for a powerful business theme.
It comes up with a customizer panel, which allows you to live preview your changes, configurations, settings, and design. It means that you can observe the changes you have made instantly without a single minute of waiting. You visualize the changed design and can immediately re-change it if it doesn’t give your heart content. It is super user-friendly, lightweight, and saves a lot of setup/configuration time. The easy and quick customization options empower the users and help them to expose their business ideas to their best.
It is a high-quality WordPress theme, which assures all the general features of a good WordPress theme in it. Here is the list of major features of the theme:
Fully Customizer Based
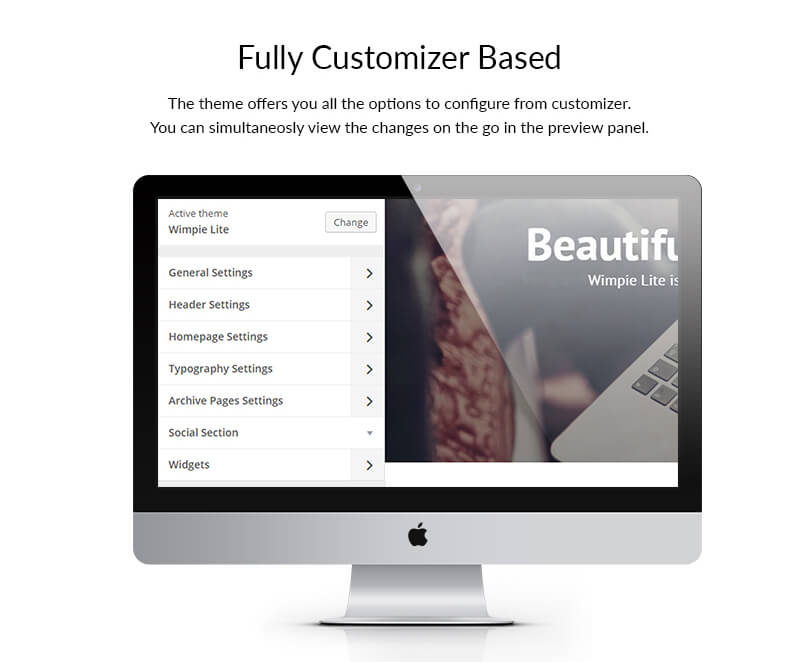
It is a modern theme with a customizer panel that lets you configure a website within minutes. Customizer allows you to live preview your changes, configurations, settings, and design. It helps you save a lot of time that will take while saving and previewing in the traditional themes.
Typography Options
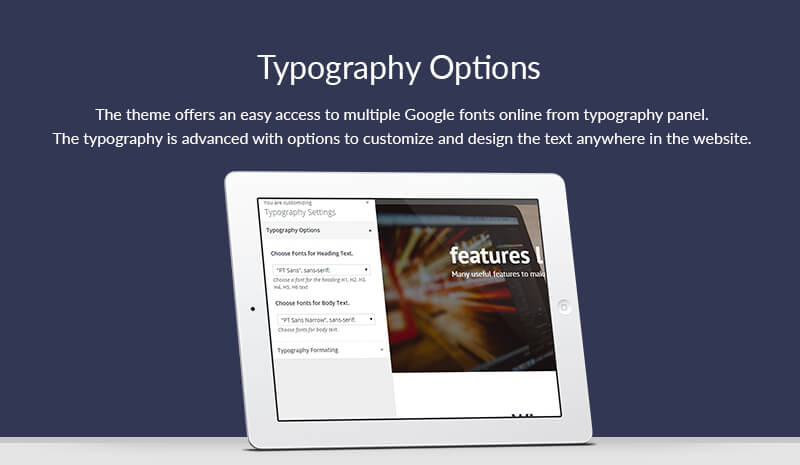
The theme offers easy access to multiple Google fonts online. The typography is advanced with options to customize and design the text anywhere on the website.
Unlimited color setting
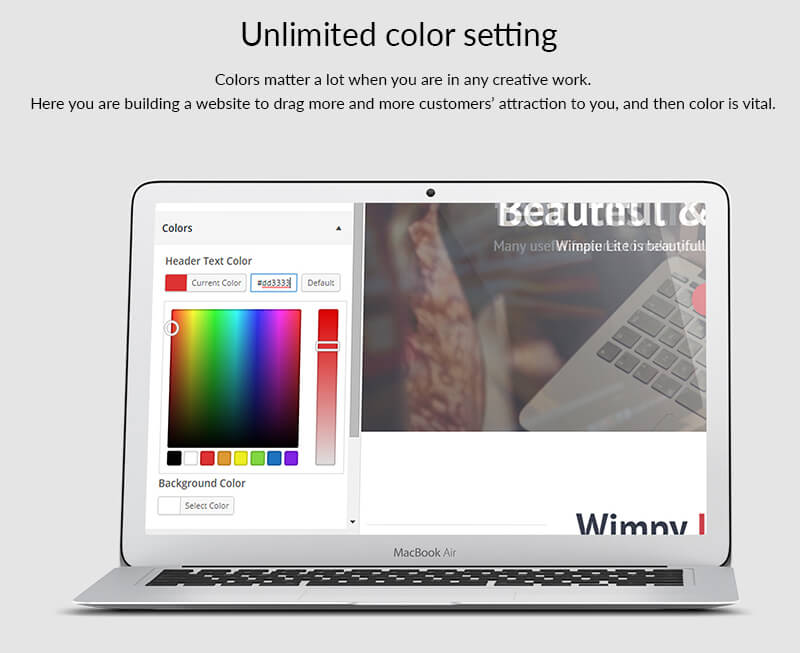
Colors matter a lot when you are in any creative work. Here you are building a website to attract more and more customers attraction to you, and color is vital. The theme offers unlimited color settings which helps you create the most beautiful website
Layout control
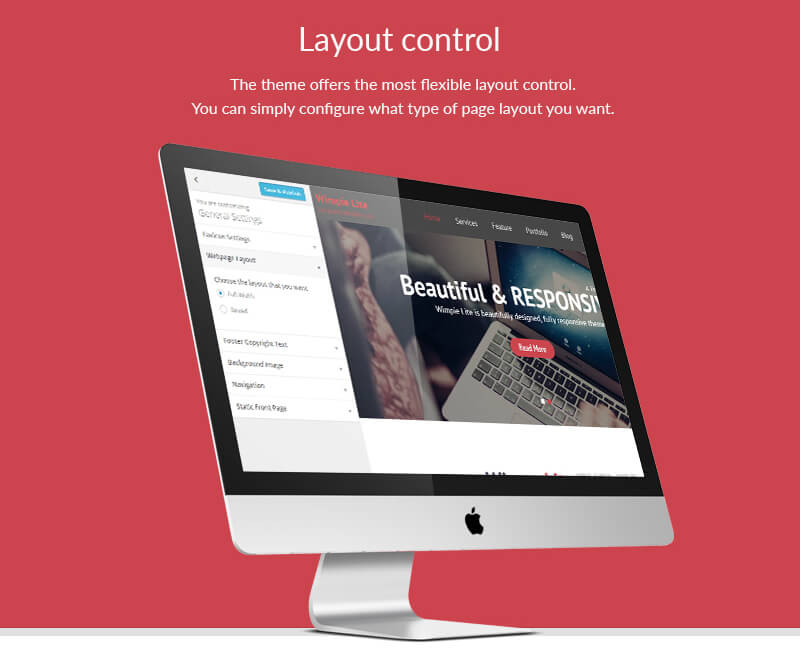
The theme offers the most flexible layout control. You can simply configure what type of page layout you want i.e. full page or boxed, inner pages with left sidebar, right sidebar, both, or none.
Logo/favicon upload
The theme allows you to replace the theme logo simply with your company’s logo/ favicon very easily from the customizer header setting. It doesn’t matter even if you don’t have adequate coding knowledge.
Featured Category slider

Category slider makes you able to customize the slider on your homepage by choosing a category to slide. You can slide the posts inside the category.
Stat Counter
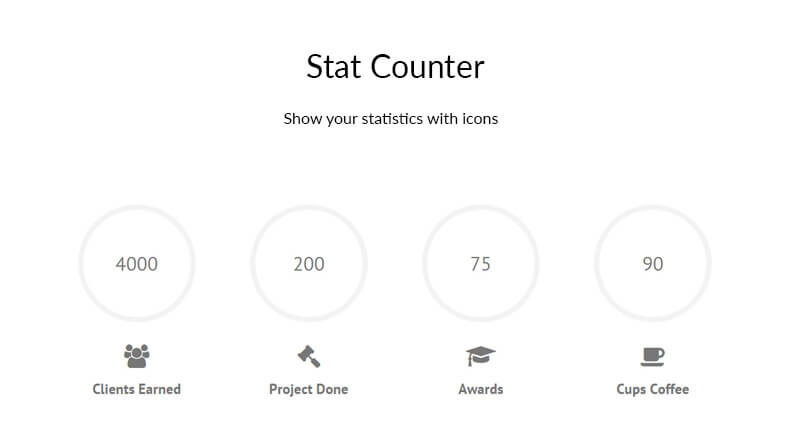
Figures are the inspiration to most businesses. Clients often check the performance statistics of any business, only then they work with them. Websites are no different from this rule, so your website would be better with a stat counter. It is no more a case to worry about because it has an awesome stat counter.
Blog Layout
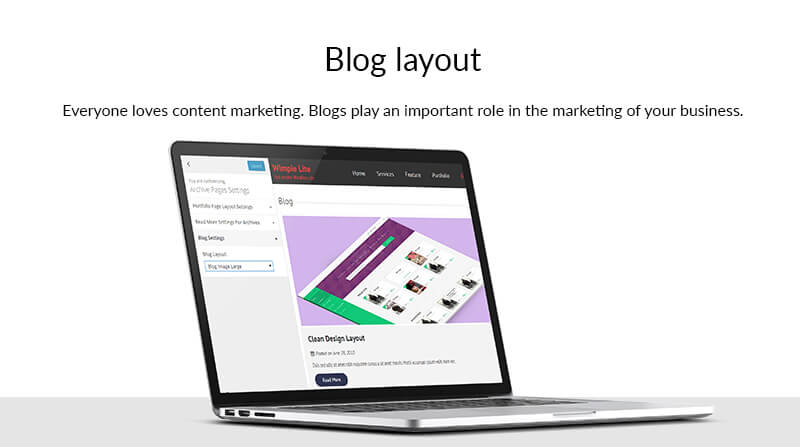
Content marketing is an integral part of online marketing today. Search engines focus on quality content and user-friendly interfaces. To make your website content more efficient, a separate blog section is required for every blog. The theme offers 4 different blog layouts. Customize it and grow high.
Portfolio layout

The theme offers you multiple portfolio layouts from which you can choose the one that best suits your business. You know, an attractive portfolio influences a large number of people. There are two portfolio layouts: grid and list.
Client’s logo carousel
Your clients are like gods for your business. If you treat them well, you’ll be treated back the same way. The theme has a client logo carousel to give credit to your clients. Give your clients space on your website and encourage others to do business with you.
Other features:
Compatibility with all major browsers
It is compatible with all the major browsers like Mozilla Firefox, Safari, Google Chrome, Internet Explorer 9+, etc. Tests demonstrate the best way of its functioning in all of the major browsers.
WooCommerce compatible
You probably want a shop. It’s here with us. The theme is completely WooCommerce compatible.
bbPress friendly
The theme is also bbPress friendly. Your need for a forum is met.
All major plugins are friendly
WordPress requires specific plugins to perform specific functions and the theme supports all the major plugins well.
Translation ready
Don’t worry about the language of your website. The theme is fully translation-ready, which you can translate into any language you need.
SEO friendly
You know that WordPress is the most SEO-friendly CMS. Similarly, I can say that it is the most SEO-friendly WordPress theme. You can check it out.
RTL support
The theme offers powerful RTL support too.
Are you a beginner? No worries, you can easily set up and create an amazing website. Follow simple steps in the documentation, and you’ll find it unbelievably easily.
Are you stuck at a point? not a problem anymore- just ask for help in the support forum.
Check the live demo here and download it now if you liked it!
Also, you might want to check out,