WP Store Pro – Premium WordPress WooCommerce theme
Theme Details Demo Documentation Support
Finding the right WordPress theme is crucial when you are starting an e-commerce website. An attractive, unique, and clean design can only lure customers toward your website. Your customers should find your website easy to navigate, learn about products and make purchases. They should love surfing and purchasing on your online shopping site.
WP Store Pro is the premium WordPress Woocommerce theme which has capable of developing truly elegant and unique online shopping sites. It is one of the most feature-rich WordPress Woocommerce themes with huge customization options. And, its ease of setup is splendid. You can import a demo layout among 4 and start customizing the site with your data. Be it a clothing storage or food store or furniture store, you can build it immediately. With WP Store Pro, you can get your website ready in no time.
Why should you use WP Store Pro for your e-commerce site?
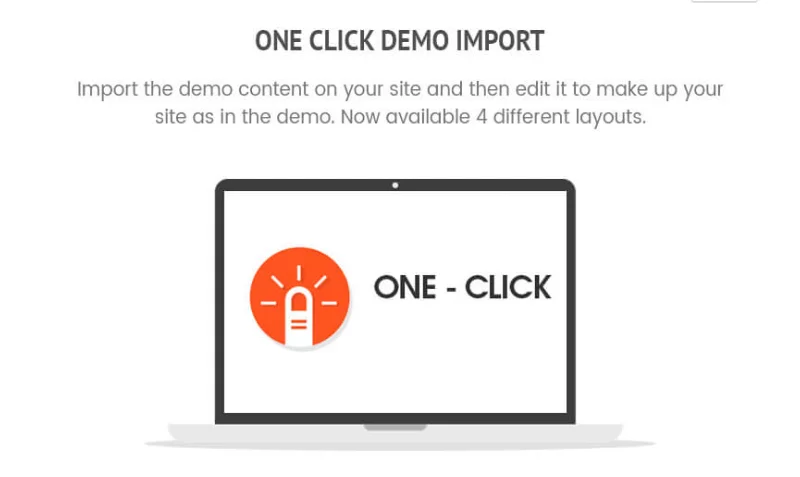
One-click Demo Import
Setting up an e-commerce website can be a daunting task as you’ll be confused with so many customization options. But, it’s no more the issue in WP Store Pro! With one click of demo import, you can get your website layout ready with dummy data. All you have to do is replace them with your data and your website is ready. You can import any one of the 4 available layouts in a single click.
4 different layouts
Building a unique e-commerce website begins with multiple choices in layout. Besides, the layouts needed for your website are related to the products sold. WP Store Pro comes with 4 different layouts for you: demo of food, interior, clothing, and corporate. You can pick any one of them as per your need and start building your shopping site.
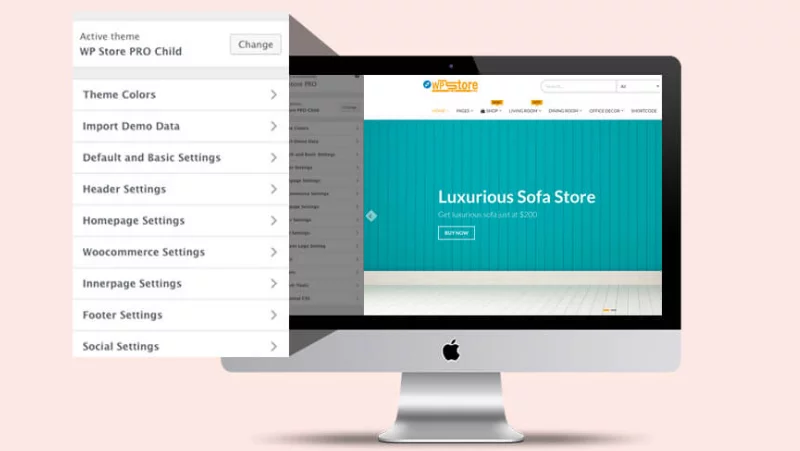
Fully customizer based
A live preview of each customization you do makes the development process much more convenient and efficient. Now, You need not test the customizations in your local server before doing the same in the live server. And, you don’t even have to keep your website in a maintenance mood to do customization. As WP Store Pro is fully customizer based, you can have the live preview of every change you make and can save the changes only when you’re satisfied with them.
Unlimited theme color
We know that color is a very important part of BRANDING. You would certainly want to use your branding color on your website. That’s why WP Store Pro allows you to customize your website with unlimited theme colors. Theme slider text color, theme light primary hover color, theme primary color, theme secondary color, etc help you to get your website ready with your branding colors.
Powerful eCommerce functionality
WP Store Pro has been built to accommodate the most powerful e-commerce plugin, WooCommerce. It has been deeply integrated with WooCommerce shortcodes and you needn’t worry about WooCommerce updates. Besides, the simplicity, speed, and easy integration with major payment gateways like Paypal and Stripe help you provide a great online shopping experience to your customers.
Highly configurable homepage
The homepage of your website should be very powerful yet elegant. Your customers should be able to navigate to the featured products and all major product categories from your home page. And, the design should be so powerful that viewers will love to click on the product and purchase it. We know how important is the homepage for your shopping website and thus have developed a very elegant and powerful homepage layout.
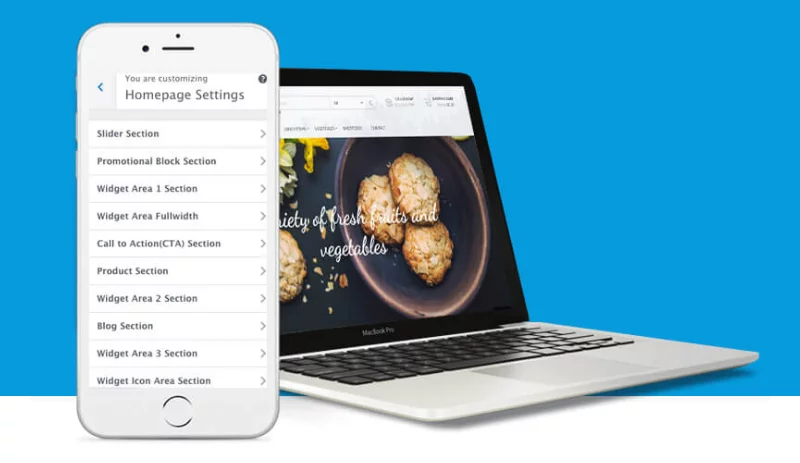
And, configuring the homepage is very simple. You can do everything from the customizer. If you have imported a layout, all you have to do is replace the content from the customizer. Within minutes, your attractive website will be ready for your customers.
Multiple Slider options
The theme has an elegant slider. But, it doesn’t limit you within it. You can use a slider from any plugin in the slider section. All you have to do is use their shortcode. This allows you to install popular slider plugins like Revolution and use their slider seamlessly on your website.
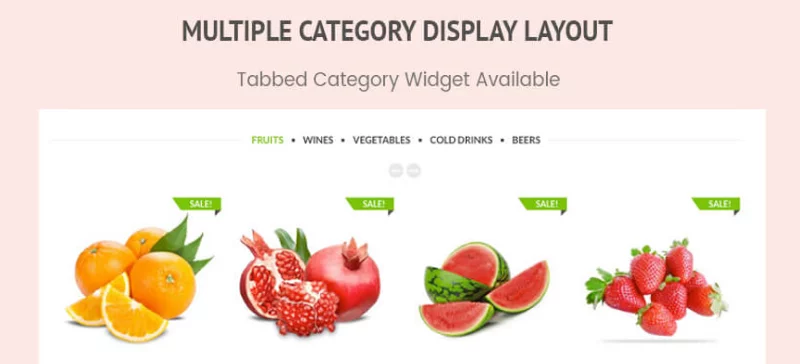
Multiple category display layout
You can display multiple products from multiple categories in the same place. Your viewer can click different categories and view the products within them. This way you can display many products from a small space on your homepage. Besides, this section is built upon a carousel with animation which is very powerful to attract the eyes of the viewers.
Header style and color option
WP Store Pro allows you to customize your header completely. You can choose to have the sticky header or the normal header. You can even display featured or recent products from the ticker. You can choose to have Searched in the header. You can keep the cart on the header or remove it. And, you can even align the logo of the website and control header links.
Custom widgets
We know that widgets available in normal WordPress installation cannot serve all the requirements of an online shopping website. So, we have developed and availed 20+ custom widgets in WP Store Pro. You have widgets for 3 types of calls to action, contact info, a Facebook box, a Flickr stream, a progress bar, a video section, a slider, and much more. You can even display videos from Youtube, Vimeo, Flickr, etc using the Media Embed widget. These widgets help you make a very powerful online shopping site.
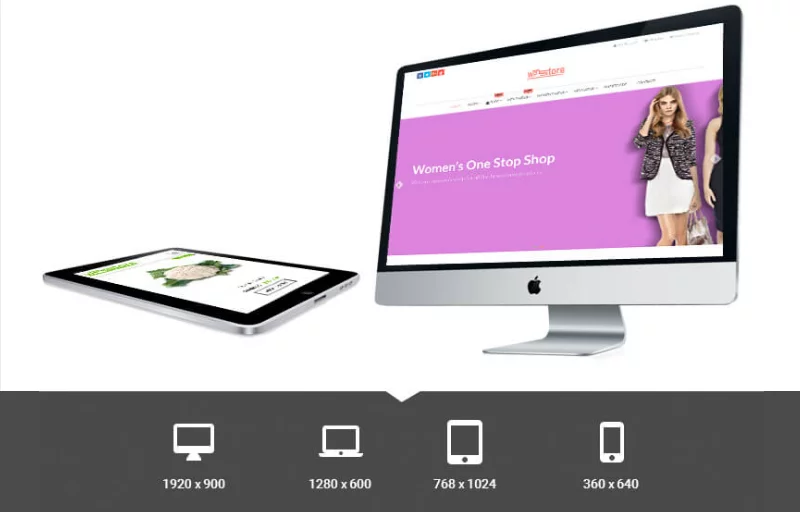
Fully responsive
WP Store Pro is a fully responsive WordPress theme. It has been built to accommodate the best 4 different viewports: 1920×900, 1280×600, 768×1024, and 360×640. Because of this, your website fits best in all devices from mobile to projector. You need not worry about creating different websites for different devices. The same website works best for all of them.
The awesomeness of WP Store pro doesn’t end here. It has a huge list of features. Some of the major other features are:
- CSS3 Animation
- Fully SEO optimized
- Advanced typography option
- Latest WordPress standard
- Multilingual support
- Multi-browser support
Ah. Ah… Did I tell you about the excellent customer support that you get after the purchase of the theme? You can get your issues solved by the customer support team of 8degreethemes with live chat on our website. Besides, you can always email us your issue and expect to get a prompt reply from the team of developers.

Buy WP Store Pro
Wrapping up
WP Store Pro is truly brilliant WordPress Woocommerce theme. It’s best theme to start online shopping site. With huge elegant design and huge customization options, you can certainly generate higher sales from your shopping site. Your customers will love your website because of which you’ll have higher rate of returning customers.
Also, you might want to check out,