How to Add Mega Menu on WordPress Website? (Step by Step Guide)
If you are looking to upgrade the default WordPress menu and make it more beautiful, well-organized, effective, and easy to navigate then, you are at the right place. Here, in this article, we will discuss a short tutorial on how to add a mega menu to your WordPress website using a free mega menu plugin – AP Mega Menu. But before we begin, a few things about adding a mega menu on your WordPress website make the navigation easier and more effective.
A mega menu is an expandable multiple-dimensional navigation structure where you can store lots of site content and various rich media (images and videos). It not only lets your visitors find their required content easily and quickly but also provides them with a unique navigation experience. By doing so, you can keep your visitors on for a long period your website not only decreases the bounce rate but can also boosts the engagement rate and conversion rate.
Adding Mega Menu on WordPress Website
Now let’s begin this step-by-step tutorial and add a beautiful mega menu on your WordPress website.
AP Mega Menu: Brief Description
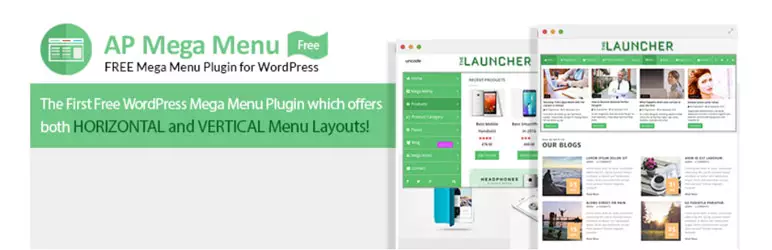
AP Mega Menu is one of the popular free WordPress plugins for adding an engaging mega menu to your WordPress website. It comes with 8 pre-available skins and a custom template builder for designing a unique mega menu for your website.
Major Features of AP Mega Menu Plugin
- Supports Flyout or Mega Menu Submenu Styles
- Widgetized Mega Menu with Visual Builder
- 8 Pre-Available Menu Skins
- Option to Design Custom Menu Templates
- Mega Menu with Horizontal or Vertical Orientation
- Fade or Slide Transition Effects
- Hover or Click Trigger Effects
- Option to Custom Menu Icons
Live Preview Full Details Download Premium Version
Installation and Activation
Download the AP Mega Menu plugin from the WordPress.org repository for free. Then, install it on your website. After that, activate it. If you have any difficulties regarding the plugin installation then, you can take the help of its documentation.
Configuration: AP Mega Menu
After you have successfully activated the plugin on your WordPress website. You will see “AP Mega Menu” appear on the left menu of your dashboard. Click on it to proceed.
General Settings
You will land in the “General Settings” tab. Here, you can set the behavior of the mega menu along with the animation labels. Also, you can configure the mobile settings of your menu by setting up the toggle behavior and menu open and closed icons.

Image Settings
Here, you can set the display size of your image on your mega menu. Also, you can set the width of the custom icons that you have inserted on your menu.

Shortcodes
Here, you can generate the shortcodes for the mega menu. Just copy the shortcode and paste any page, post, or custom post type of your WordPress website to display the mega menu.

Theme Settings
Using this plugin, you can create custom templates for mega menus. Go to AP Mega Menu > Theme Settings to create a unique template for your mega menu.

Adding Mega Menu as Main Menu
To add the mega menu as the main menu of your WordPress website, go to Appearance > Menus. Here, you will find “Select AP Mega Menu Settings”. Enable it. Then, assign the orientation of your menu, and choose the triggers, transitions, and skins.

The plugin also contains options to configure each of the menu categories separately. To configure the category, hover over any of the categories and click on the “AP Mega Menu” button that appears upon hovering over it.

For additional features, you can upgrade this plugin to its premium version – WP Mega Menu Pro.
Wrapping Up
In this way, you can add mega menu on your WordPress website in few minutes. So, if you want to add mega menu on your website then, you can follow this step by step tutorial.
You can also check out the collections of:
- 5+ Best WordPress Mega Menu Plugins for your website (Free Edition)
- 10+ Best Premium WordPress Mega Menu, Custom Menu Plugins (Make your WordPress website navigation 75% more effective)
- Top 3 Custom Icons Plugins for WordPress Menu – Compared
- 5+ Best WordPress Off-Canvas Navigation Menu Plugins (Premium Version)