How to add attractive testimonial sliders on WordPress website? (Step by Step Guide)
If you are wondering how to add attractive testimonial sliders on a WordPress website then, let’s start with this step-by-step tutorial. But before we begin, a few things about how these positive recommendations given by your satisfied and happy clients can boost your WordPress website’s credibility and conversion rate.
Showcasing testimonials on your WordPress website can be beneficial in many ways. It lets you provide social proof about the services/products to your potential customers. By doing so, you can build trusting factors with your hesitant clients and can also give them the required push to make a purchase. Moreover, these positive testimonials will also give some kind of hints about the services you are offering to your readers which can play an effective role to convert them into fully-fledged buyers.
How to add testimonials to your WordPress website?
If you are a WordPress user then, you will get inbuilt options to add and customize most of the WordPress templates. However, if the template you are using on your WordPress website does not have inbuilt testimonial options or one with limited features then, you can add attractive testimonials by using the WordPress testimonial plugins found on the internet. As they come with beautiful layouts and customization options to create stunning testimonials on your WordPress website.
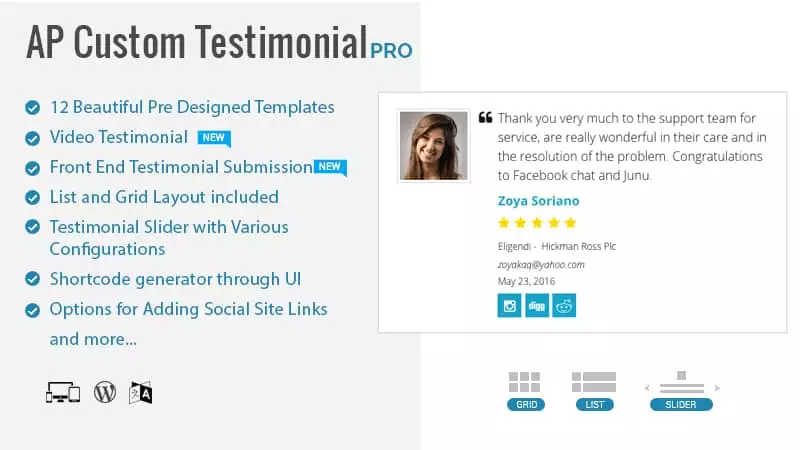
Here, in this article, we will be using one of the highly rated and best-selling WordPress plugins – AP Custom Testimonial Pro to show you how to add beautiful testimonial sliders to your WordPress website. It is an easy-to-use WordPress plugin that is developed targeting the layman to set up and add attractive testimonials on WordPress websites without any programming skills.
Some of the Major Features of AP Custom Testimonial Pro
- 12 Ready-to-Use Testimonial Templates
- Options to Social Links of 11 of the Most Popular Social Media
- Custom Numbers of Testimonials
- Custom Layout Design Options
- Dynamic Shortcode Generators
- Slider Control Options to Add Testimonial Sliders
- Option to Add Video Testimonials
- Highly Configurable Testimonial Submission Form
Click Here For More Details and Features of AP Custom Testimonial Pro
Installation and Activation
Get AP Custom Testimonial from the CodeCanyon marketplace at a reasonable price of $19.
Then, install it on your WordPress website. If you face any difficulties while installing the plugin then, you can refer to its documentation. Then, activate the plugin.
After you have activated the plugin, you will see “AP Custom Testimonial PRO” on the left menu of your WordPress backend. Click on it.
Add a New Testimonial
You will land on Testimonial Manager Page. It consists of the list of all the testimonials you have created on your WordPress website. To add a new testimonial to your WordPress website click on “Add Testimonial”.

You will land on creating a testimonial page. To create a new testimonial enter the author’s name, company name, position, company URL, and email address. Also, select the author rating, feature image, or video and set the publish date and then, give his/her description. After you add everything click on “Add New Testimonial“.

Then, you will be redirected to the Testimonial Manager page.
Custom Display Settings
From here, you can adjust different settings to control your testimonials as per your requirement. The settings include image settings, color settings, background settings, and typography settings. Adjust all of them as per your requirement. After you are done click save settings.

Shortcode Generator
From here, you can generate the dynamic shortcode to add your testimonials on any page, post, custom post type, or widgets of your WordPress website. But before you generate the shortcodes there are different display settings available. They are:-
- General Settings: Select the layout and template of your testimonials. You can choose any of the 2 layouts i.e. slider or list and 10 templates. Here, we have selected the slider layouts.
- Google Place Review: Set the number of Google reviews you want to show.
- Miscellaneous: Choose the content length of your testimonial. Also, set the number of testimonials you want to display on your testimonial slider.
- Show/Hide Contents: Enable/Disable Title, Company Detail, Author Email, Publication Date, Featured Images, Ratings, and Social Media Links.
- Order of Testimonials: Set the order of the testimonials you want to display. Also, select the order type.

After you are done editing click on “Generate Shortcode”. A unique shortcode will be generated. Copy it to add your testimonials on any posts, pages, or widgets of your WordPress website.
Submission Form
Using this plugin, you can add your custom testimonial submission form to enable your customers to submit their testimonials. Edit all the options available on the “Testimonial Form Settings”. Then copy the given shortcode and paste it on any posts, pages, or widgets of your WordPress website to display the testimonial submission form.

Google Place Review
Using this plugin, you can also fetch the Google Place Review of your business website. Configure all the options. Then copy the given shortcode and paste it on any posts, pages, or widgets of your WordPress website to display your Google Place Review.

Wrapping Up
In this way, you can add testimonial slider on your WordPress website in a few minutes. Testimonials are one of the most essential elements of a WordPress website that can significantly boost the conversion rate and credibility of your WordPress website. Therefore, if you want to display them attractive then, you can purchase the above-mentioned plugin and follow this step by step tutorial.
You can also check out a similar step-by-step guide of:
How to add your Facebook page review to your WordPress website? (Step-by-Step Guide)
Also, check out the collection of:
5+ Best WordPress Facebook Page Review Showcase Plugins (Premium Listing)