How to Add Responsive Image Gallery on a WordPress Website? (Step by Step Guide)
If you are wondering to add a responsive image gallery on a WordPress website then, you are at the right place. In this article, we will discuss a short tutorial for creating a beautiful gallery on a WordPress website. But before we get started a few things about why galleries are considered one of the most essential elements for a website.
Adding galleries consisting of photos, videos, audio, etc on your WordPress website can be beneficial in many ways. It allows you to demonstrate your past works to your audience and let your audience what type of work they can expect from you. By doing so, you can significantly boost the credibility of your work and convert your visitors into fully-fledged leads.
Gallery, being one of the important elements for any website comes inbuilt on different WordPress templates. However, if you are using a WordPress theme that does not have a gallery section by default or has one with limited features, you can use WordPress gallery plugins available on the internet. They contain various cool designs and different types of customization and configuration options to create stunning galleries in no time.
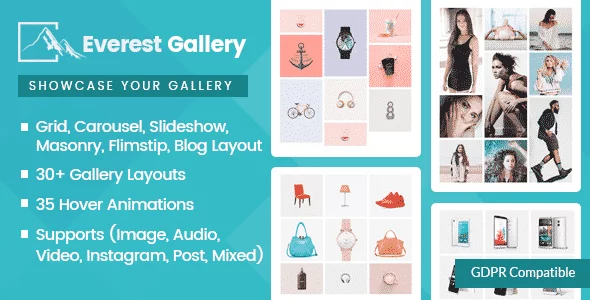
Here, we will be using Everest Gallery to show you how to add a responsive gallery on a WordPress website.
So, let’s get started and add some responsive galleries on the WordPress website:
Step 1:
Buy Everest Gallery from the CodeCanyon marketplace at the price of $21. Then, install it on your website and then, activate it. If you have any difficulties regarding the installation of the plugin then, you can refer to its documentation.
Step 2:
After you complete the installation of the plugin, you will see “Everest Gallery” on the left side menu of your WordPress backend. Click on it to continue.
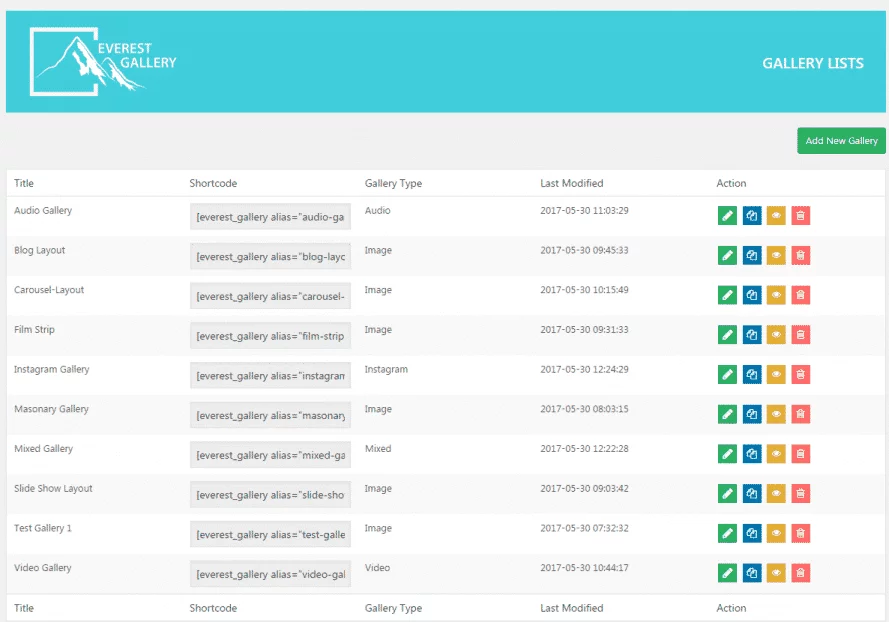
You will land on the All Galleries page. It consists of all the galleries that you have created to date. To add a new gallery for your website, click on the “Add New Gallery” button.
Step 3:
A popup will appear where you need to fill in the Title and Alias for your gallery. As soon as you fill in the Alias, the shortcode for the gallery will be automatically generated. Then, click on the “Add Gallery” button to proceed.

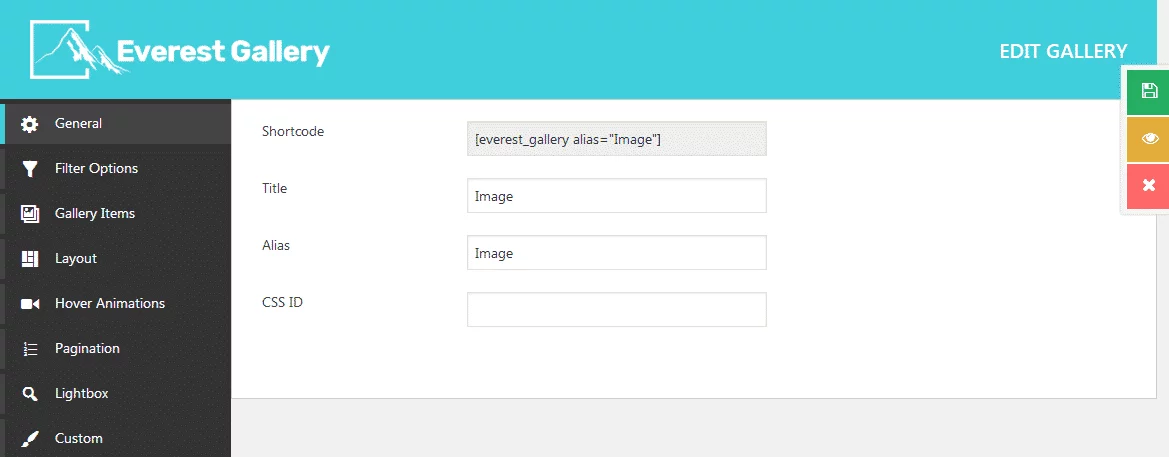
Step 4:
You will be directed to the main settings page of the plugin. It contains different settings sections. They are:
General
Here, you can edit the Title and Alias of your gallery. Besides, enter your CSS ID.
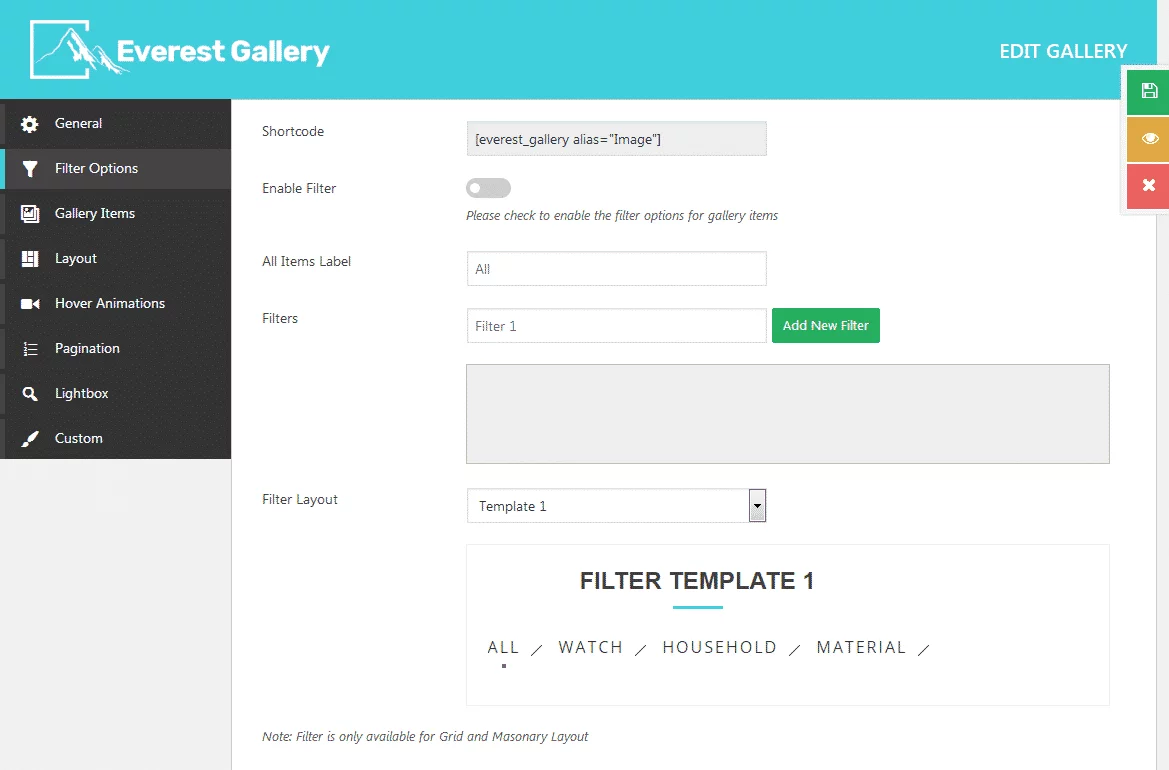
Filter Option
Here, you can add the filters and add labels to all your gallery items and filters. Also, select the layout for your filters.
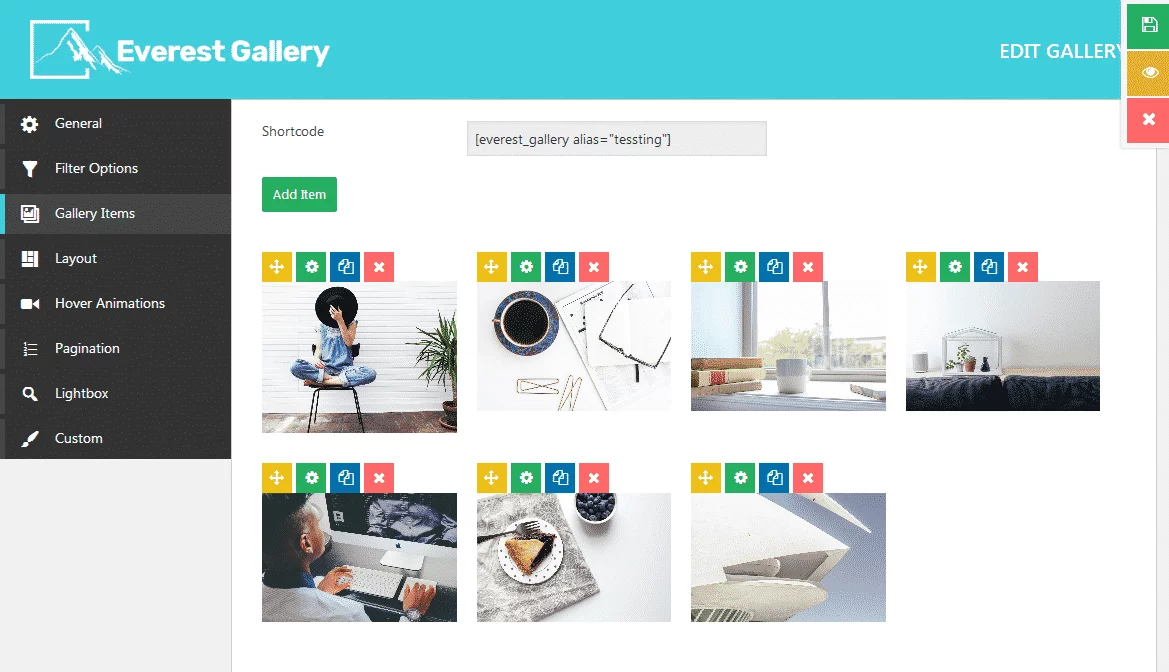
Gallery Items
Here, you can add the gallery items.
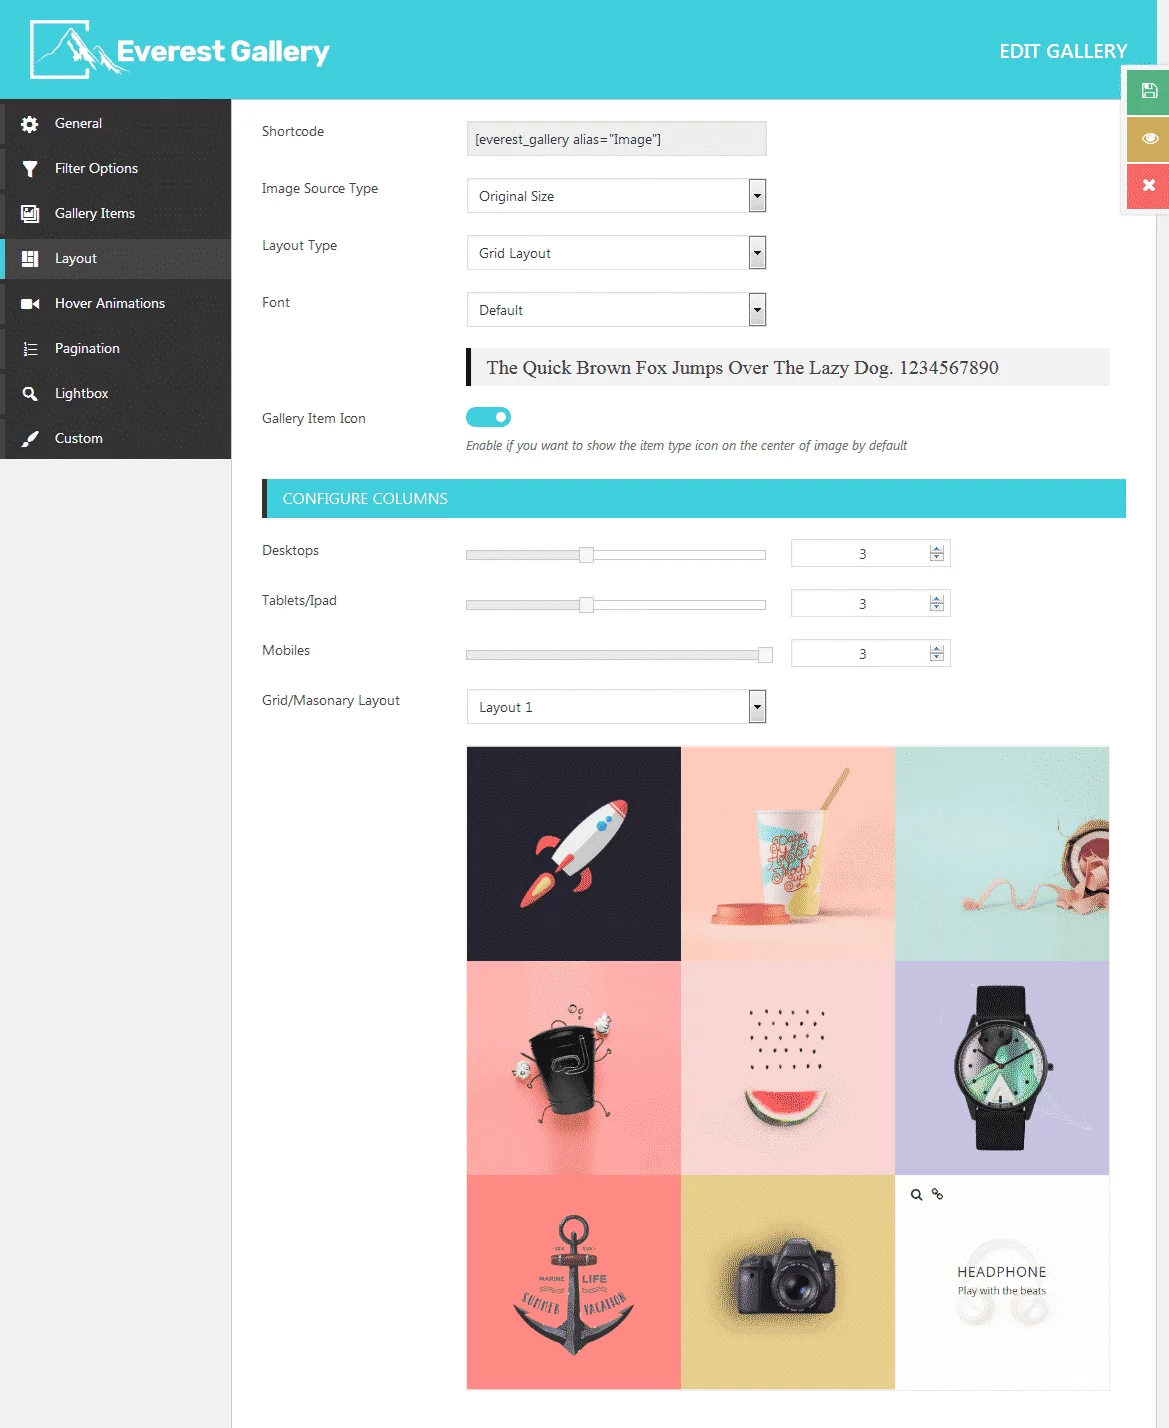
Layout
Here, you can select the layout type, font, gallery icon, and gallery layout.
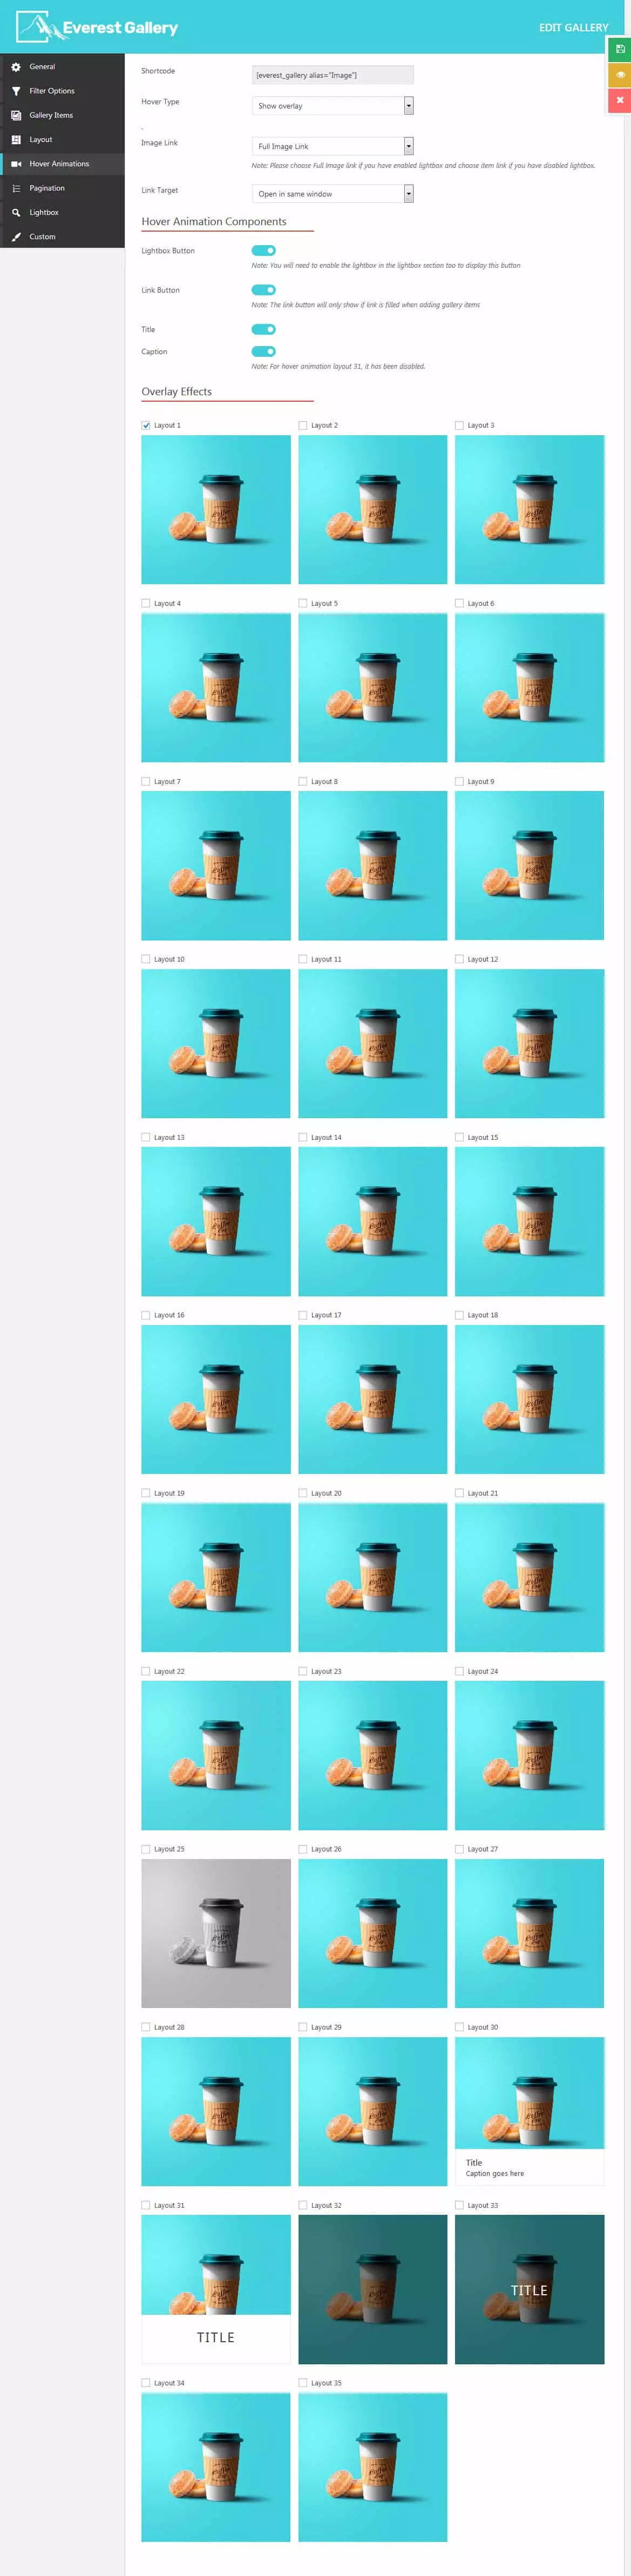
Hover Animation
Here, you can select the hover type, image link, and link target. Also, enable/disable the lightbox button, link button, title, and caption. Besides, you can also select any of the 35 pre-designed layouts for overlay effects.
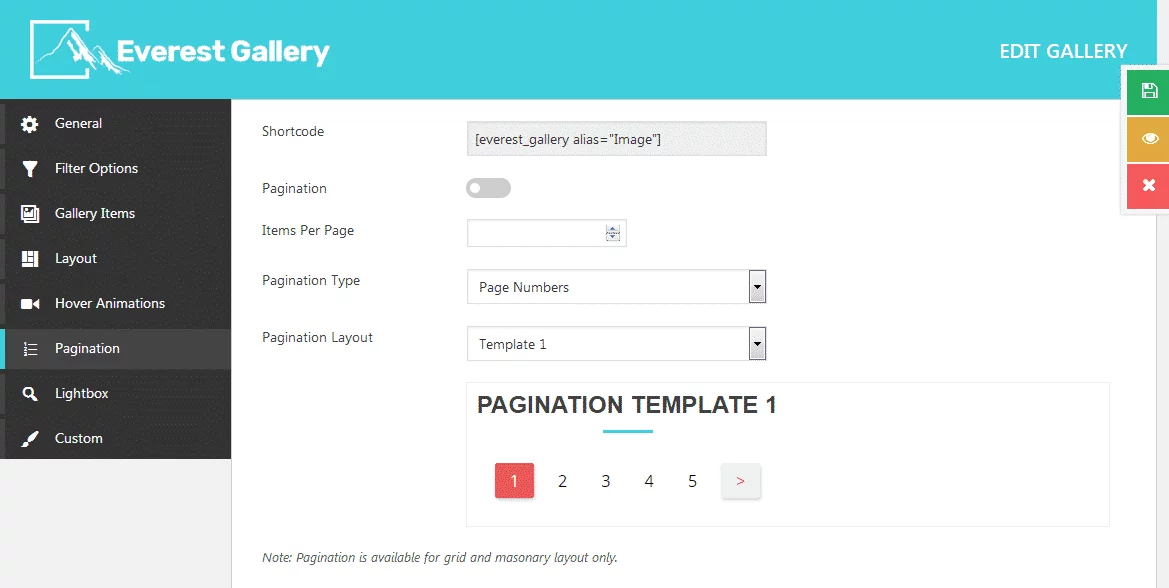
Pagination
Here, you can enable the pagination for your gallery and select the pagination type and pagination layouts.
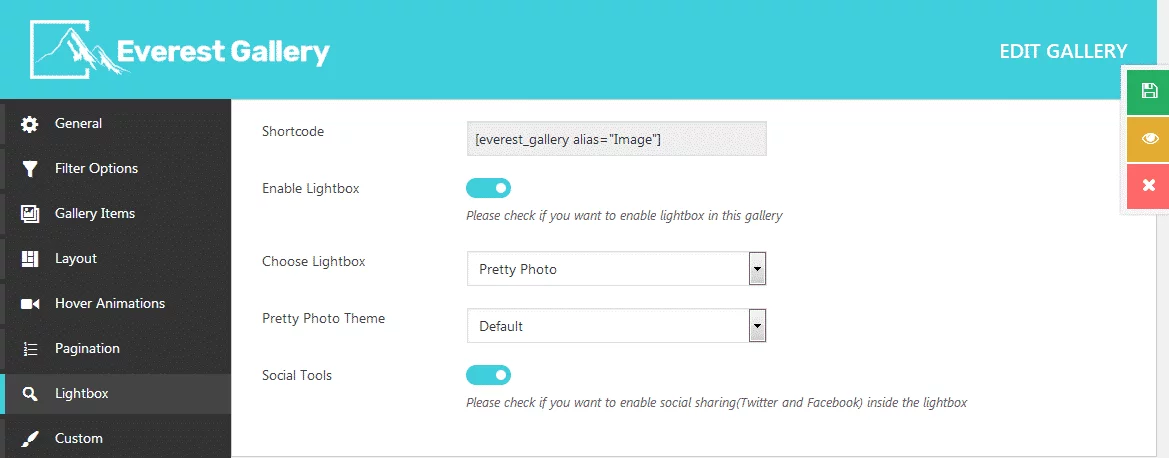
Lightbox
Here, you can enable the lightbox for your images, select the lightbox effects, and pretty photo theme, and enable your social tools.
After you are done, save your settings. You can fetch the preview of your gallery by clicking on the “Preview” button.
To add your created gallery to your website, copy the generated shortcode and paste it anywhere you desire.
Wrapping Up
In this way, you can add a responsive image gallery on WordPress website. So if you want to add a responsive gallery on your WordPress website then, you can purchase the mentioned plugin and follow this step by step tutorial.
You can also checkout the similiar step by step guide of:
How to showcase clients logo on WordPress website? (Step by Step Guide)