How to organize your media library on WordPress using WP Media Manager? (Step by Step Guide)
Whenever you upload an image or other attachments to your WordPress website, it gets stored in the WordPress media library. That default media library is quite great for a startup website as you can easily upload and add your media files on any page/post. However, once your website will start growing and will have hundreds and thousands of media files, its management with the default WordPress media library will become tougher and tougher. Moreover, you may also find it difficult to search for your old media files. So, to solve this and easily manage all the media files of your website, you can use WordPress media manager plugins. As they will let you add media folders to easily organize all your media contents like the one you do on your computers.
Here, in this article, we will be using WP Media Manager to show you how to organize the media library of your WordPress website. It is a highly rated WordPress media manager plugin by AccessPress Themes with an intuitive drag-and-drop interface to enhance the management of your WP media.
Some of the Best Features of WP Media Manager
- Drag and Drop Media Files and Folders
- Multiple Folders Creation and Deletion
- Media Files Ordering and Filtering Options
- 3 Inbuilt Responsive Gallery Themes
- Easily Duplicate Media Files
- Lightbox Extensions
Full Features and Details of WP Media Manager
Installation and Activation
Get WP Media Manager from the CodeCanyon marketplace at a reasonable price of $23. After that install it on your WordPress website. If you have any difficulty regarding the installation of the plugin, you can take the help of its documentation.
Customizing Media Manager
After you have successfully installed the plugin, you will see “WP Media Manager” on the left menu of your WordPress backend. Click on it to start customizing your media manager.
You will land on the General Settings page. It consists of 6 setting sections. They are:
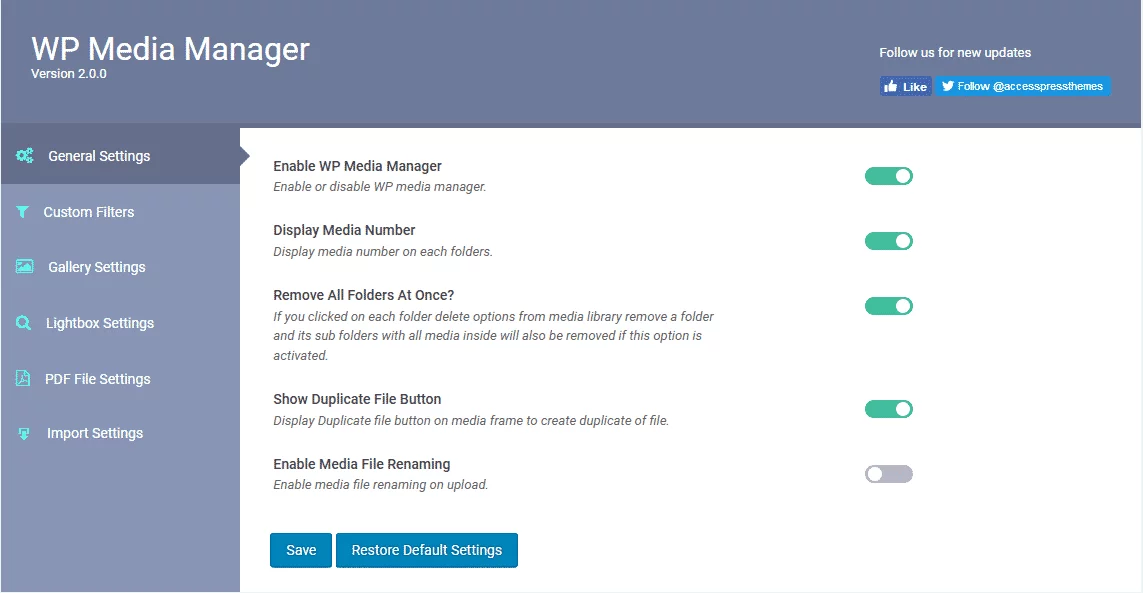
General Settings
In this setting section, you can enable/disable different settings i.e. display media number, show duplicate button, media renaming, and remove all folders at once.
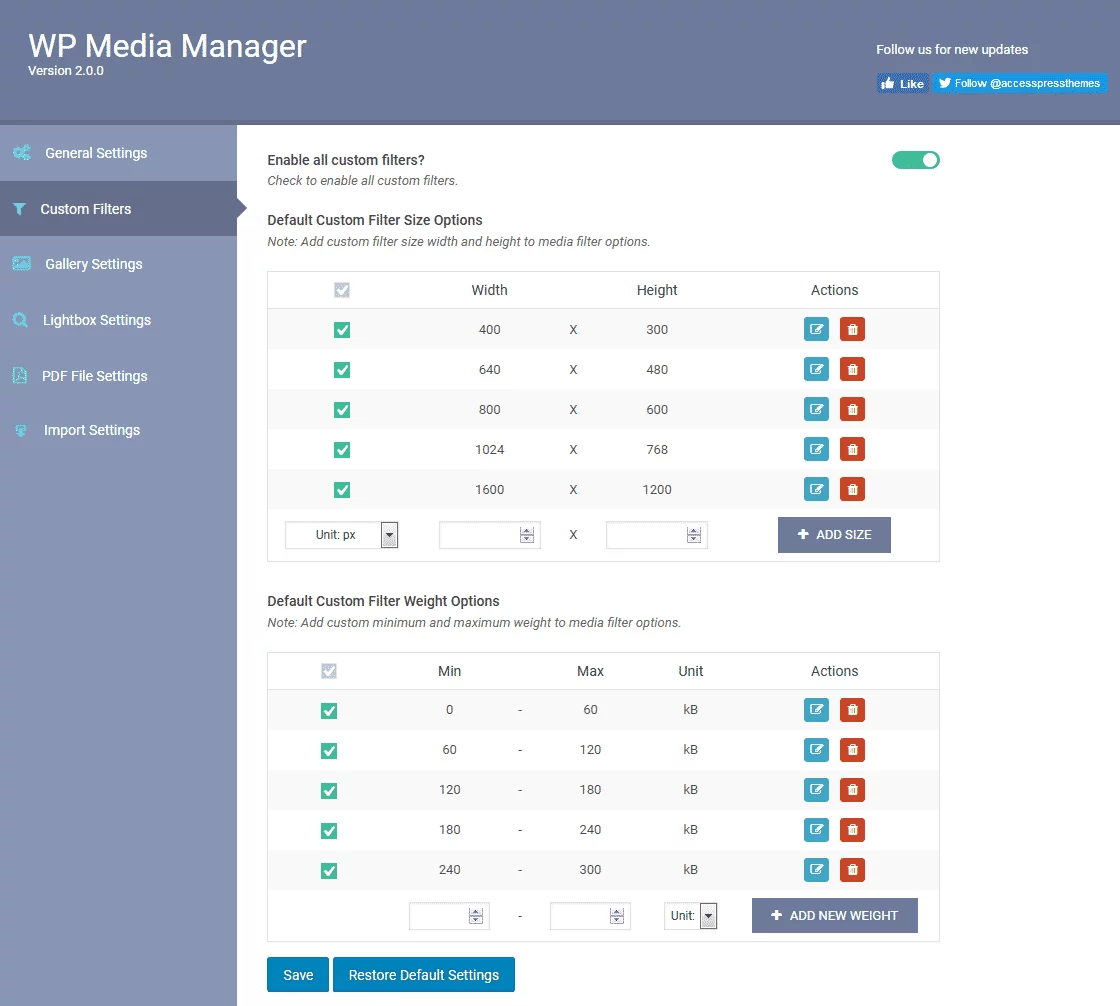
Custom Filters
Here, you can configure the height and width of all the custom fields of your media manager.
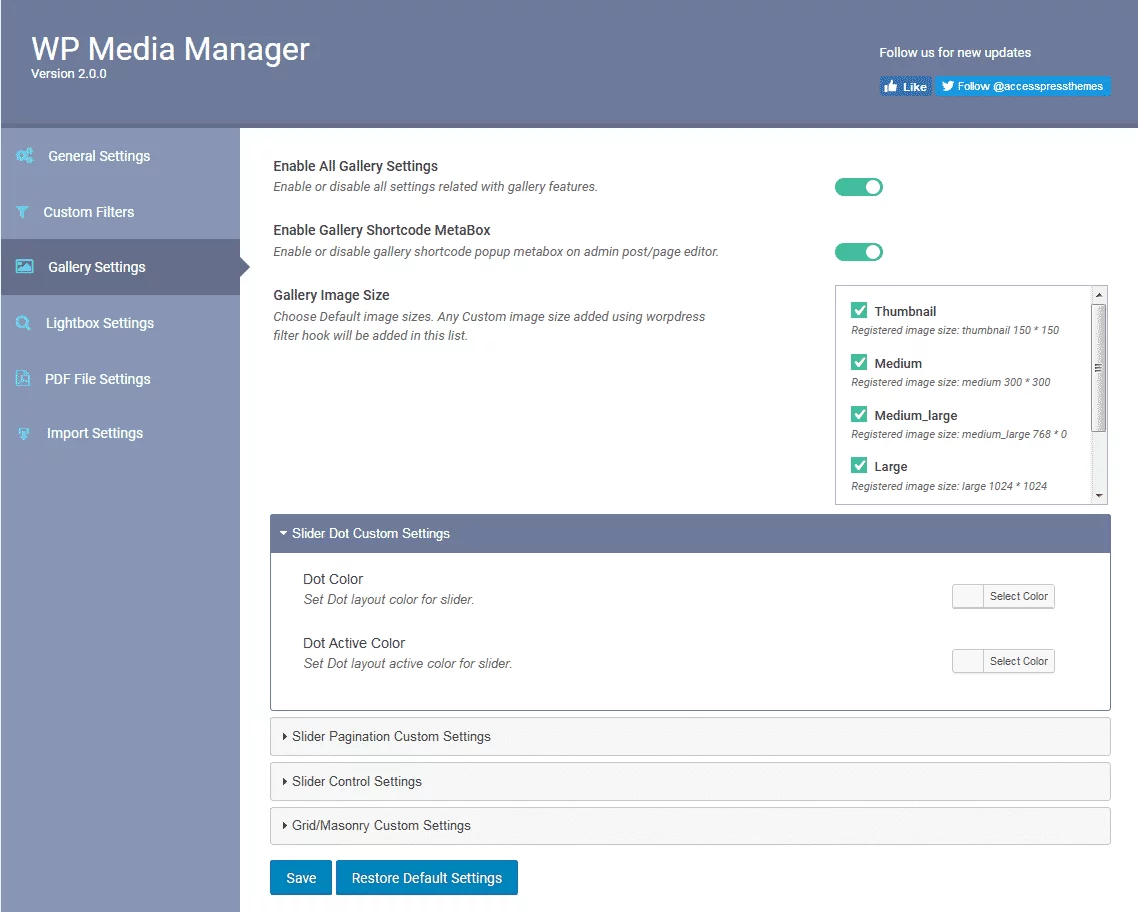
Gallery Settings
It consists of different settings for your media gallery. Configure them all as per your preference to create a stunning media gallery.
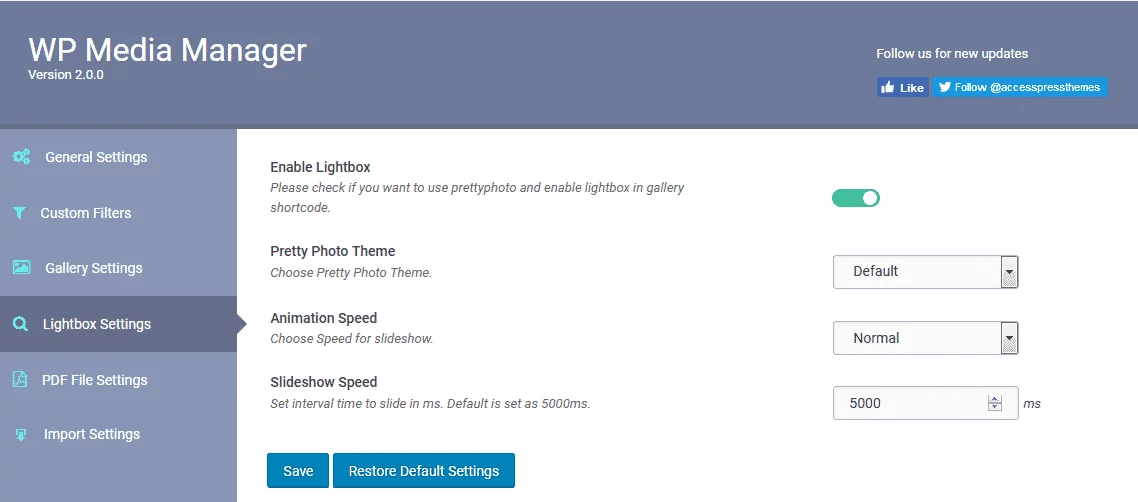
Lightbox Settings
In the lightbox settings section, you can choose your pretty photo theme, animation speed, and slideshow speed.
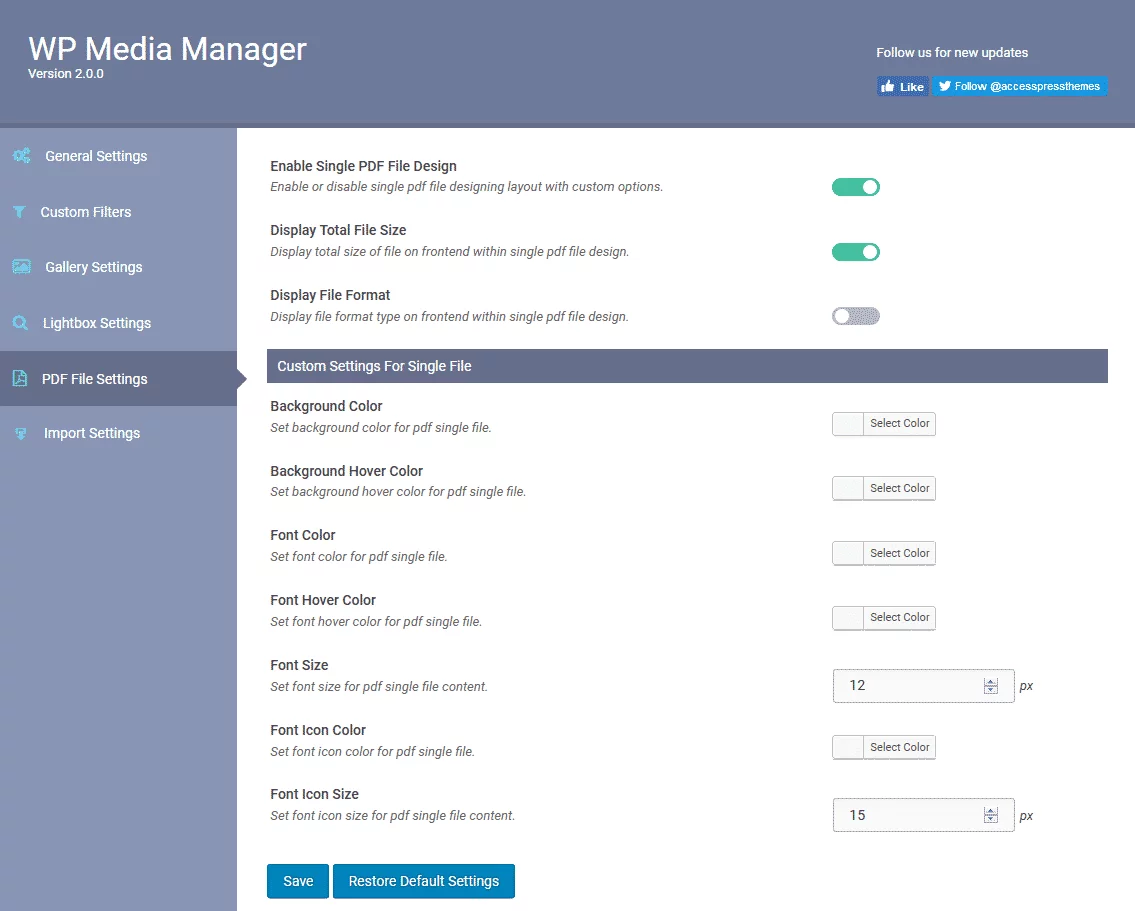
PDF Settings
Here, you can configure the size, format, and colors for your PDF files.
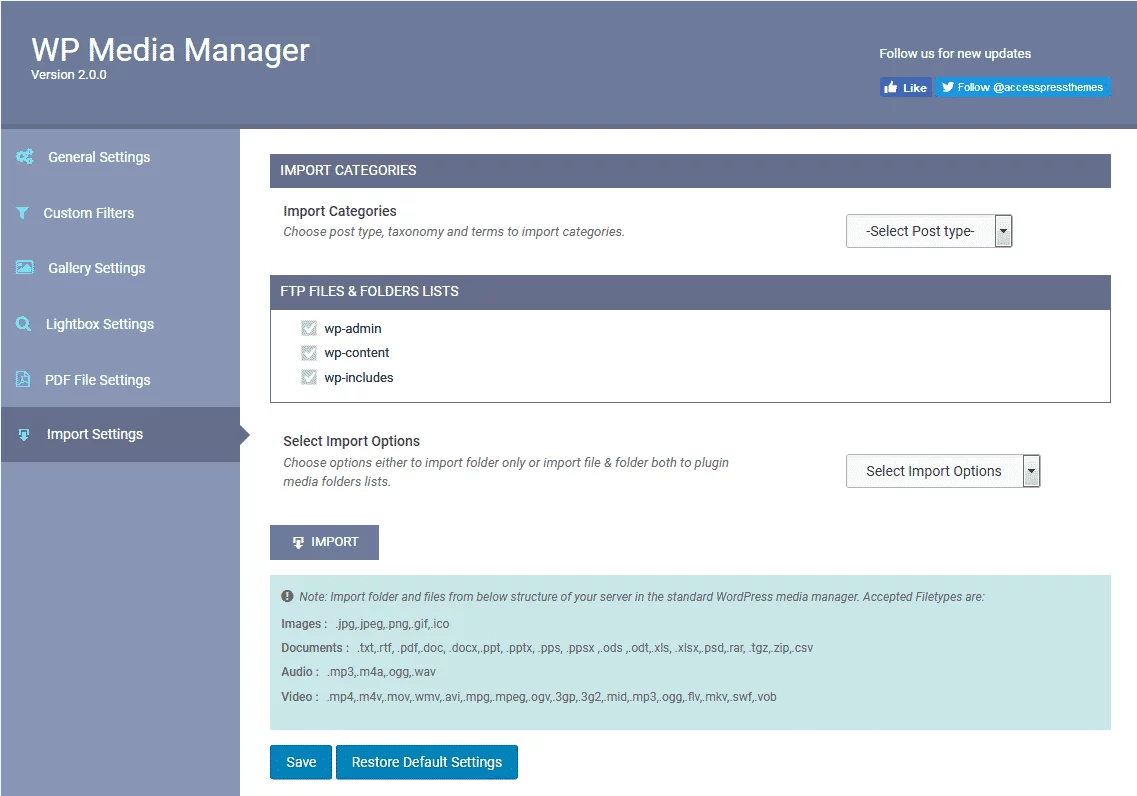
Import Settings
The import settings will allow you to import files and folder lists from the different settings of your WordPress website.
Organizing Media Files into Folders
After you have finished customizing your media manager, go to Media > Library to start organizing your media files. Click on “Create Folder” to create folders.
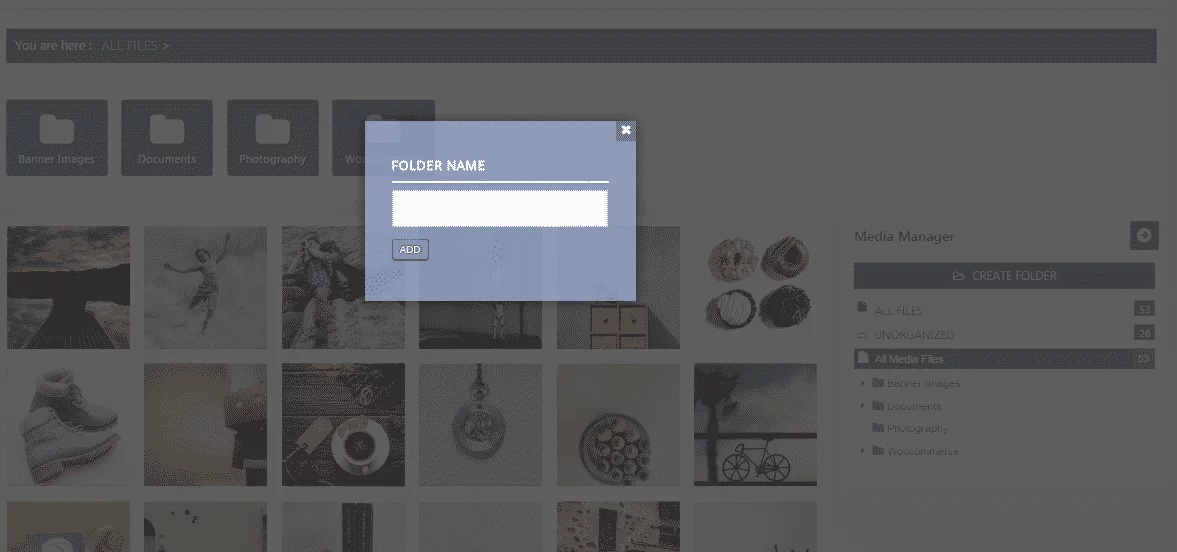
Then drag and drop your media to the folders you have created.
Wrapping Up
In this way, you can organize the media files of your WordPress website. A well managed media files and folders can play a great role to save your time to locate your files in the specific destination. So, if you want to organize your media library of your WordPress website and make your media files easy to find then, you can use the above mentioned plugin and follow this step by step tutorial.
You can also check out similar step-by-step tutorials: