How to showcase clients logo on WordPress website? (Step by Step Guide)
If you are wondering to showcase the logo of your clients then, you are in the right place. Here, we will discuss the step-by-step guide on how to add a beautiful gallery that contains the logos of your clients/sponsors/partners. But before we begin this tutorial a few things about why it is essential to showcase the logo of your clients.
Showcasing the logo of your clients on your WordPress can be effective in many ways. It lets you display the companies that you have worked for in the past as well as the companies that have supported your work. By doing so, you can boost your website’s credibility and create a trusting factor with your new customers.
How to Add Client’s Logo Gallery on WordPress Website?
One of the easiest ways to create clients’ logo galleries and showcase them elegantly on your WordPress is by using WordPress client’s logo gallery plugins available. As they come with cool designs and powerful features to add beautiful clients’ logos anywhere on your WordPress website.
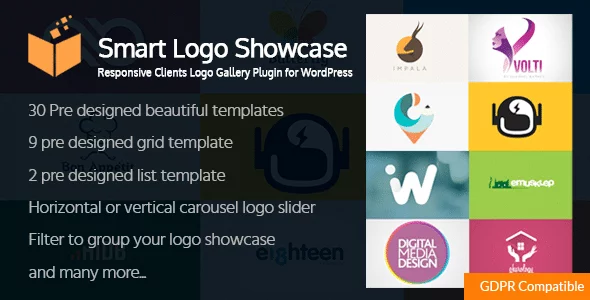
Here, in this article, we will be using the Smart Logo Showcase plugin to show you how to add a responsive logo to your WordPress website. So, let’s begin.
Step 1:
Purchase Smart Logo Showcase plugin from the CodeCanyon marketplace at a reasonable price of $24. Then, install it on your website. If there are any difficulties while installing the plugin, check out its documentation. Then, activate the plugin on your WordPress website.
Step 2:
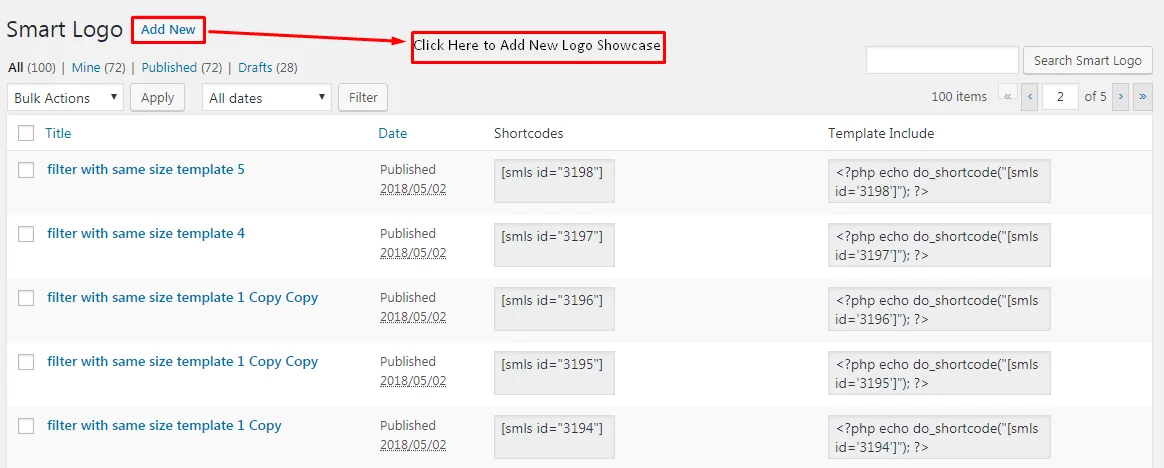
After you have completed the activation of the plugin, you will see “Smart Logo” on your WordPress dashboard. Click on it. You will land on the “All Smart Logo” page. It contains all the logo galleries you have created on your WordPress website. Click on “Add New” to add a new logo gallery.
Step 3:
You will land on the “Add New“ page. To add logos click on “Add Logo”.

Step 4:
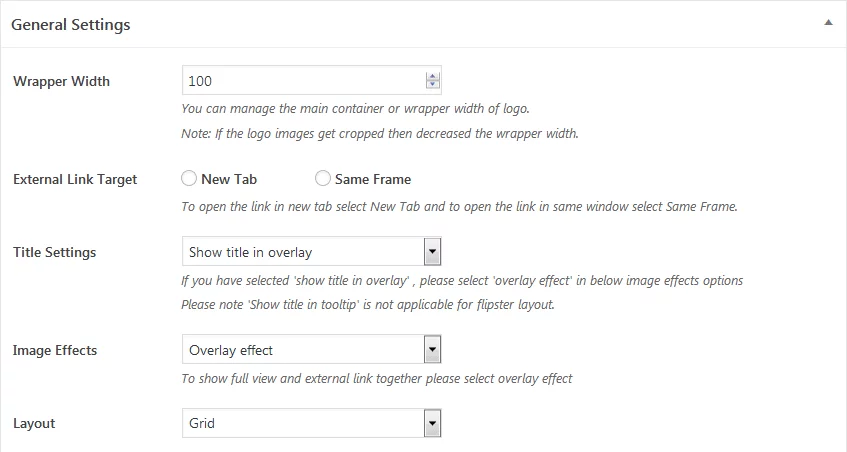
Then, scroll down below. You can see the general settings for your logo gallery. Here, you can add the wrapper width, external link page target, title settings, and image effects. Also, choose the layout for your logo gallery.
Step 5:
For each of the layouts, you select there are different sets of options available. So, choose the best layout from any of the 4 available layouts and configure all the options available.
Step 6:
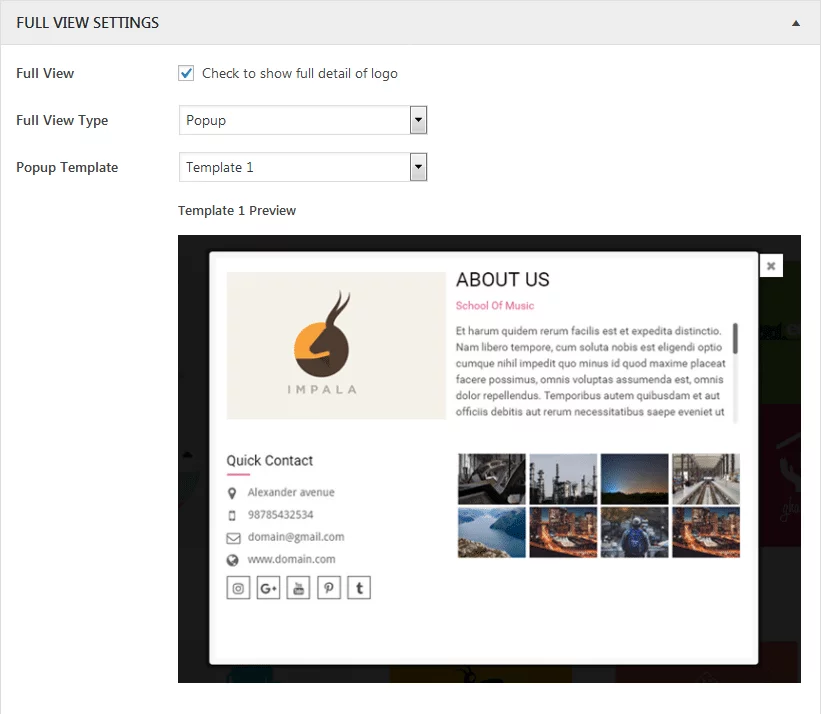
Then, set whether or not you want your logo to be displayed on full page view. If you choose to display your logo in full view then, set the full view type and template for your full view logos.
Step 7:
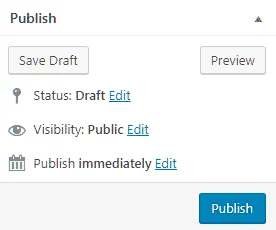
Then click on “Publish” to save your logo gallery.
Step 8:
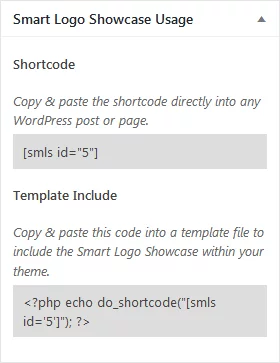
After you have published your logo, copy the generated shortcode from Smart Logo Showcase usage and paste it anywhere to display the created logo gallery.
Wrapping Up
This way you can create and showcase an effective clients logo gallery on your WordPress website. A logo gallery is a very essential element to generate the trust from your client and boost the overall credibility of the website. So, if you want to add a client logo showcase on your WordPress website then, you can purchase the above mentioned plugin and follow this step by step guide.
You can also check out the similar step-by-step tutorial of:
