How to add Forms on WordPress Website using Ultimate Form Builder? (Step by Step Guide)
If you are wondering how to build and add some stunning forms to your WordPress website then, you are at the right place. Here, in this article, we will discuss a step-by-step guide to adding forms to your WordPress website. But before we start a few things about why adding forms is mandatory for a WordPress website.
The form builder is one of the must-have elements for any website. It lets you build different forms for multiple uses such as subscription letters, contact us, post/directory submissions, inquiry forms, survey forms, and many more. Embedding all these forms will provide your website with a professional look. Moreover, these forms will allow your customers to connect with you more easily.
Here, in this article, we will be using Ultimate Form Builder to show you how to add a beautiful form to your WordPress website.
So, let’s get started and add forms to your WordPress website in a step by step process:
Step 1:
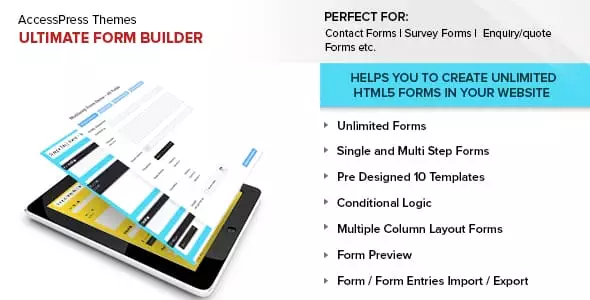
Get Ultimate Form Builder from the CodeCanyon marketplace at the price of $32. Then, install it on your WordPress website. After that activate it. If you have any difficulty regarding the installation process then, you can check out its documentation.
Step 2:
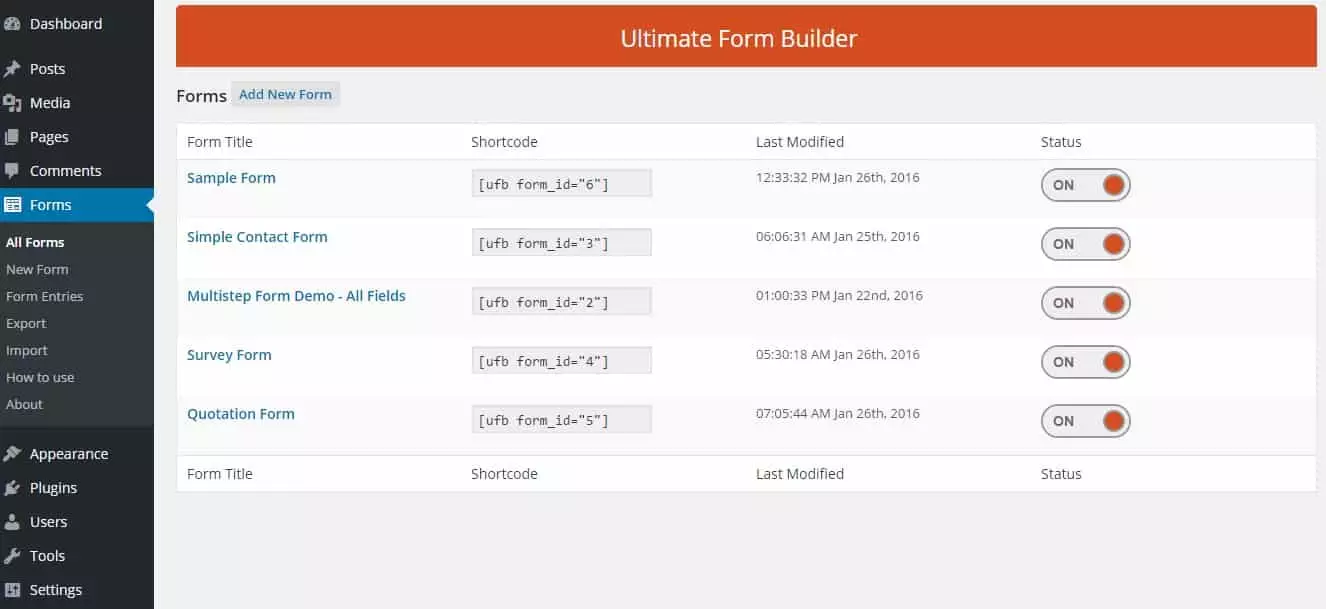
After you have successfully activated the plugin, you will see “Forms” on your WordPress dashboard.
You will land on the “All Form” page. It consists of the list of all the forms you have created on your WordPress website. Click on “Add New Form” to add a new form for your WordPress website.
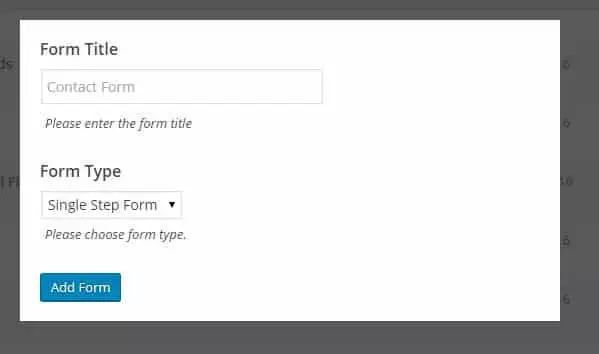
Then, a popup will be displayed where you need to add the title for your new form and choose its type. After that, click on “Add Form”.
Step 3:
Then, you will land on the settings page of the plugin. It contains 4 tabs for configuring your form. They are:
Form Builder

Here, you can set the field from 4 different elements. They are:
- HTML Elements: Here, you can add a Single Line Textfield, Multiple Line Textfield, an Email Address, a Dropdown Menu, a Radio Button, a Checkbox, a Password, a Hidden Field, a Number Field, a Submit Button, and a Captcha.
- UI Elements: Here, you can add Datepicker, Datepicker Date Range, Dropdown Date, Dropdown Date Range, and UI Slider.
- Custom Field: Here, you can add File Uploader, Custom Texts, Agreement Block, URL Field, and WYSIWYG.
- Survey Elements: Here, you can add Star Ratings, Like Dislike Thumb, and Choice Matrix.
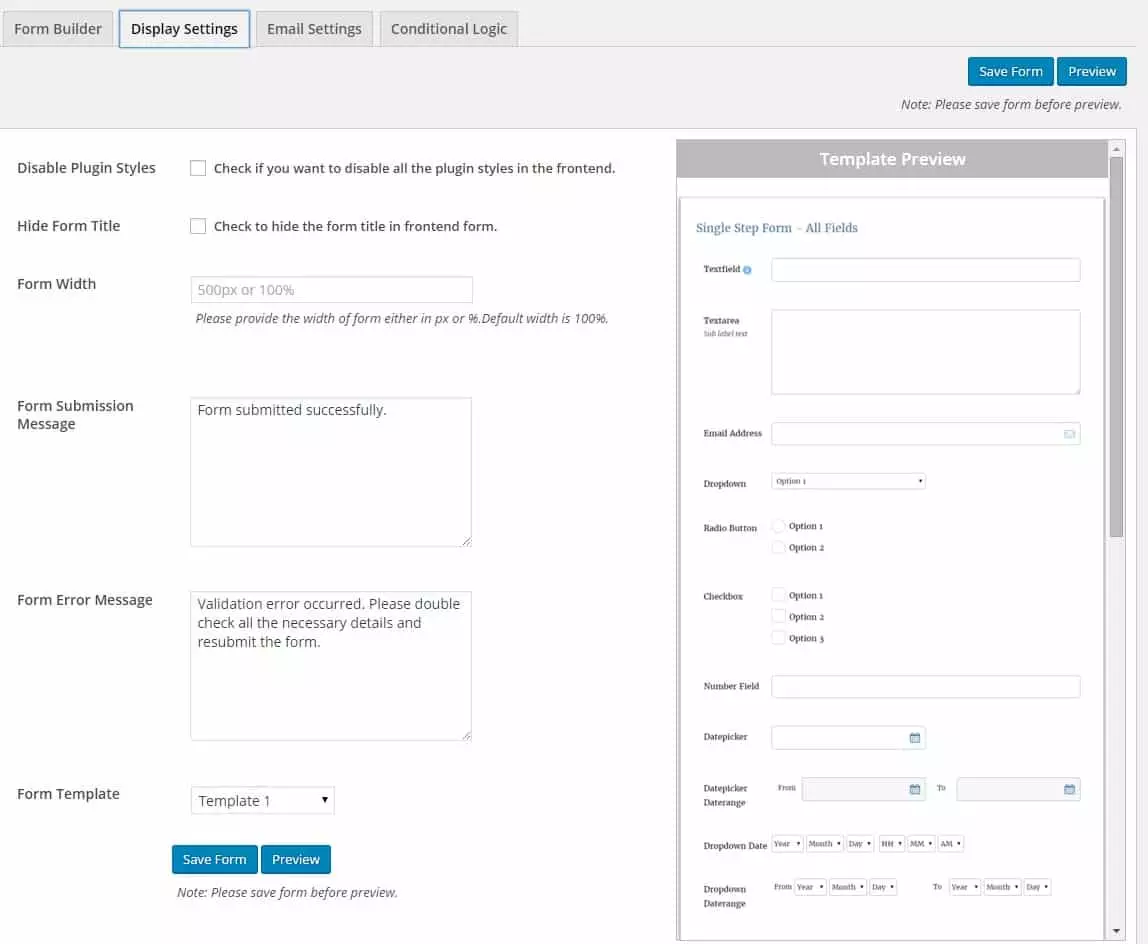
Display Settings
It consists of different display options for your created forms. You can set the width of your custom form, form submission message, and form error message. Also, choose the template for your form.
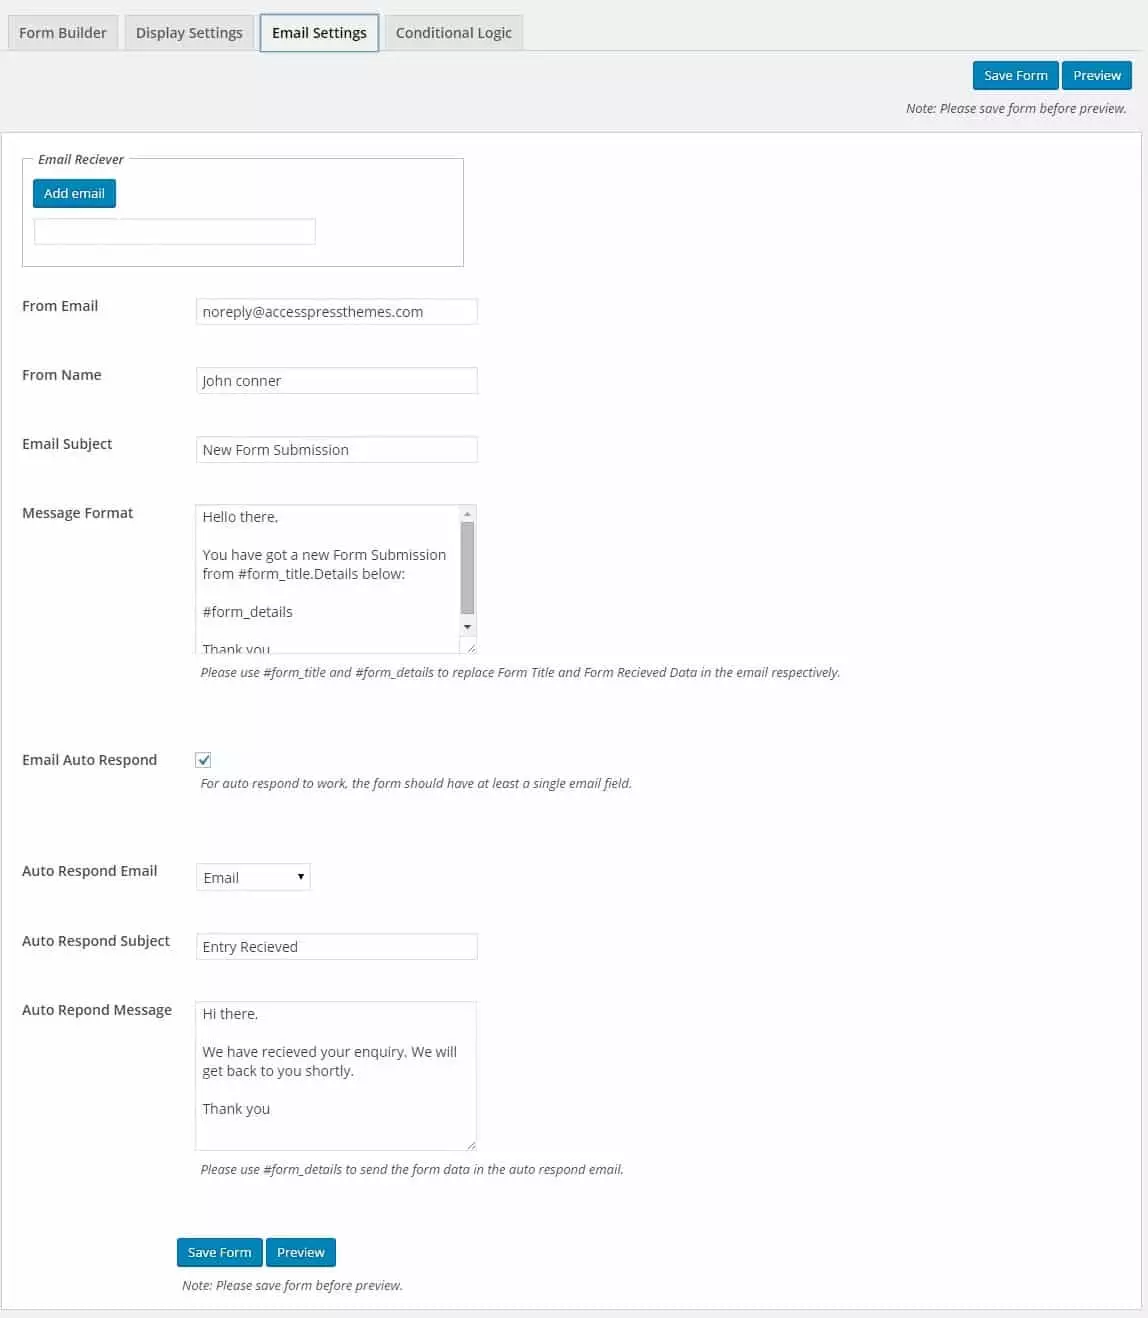
Email Settings
Here, you can add the email address for your mail receiver. Also, set the custom email subject and message format. Besides, you can also enable the auto-reply setting along with the custom auto-respond subject and auto-respond message.
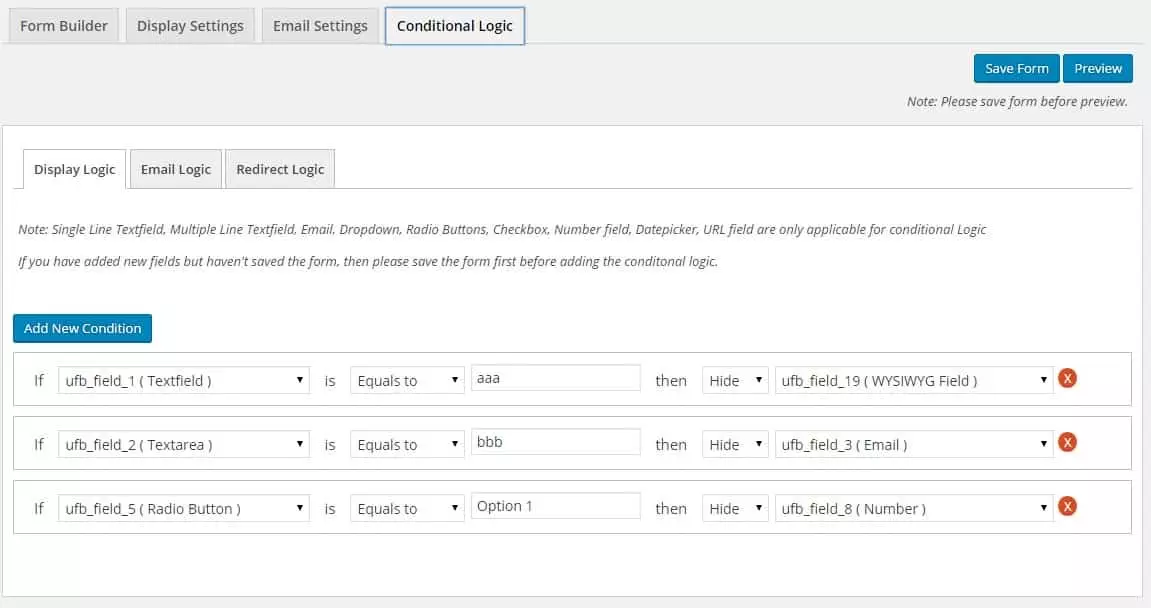
Conditional Logic
Here, you can set different types of conditional logic for your WordPress forms.
After, you are done click on “Save Form” to save your settings. To view the preview of the form click on the “Preview” button right next to the “Save Form”.
Then, copy the shortcode and paste it on any pages, posts, custom post types, or widgets of your WordPress website to display your created form.
Wrapping Up
This way you can easily add a beautiful WordPress forms on your WordPress website in a few minutes. Forms are very essential element and can provides different types of benefit to your WordPress website. So, if you want to add forms on your WordPress website then, you can use the mentioned plugin and follow this step by step tutorial.
You can also checkout our collection of: 5+ Best WordPress Form Builder Plugins (Premium Version).
