How to Add Stats Counter on WordPress Website 2026?
Do you want to showcase all the achievements, work excellence, team strength, product ranges, or other key business stats in a beautiful stats counter bar?
As a business site owner, you would want to add stats counter on WordPress website and let your audience know how serious you are about your business. By doing so, you can easily generate the trust of your potential clients and convert them into full fledge leads.
WordPress, being one of the most popular platforms known for its flexibility to create a stunning website contains various plugins to display stats counters.
However, you should be careful about choosing the right one for your website. You should look at the features that the plugin offers in terms of design (templates) available, configuration, and customization options to personalize your statistic counter bar.
Also, you might look for positions where you can add stats counter on WordPress website.
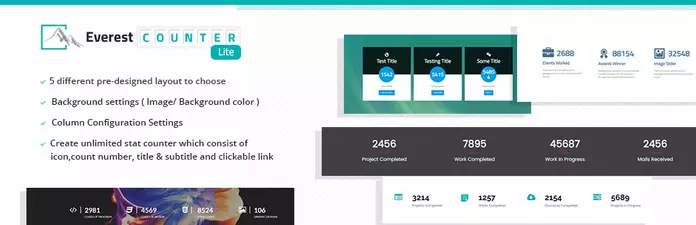
Here, in this article, we will be using a free WordPress plugin – Everest Stats Counter Lite to show you how to add stats counter on WordPress website.
It is packed with 5 pre-designed responsive templates and tons of customization options to showcase your site’s stats stunningly.
Moreover, the plugin comes with an inbuilt short code generator to add the statistic counts anywhere on your WordPress website.
Features of Everest Stats Counter Lite:
- 5 Different Layouts to Choose From
- Option to Configure Column Display Settings for Mobile, Desktop, and Tablets
- Background Option – Select Custom Background Color or Custom Background Image
- Overlay Option on Background Image
- Configure Stats Items Individually Using Dynamic Custom CSS Options
- Supports Font Awesome Icons and Dash icons
- Stats Counter Sorting Options
- Easy Usage Via Shortcodes and Widgets
Full Details and Features of Everest Stats Counter
Add Stats Counter on WordPress Using Everest Stats Counter
Now let’s get started with the tutorial and add stats counter on WordPress website:
Step 1:
Download Everest Counter Lite for free from the WordPress.org repository. Then, install it on your WordPress website. If you have any difficulties in the installation of the plugin then, you can take help from its documentation or go through the article: How to install a new plugin in WordPress website?
If you don’t want to install it on your website yet, you can create a WordPress staging and install Everest Count Lite for testing.
Step 2:
After you have completed the installation of the plugin, activate it. Then, you will see “Everest Counter Lite” appear on the left menu of your WordPress dashboard. Click on it to continue.
You will be directed to the “All Everest Counter” page that contains the lists of all the stats counters you have created to date. To add the existing counter on your website, copy the shortcode and paste it into your desired location.
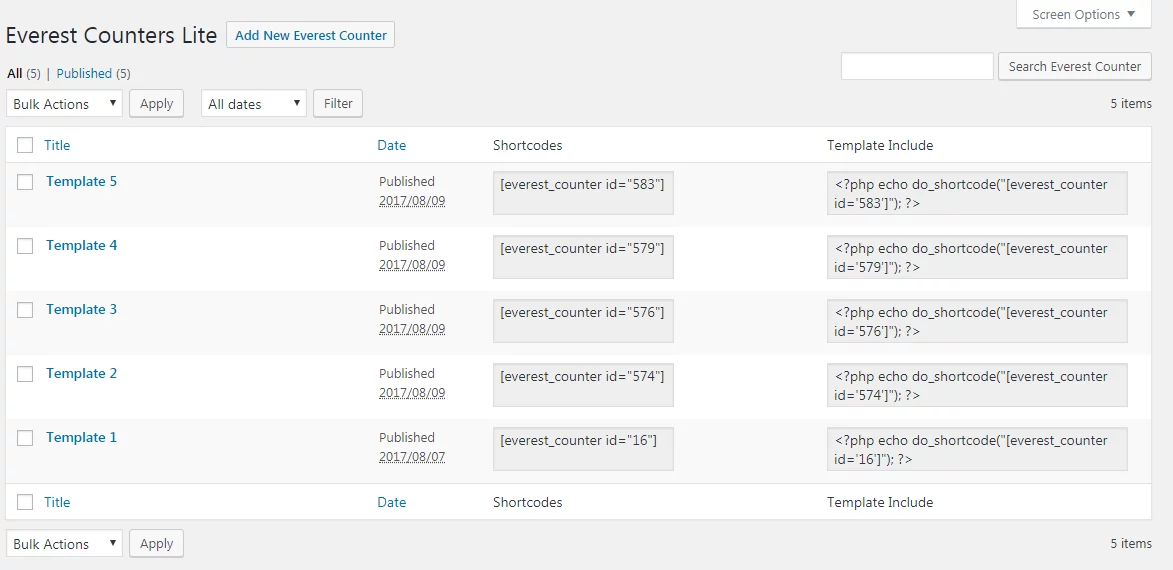
To create a new stats counter for your website, click on the “Add New” button.
Step 3:
Then, you will land on the “Add New Everest Counter” page that contains all the settings required to create and add a beautiful statistic counter on your WordPress website.
To get started, give the title for your new stats counter. Then, click on the “Add Counter Item” button to the counter items.
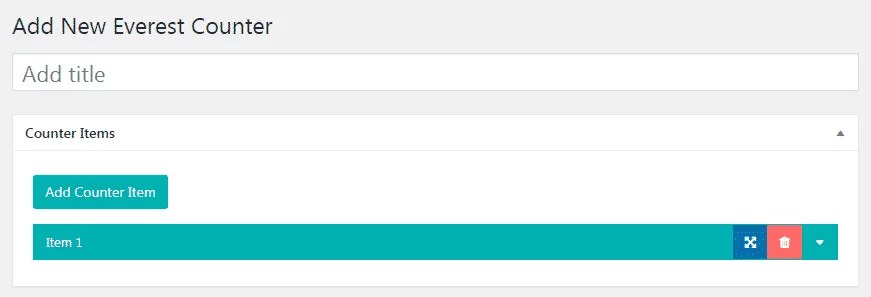
You can add an unlimited number of stats counter items with each of them containing separate settings. The settings include:
Icons Settings:
Here, you can select the icons for your counter items from the pre-designed icon packs. After you have selected the icons, you can style up their color, font size, and border.
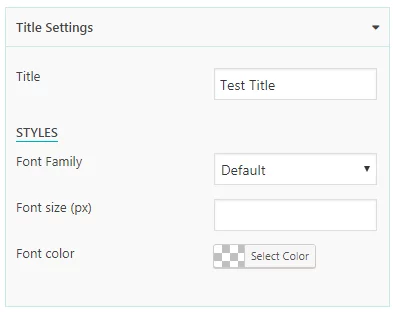
Title Settings:
Here, you can add the title for your counter items and style up the title text in terms of font family, font size, and font color.
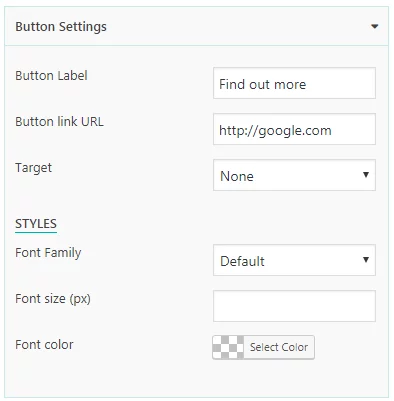
Button Settings:
Here, you can add custom labels and custom links for the buttons of counter items. You can customize its font family, font size, and font color.
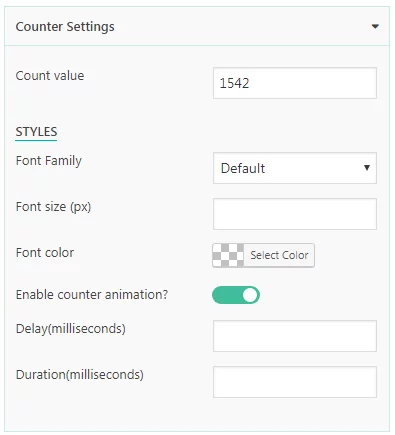
Counter Settings:
Here, you can set the value of your counter items and style up their font family, font size, and font color. Besides, you can set animation for your counter with custom milliseconds delay and duration.
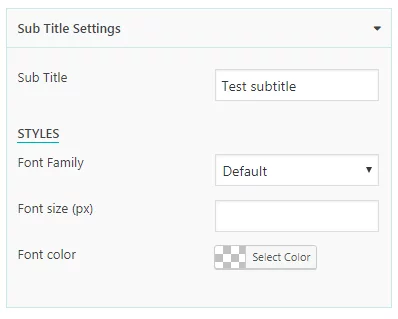
Sub Title Settings:
Here, you can set the subtitle for your counter items and style up its font family, font size, and font color.
Step 4:
After you have added the required number of counter items, go down below to configure its display settings. It contains 3 different tabs. They are:
Template Selection:
Here, you can choose any of the 5 pre-design templates available for displaying your stats counters.
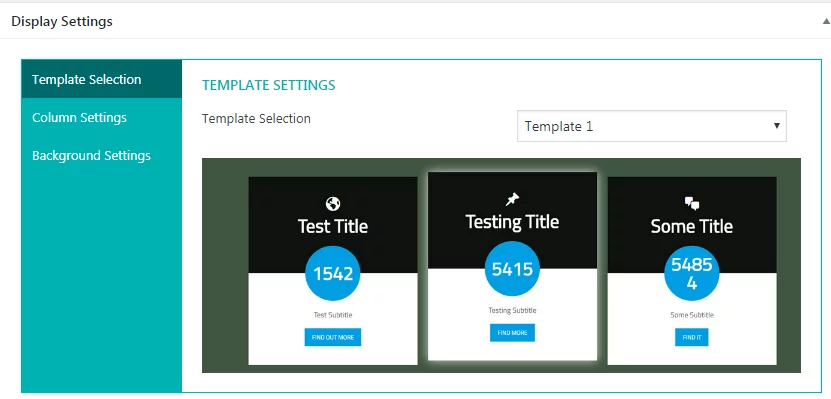
For more templates, you can upgrade this plugin into its premium version: Everest Stats Counter.
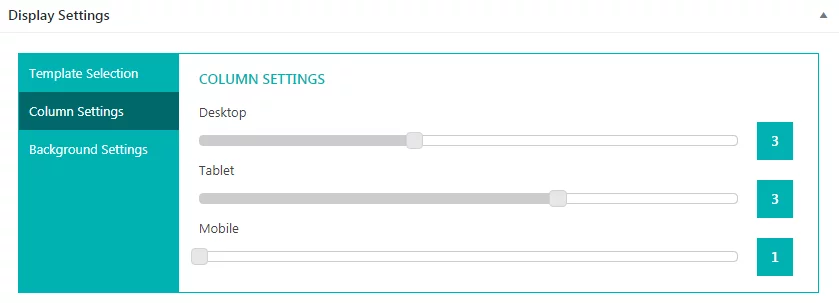
Column Settings:
Here, you can set the column to display your stats counter on desktop, mobile, and tablet.
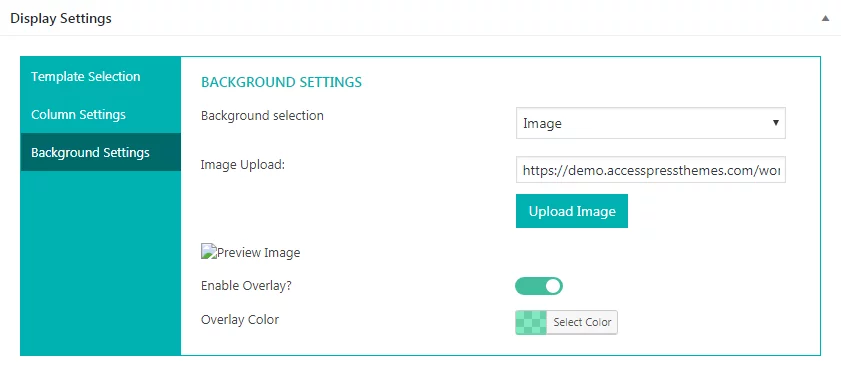
Background Settings:
Here, you can set your background color or add a custom background image for your stats counter.
Step 5:
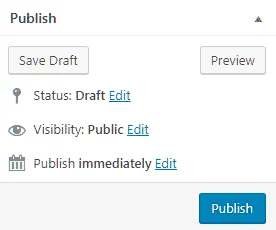
After you have completed customizing all the settings available, click on “Save Draft” to save your stats counter into the draft, the “Preview” button to view the preview of your counter, and the “Publish” button to make it live.
Step 6:
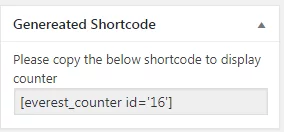
Then, copy the shortcode from the “Generated Shortcodes” and paste it on any page, post, or custom post type as per your requirement to display your stats counter.
Wrapping Up: Add Stats Counter on WordPress Website
In this way, you can showcase your achievements and work excellence statistically on your WordPress website. These stats can play a pivot role to earn the trust of your clients and convert them into your leads.
So, if you want to add stats counter on WordPress website then, you can try the above-mentioned plugin for free and follow this step by step tutorial.
You can also check out the collection of: