How to Add Timeline Posts on WordPress Website? (Step by Step Guide)
Are looking to add timeline posts on your WordPress website? Timeline posts play an effective role in showcasing all the achievements and work experience of your company. It allows your visitors to easily explore your website and learn about the evolution of your business. By doing so, you can generate trust and authenticity from your potential clients and can even convert them into leads.
For WordPress users, the addition of timeline posts can easily be done with the help of WordPress timeline plugins. These plugins come with different designs and features to create and add beautiful timelines in no time. Moreover, these plugins also come with easy-to-use configuration and customization options to make your timeline posts visually appealing.
Here, in this article, we will be using Everest Timeline Lite – a free WordPress timeline plugin to show you how to display responsive timeline posts on a WordPress website.
So, let’s get started and add a responsive timeline on the WordPress website:
Step 1:

Download Everest Timeline Lite from the WordPress repository. Then, install it on your website. If there is any difficulty regarding the installation of the plugin, you can go through the article: How to Install New Plugin to the WordPress Site?
Step 2:
After you have completed the installation of the plugin, activate it. Then, you will see “Everest Timeline” appear on the left menu of your WordPress dashboard. Click on it.
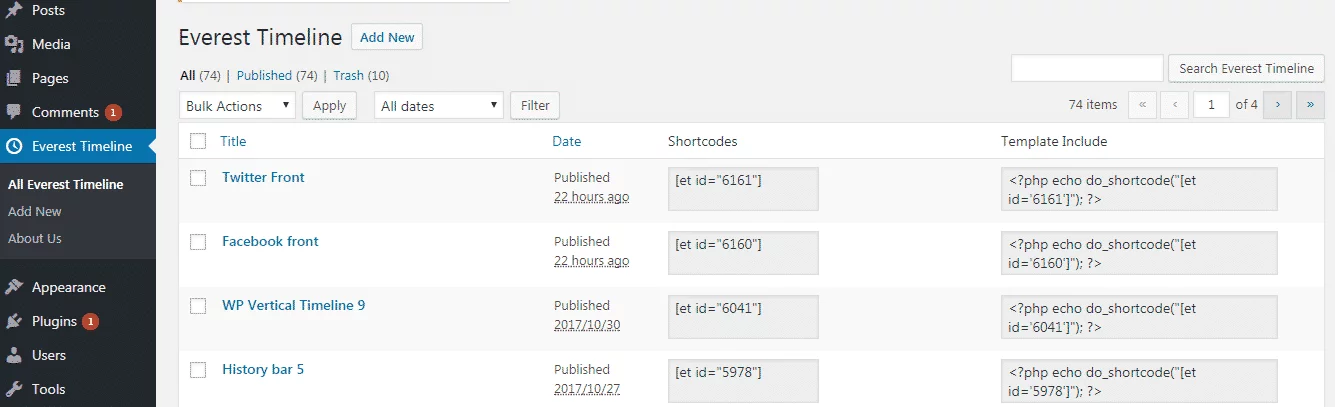
You will land on the “All Everest Timeline” page. It contains all the timeline posts you have added to your WordPress website to date. To add a new timeline to your WordPress website, click on the “Add New” button.
Step 3:
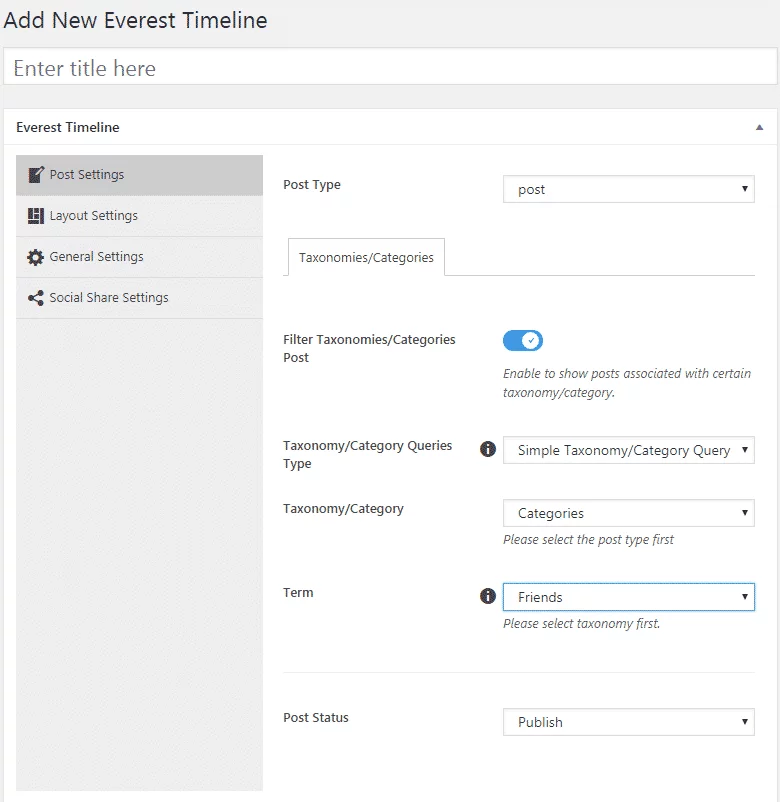
You will land on the “Add New” page. Here, give the title for your new timeline. Then, go to the settings section to configure and customize your timeline. The plugin contains 4 different settings sections. They are:
Post Settings
Here, set the post type of your timeline. Then, enable the filter for all the taxonomies/categories to sort your timeline with all the available taxonomy and categories.
Layout Settings
Here, you can select the layout for your timeline. The plugin consists of 2 different layouts i.e. Vertical Timeline Layout and One Side Timeline Layout with 2 templates for each of them. So, choose the most favorable one for your WordPress website.

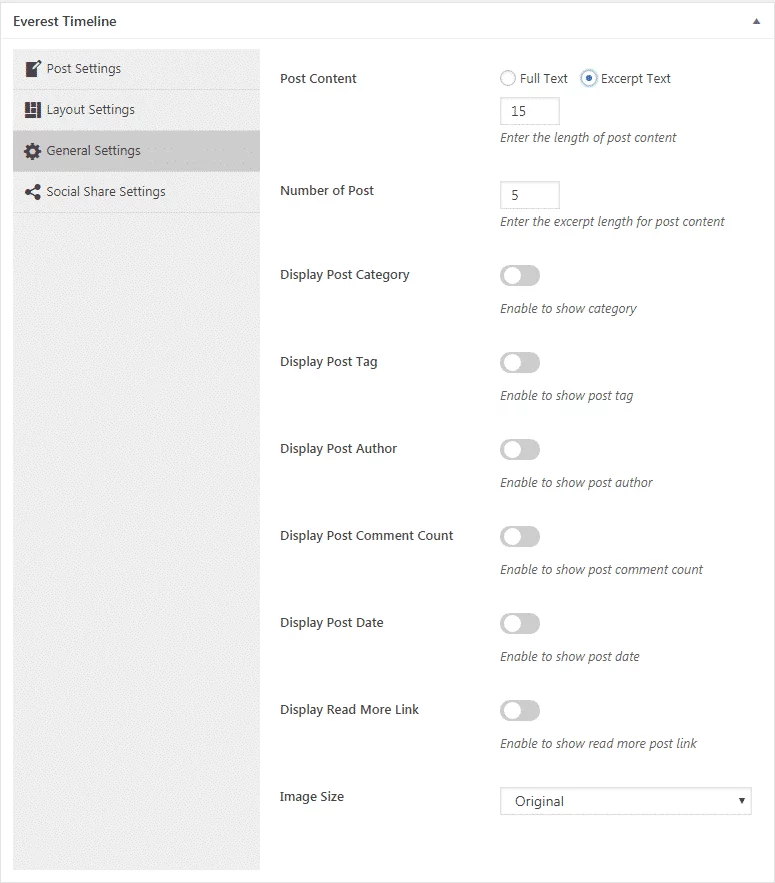
General Settings
Here, you can set the number of posts you want to display on your timeline. Also, you can enable/disable the post category, post tag, post author, post comment, post date, and read more links on your timeline post.
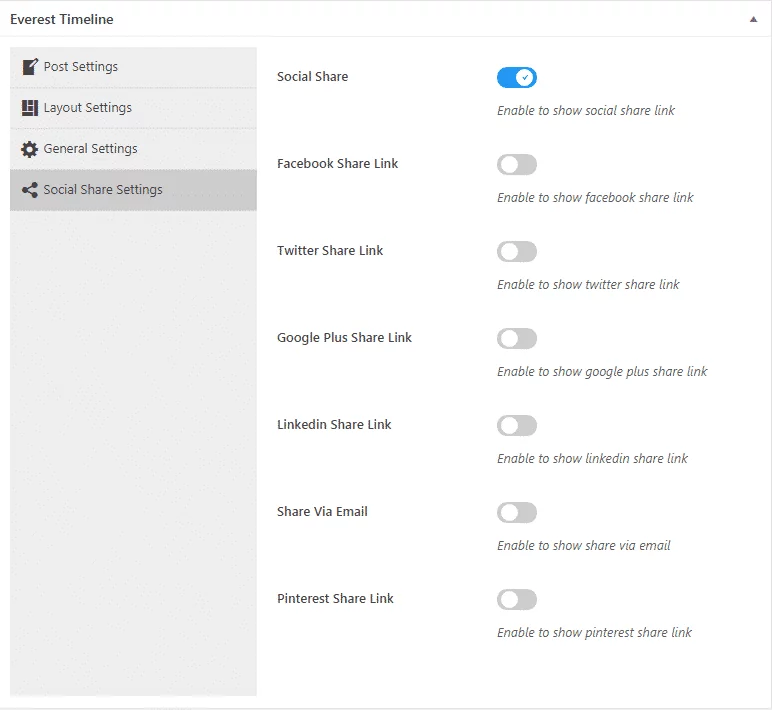
Social Share
Here, you can enable the social sharing of your timeline on all the major social media networks like Facebook, Twitter, Google Plus, Linkedin, Email, and Pinterest.
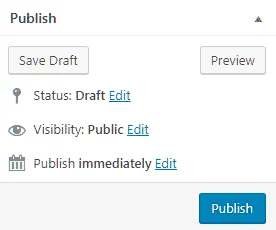
Step 4:
After you have completed the customization, click on the “Publish” button to go live.
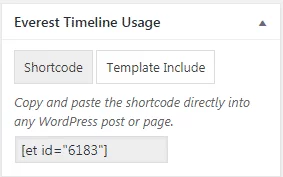
Then, copy the generated shortcode and paste it anywhere on your WordPress website.
Wrapping Up
In this way, you can add timeline posts on your WordPress website. These event timeline will not only make your WordPress website engaging but also plays a great role on generating the trust from your clients. So, if you want to add a timeline post on your WordPress website then, you can download the above mentioned plugin and follow this step by step tutorial.
You can also checkout the article:
How to add an author box to WordPress blog? (with or without plugin)