How to Create a WordPress Staging Site?
Are you a WordPress beginner thinking to start with WordPress and create a WordPress staging site or let’s keep it the other way: Are you trying to create a WordPress testing site?
The above-mentioned two questions are different. In the first one, I asked you if you would like to create a WordPress staging website and get started while in the second I asked you if you want to create a WordPress testing site for your existing website. There’s a big difference between them. But, guess what, the steps to both of these questions are somewhat similar.
Let me clarify it for you. You might want to start with the WordPress staging site but have no idea where to get started from. You also might want to create a WordPress testing site to experiment with different things to see how it works out on your main site.
- What is a Staging Site?
- Create a Testing Site
- WordPress Testing Environment
- How to Easily Create a WordPress Staging Site?
- Build WordPress Staging Site on InstaWP
- Build WordPress Staging Site on Web Host
- Create a Staging Site on SiteGround
- Create Staging Site on Bluehost
- Create a Staging Site on Kinsta
- Create a Staging Site on WP Engine
- Build WordPress Staging Site using Plugin
- Wrapping Up
What is a Staging Site?
To put it into simple words, a staging site is a copy of your live website that can be used to perform various testing before applying it on your main site. It is a site where you try changes and view how it would look on your main site. It helps you catch errors and apply changes to protect your main site from breaking down.
WordPress Staging Site enables you to experiment with your site. It appears to be the same as your main site but the changes made in a staging site don’t harm the main site and prevent major crashes.
Create a Testing Site
WordPress is the most popular CMS (Content Management System) on the web. It is a platform that has powered 35% of the websites. WordPress provides millions of free and premium themes, plugins, and hostings to help you create a site that stands out. Also, it is very simple to use with the availability of great support and features.
So, you can start with WordPress and create a staging website and live it if it goes fine. Even though it is easy to start with WordPress, users who have never tried it have difficulties. Not to worry, in this tutorial I will provide you with a step-by-step tutorial to create a staging site for WordPress
WordPress Testing Environment
If you already own a WordPress website, you understand how crucial it is to apply direct changes to the site. All the users, that don’t own a testing site and perform changes and updates on the site directly are playing with fire. Yes, you got it right!
One simple error and your website break down. This results negatively and to be precise, you’re simply acting stupid. It would mean that you don’t care about your visitors, your site users, and in all, your business.
So, if you’re a WordPress beginner with a new site trying to make a change, make sure you first try it on your staging site by creating a WordPress development site. In this tutorial, I will help you to create a WordPress testing site in which you can try all the changes to see how it works on your main site.
How to Easily Create a WordPress Staging Site?
Building a site is not as easy as it seems, it requires a lot of hard work, determination, and time but not to worry, results are worth it if you do it correctly.
When you start creating a website or a staging site, you simply need to apply many features, functionalities, designs, and layouts to see what your website looks like. A site is simply a WordPress test site before it gets live to function! You need a staging website to get started with creating your site and in the same way, you also need a WordPress test site to apply the changes you want to make on your main site. Therefore, to start with WordPress you need to create a staging site.
In this tutorial, I will be teaching you the correct way to start with WordPress and create a testing site.
Build WordPress Staging Site on InstaWP
InstaWP is a perfect software that provides you with the service to test your next WordPress site. It allows you to build and launch your site with ease and repeat it as many times as you want to create many websites.
If you got an idea of how your site should be, get InstaWP, apply it to your testing site, and create a live website in no time. Even if you already own a WordPress site and just need a testing site, build it right away. InstaWP is perfect for you to set up your new site. Creating a new website never gets easy than this InstaWP that allows you to create a testing site with ease and many features, layouts, designs, and functionality to apply.
It provides you with amazing features to build a testing site with great flexibility. As the name suggests, you can immediately get a WordPress instance ready. The service provides serverless connections and SSL certificates to every website. InstaWP assigns a domain name to every site so that you don’t have to mess with domains ever.
InstaWP is fully flexible for the use of staging sites that is created using web hosts like Kinsta, SiteGround, Bluehost, HostGator, WP Engine, and many others.
Trust me on this, I have used it and it is all worth it. Your journey to start with WordPress and create a Testing site will be beautiful and appealing in the most flexible way.
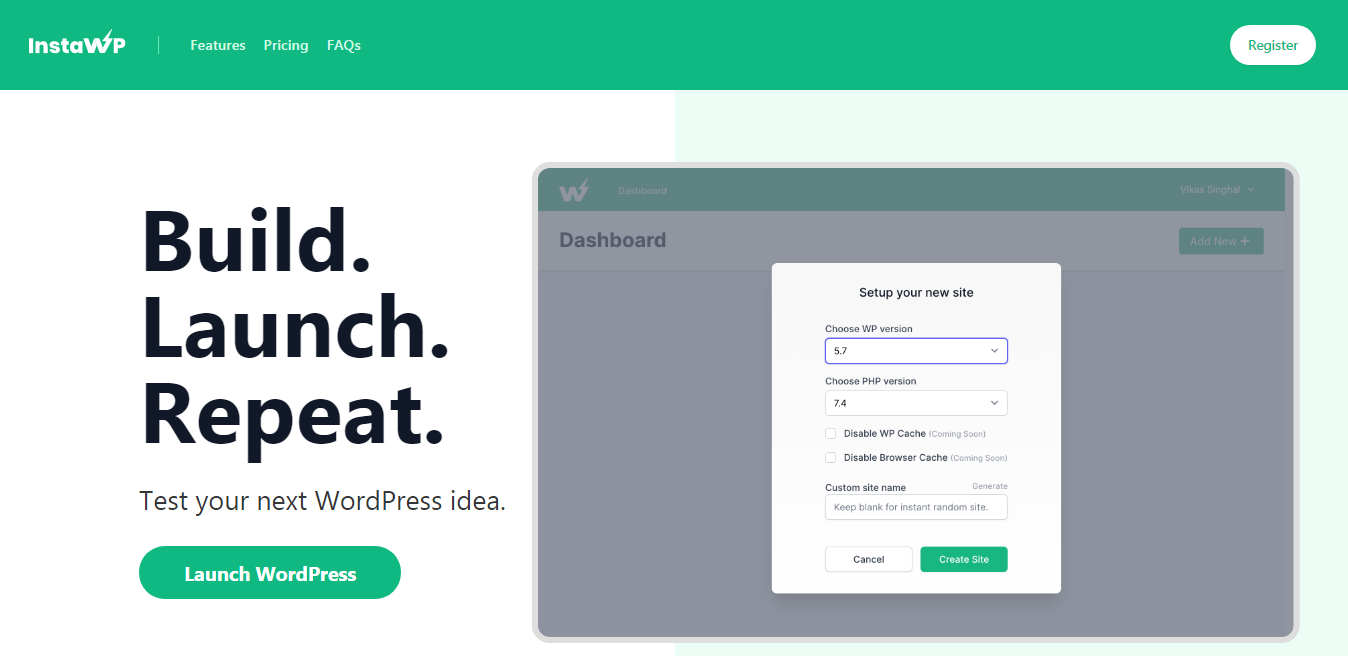
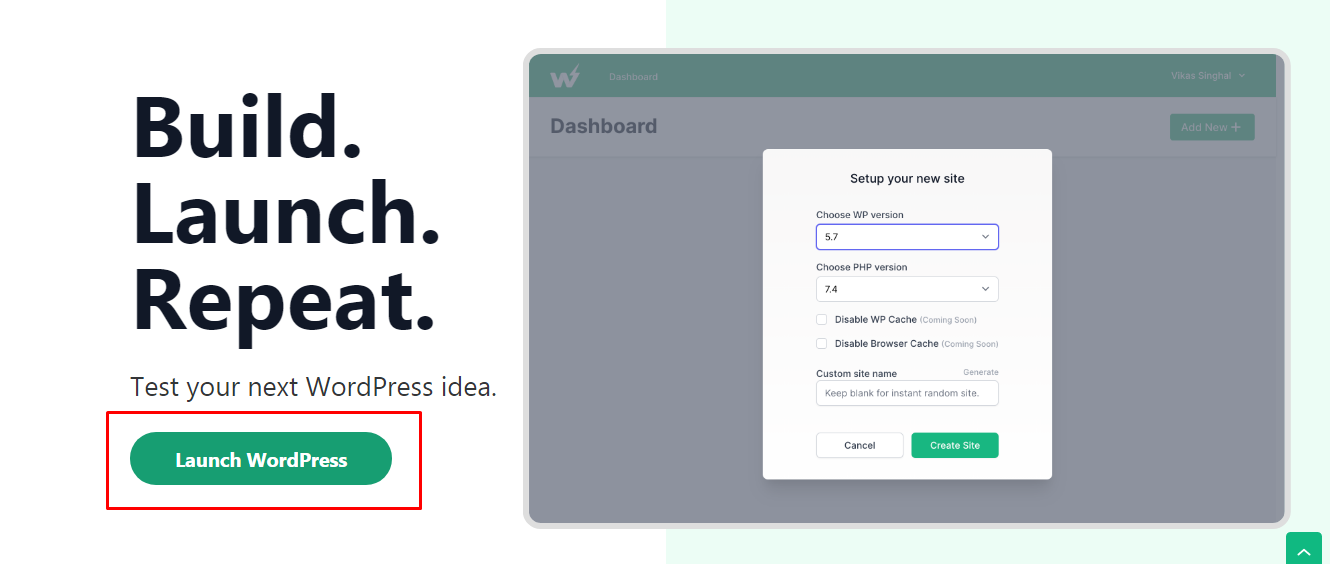
As a first step, visit the site.
- Click on the Launch WordPress button on the homepage of the site.
On clicking the button, you can see two different options:
- Setup your New Site with no Login or Registration
- Setup your New Site with Login and Registration
If you’re creating a testing site just for practice and want it real quick, you can go ahead with the first option and launch your website instantly.
Setup New Site Instantly
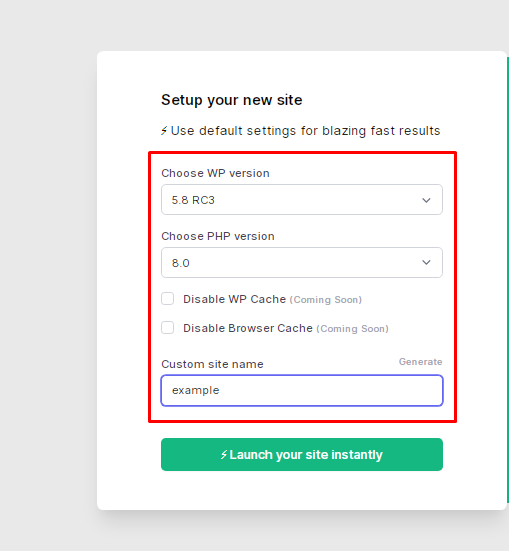
If you want to go with the first option,
- Choose the WP version and PHP version
- Provide the custom name of the site
- Click on Launch your site instantly button
[Note: the disable WP-Cache and Disable Browser Cache will be available soon, which you can update even after launching your site]
Your site will be ready in a few minutes. It will provide you with the login credentials: URL, username, and password. It is a temporary testing site that will disappear soon, so make sure you test it within the given period.
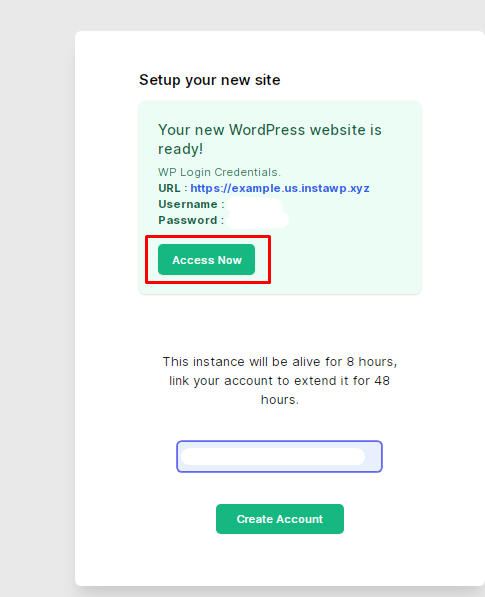
In case you want to keep the site alive for 48 more hours, create an account.
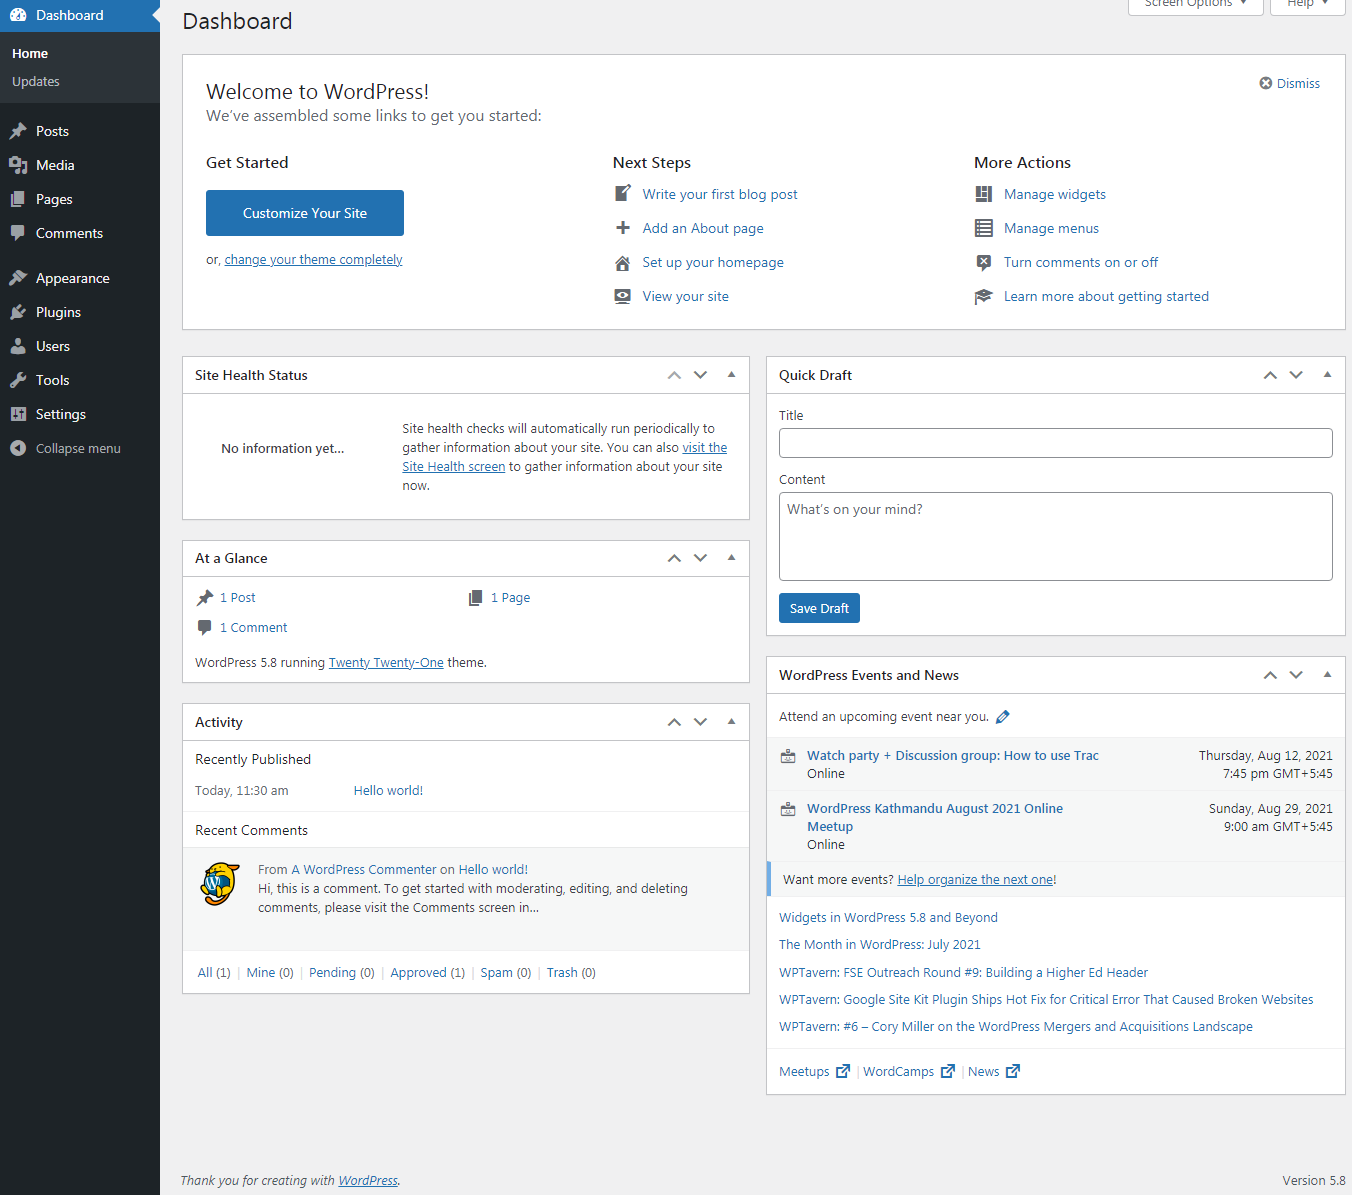
This is how your default testing site appears to be when you click the provided link:
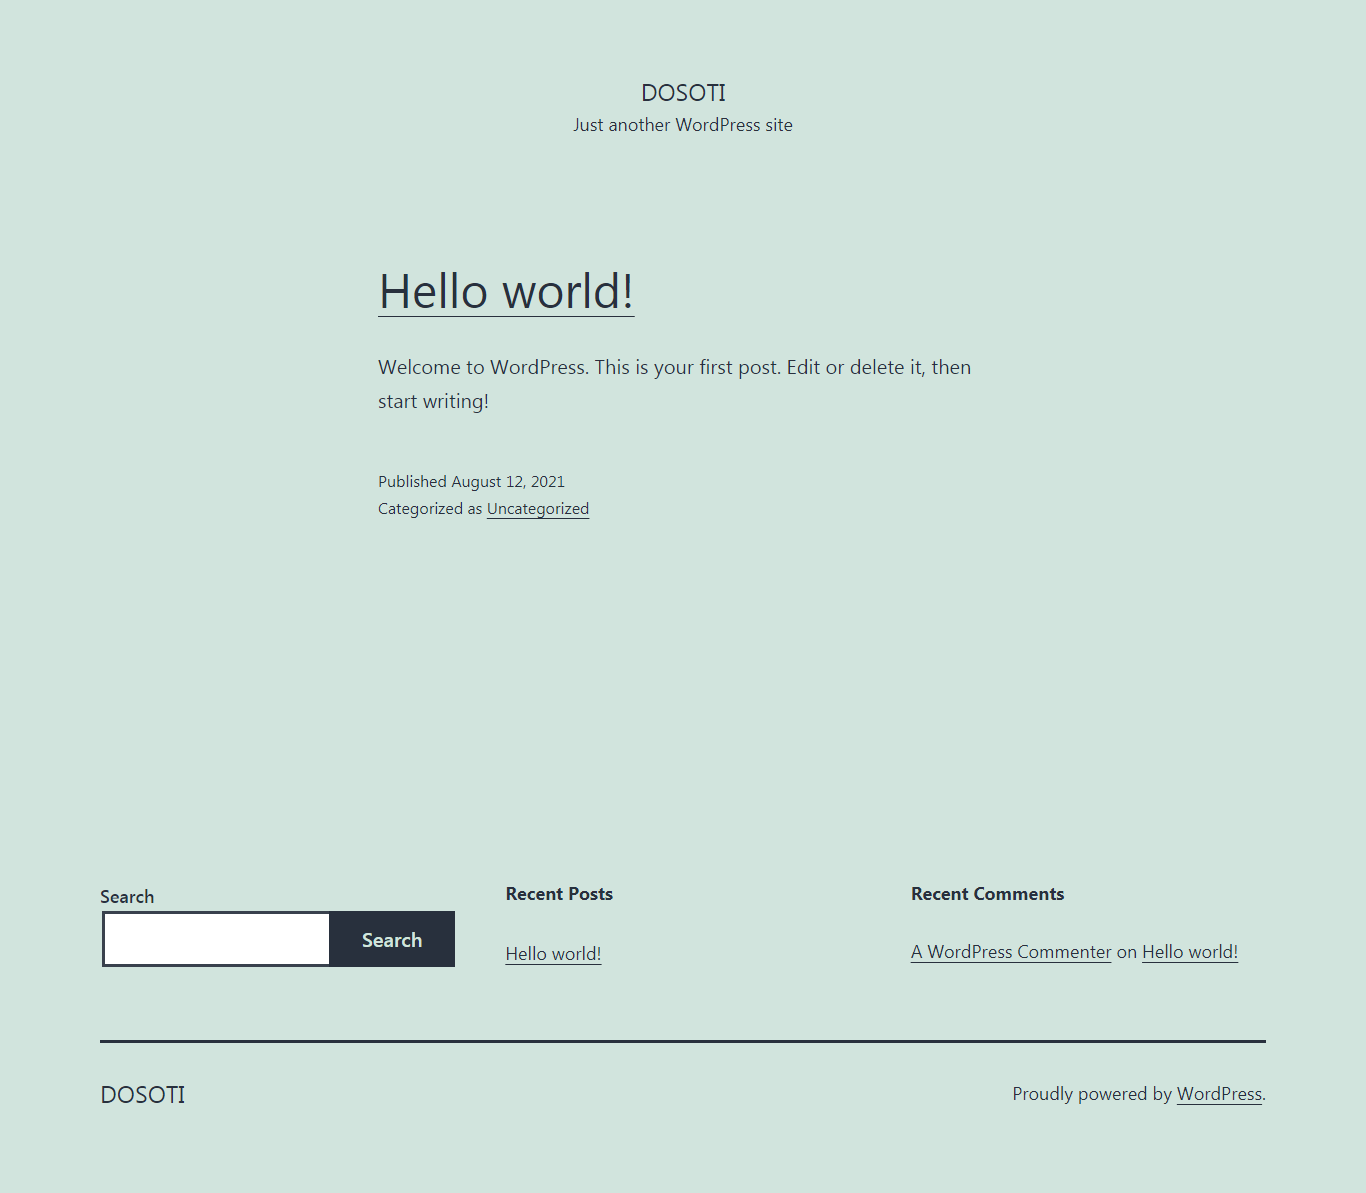
- Go to the dashboard of the site by adding /wp-admin at the end of the main site.
- Perform the testing on the site.
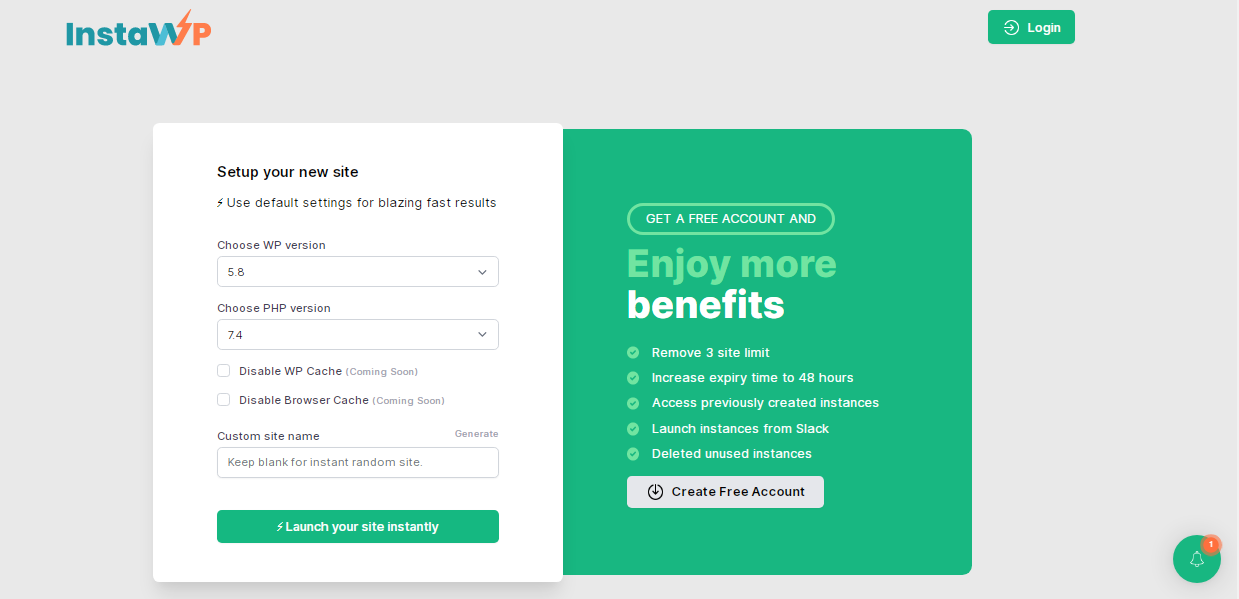
Setup New Site by Creating Account
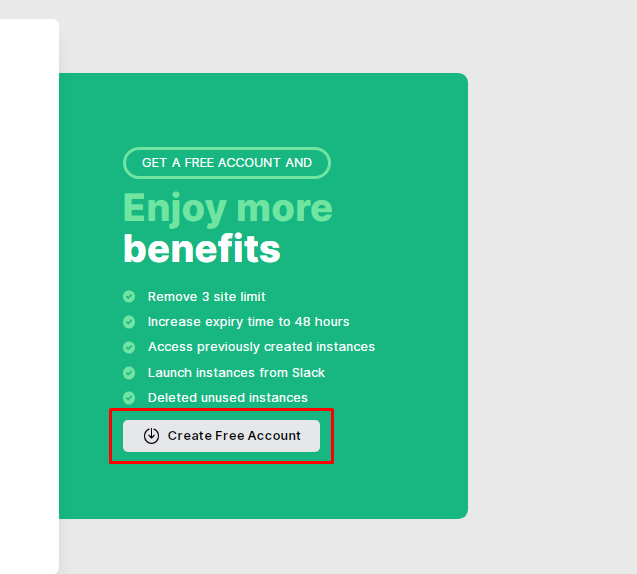
The next way is by creating an account. In this option, you can create a website with more benefits such as creating up to 3 testing sites, increasing expiry time to 48 hours, accessing previously created instances, and much more. To do so,
- Select the option of Create Free Account
- Provide your Name, Email, and Password, and Confirm the Password
- Click on the Register button.
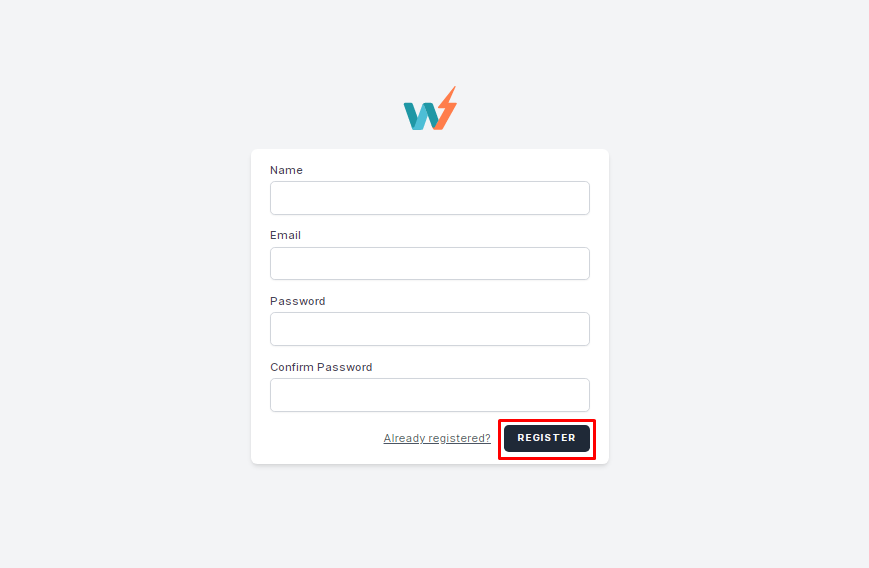
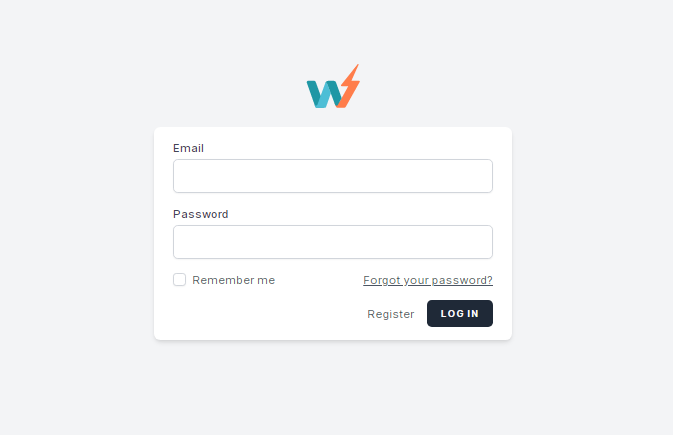
If you previously created an account, select the already registered link and provide an Email and Password to log in.
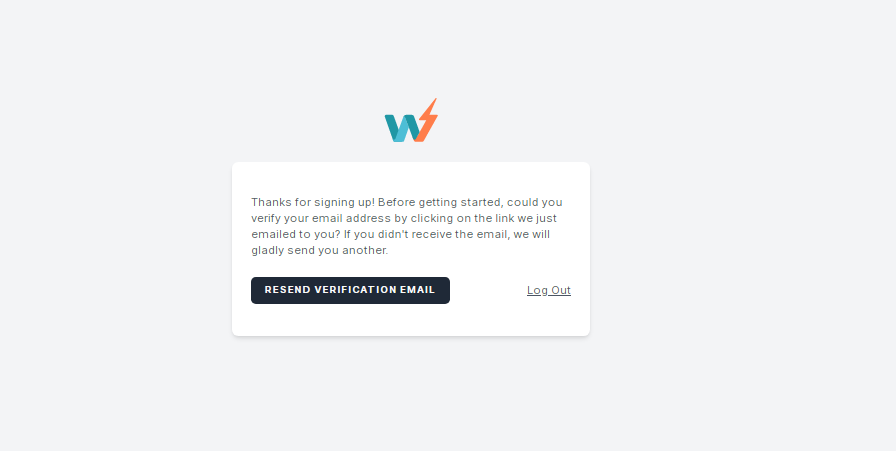
Once you are done with registration, it will send you a link verification on the email address you used for creating the account.
- Verify your email address.
[Note: If you can’t find the link on the updates or primary section, check it in the spam folder. In case, you didn’t receive it, click on resend verification option.]
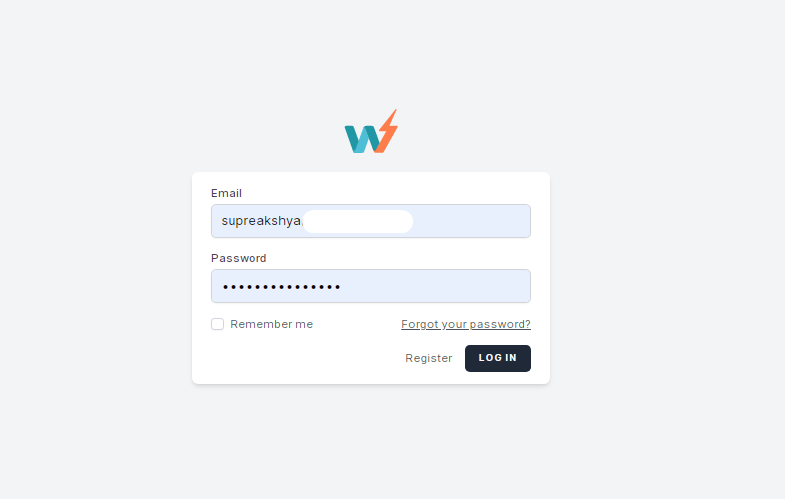
- Login to your InstaWP account
It allows you to create 3 new testing sites with many more features and functionalities.
- Select the WP version and PHP version and the name of the site.
You will receive the URL, username, and password just like before.
- Go to the dashboard of the testing site by adding /wp-admin at the end of the URL.
- Use the provided username and password.
- Start testing the site by applying changes from the Dashboard panel and get started with WordPress.
After this, the site is all yours. Try different themes, plugins, settings, functions, and much more to see how it looks and enjoy the experience of creating a site.
If you are using a testing site to see how the changes appear in your main site, install the themes and plugins used in your main site and make the changes accordingly.
Build WordPress Staging Site on Web Host
The hosting services you select for your WordPress website also provide the option of creating a staging site simply and easily. Most of the steps are 1-click staging features whereas for others you need to follow a few steps and procedures. Let’s have a look at them.
Create a Staging Site on SiteGround
SiteGround is one of the top WordPress hosting providers on the web. It is a great option for creating a staging website as it provides a 1-click staging feature. Yes, you got it right. If you’re using Siteground as your hosting provider for the site, you can get access to the WordPress staging server in a few minutes. Here’s how you can do it.
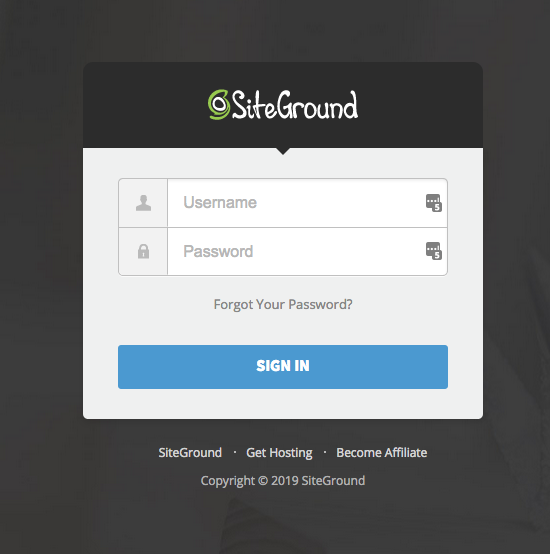
- Head to your SiteGround Cpanel dashboard by logging in.
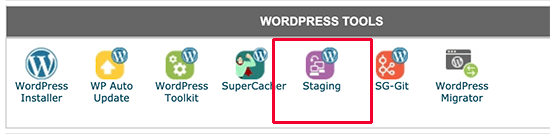
- Select WordPress Tools by scrolling down the page.
- Click on Staging Icon
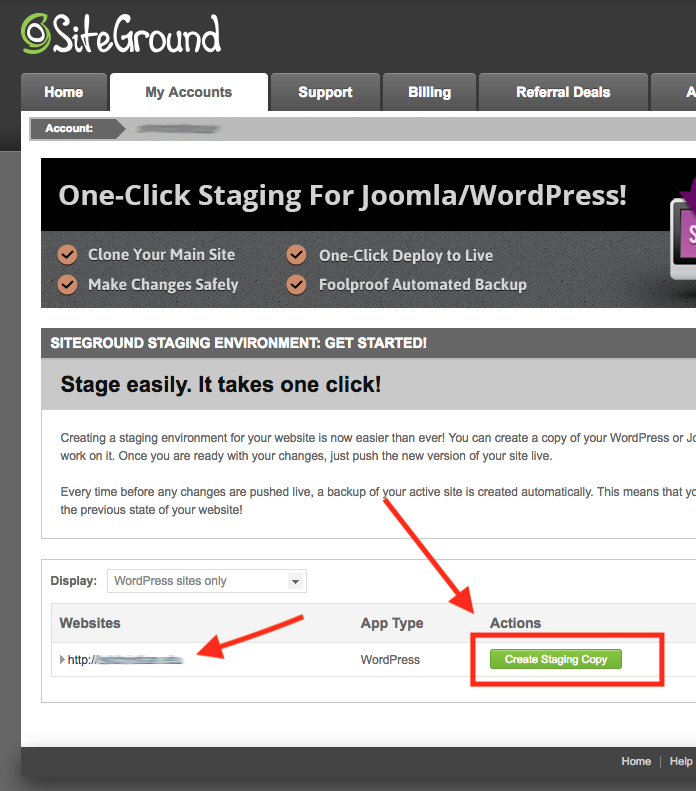
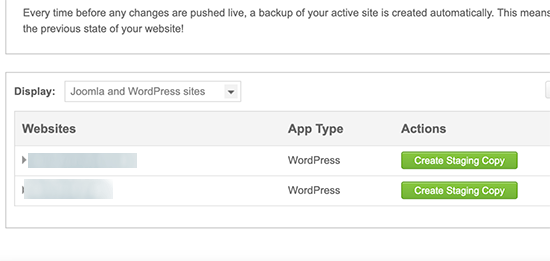
- Select the option of WordPress sites only
- Select the type of WordPress
- Provide the name of your website
- Click on the ‘Create Staging Copy’ Button.
Your staging site is all set.
You will be directed to the next page where you need to select the URL where your site is installed.
- Add it to a preferable place at your convenience.
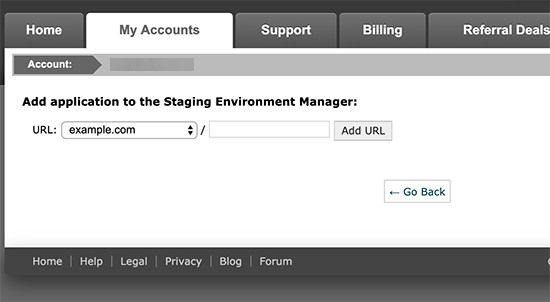
The staging site manager detects your site and adds it to the page.
- Click on the ‘Create Staging Copy‘ button to continue.
A popup appears on the page.
- Add Username, Password, and Confirm the Password.
- Click on the Continue button.
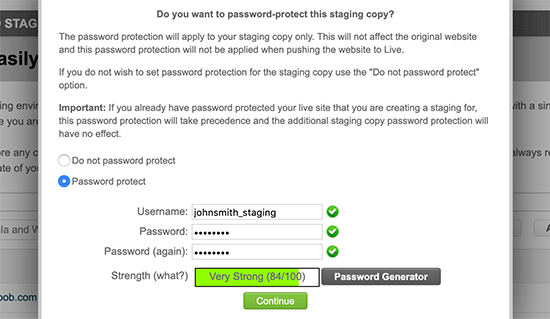
In this way, SiteGround will create a staging environment for your WordPress website.
Create Staging Site on Bluehost
Bluehost is a leading hosting company that powered 2 million websites on the web to create their websites. It is a very responsive hosting that functions in the improvement of the site. Bluehost also allows you to create a staging site in a very easy way.
The bluehost Staging site is one of the most popular staging platforms for both beginners and advanced-level users to create and test WordPress sites.
This hosting provider also enables you to create a staging site with a simple 1-click option.
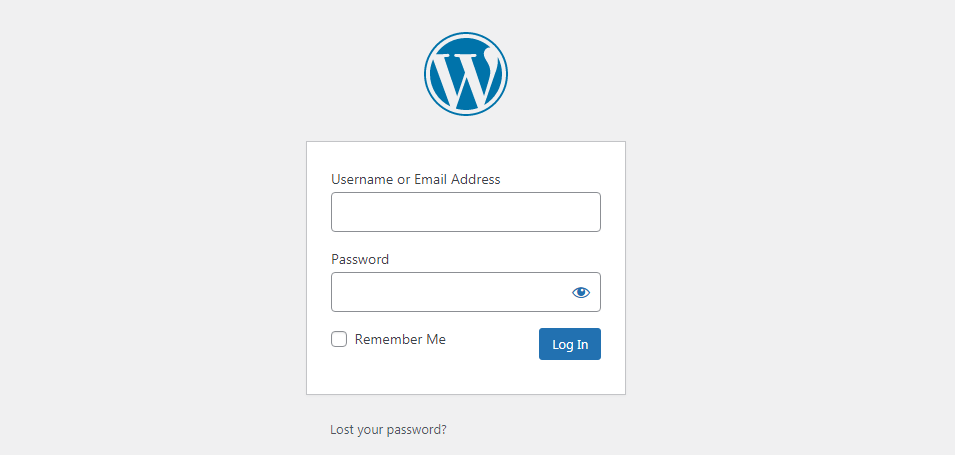
- Log in to your WordPress site admin area.
- Click on Bluehost>>Staging Page.
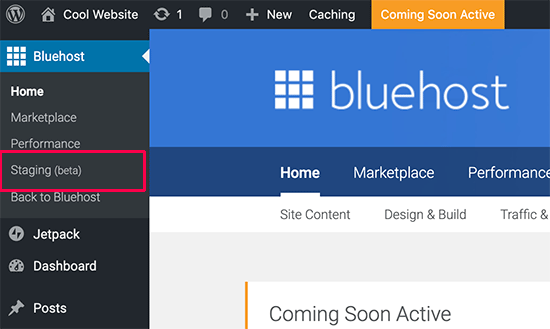
This will direct you to the staging site wizard.
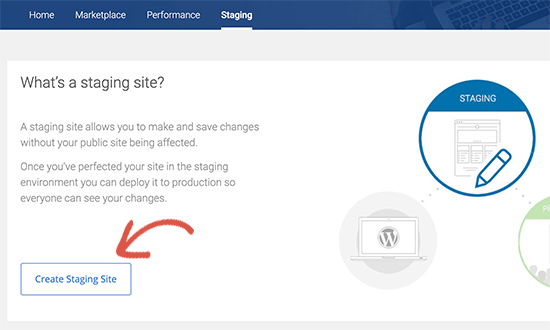
- Click on the ‘Create Staging Site‘ button to continue.

Bluehost will now prepare the staging environment for the WordPress website. Once done, you can get the staging site URL and directory with the creation date.
- Click on ‘Go To Staging Site‘ to continue.
This redirects you to the admin panel of your staging WordPress website.
Here, you will see a red button on top of the admin bar to indicate that you’re working on the staging site and not the site. In another way, making any change in this admin panel will not affect your main site in any way. In this way, you create a staging site WordPress on Bluehost.
Create a Staging Site on Kinsta
Established in 2013, Kinsta provides hosting services for all websites and businesses big or small. It is managed to host a provider that runs on the Google Cloud platform and offers services at a reasonable price. Building a staging site in Kinsta is not as hard as you think.
- Log in to My Kinsta and go-to site
- Select the site you want to set up a staging site for.
On the top right of the page, you have the option of changing the environment
- Select Staging Environment

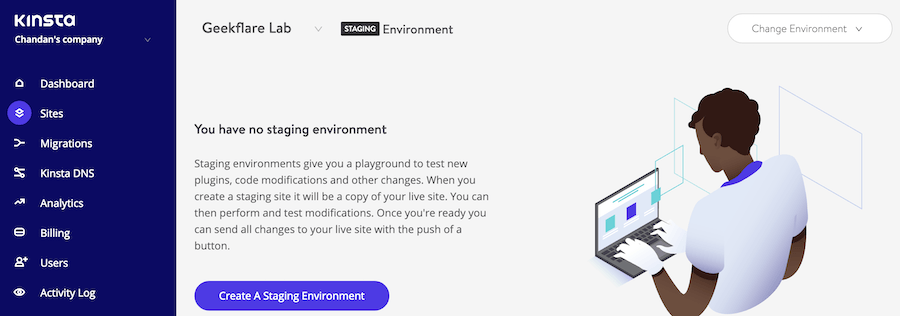
If you have already created a staging site you can directly access it but if you haven’t it will notify you that you don’t have a staging site and provide an option to create one.
- Click on Create a Staging Environment.
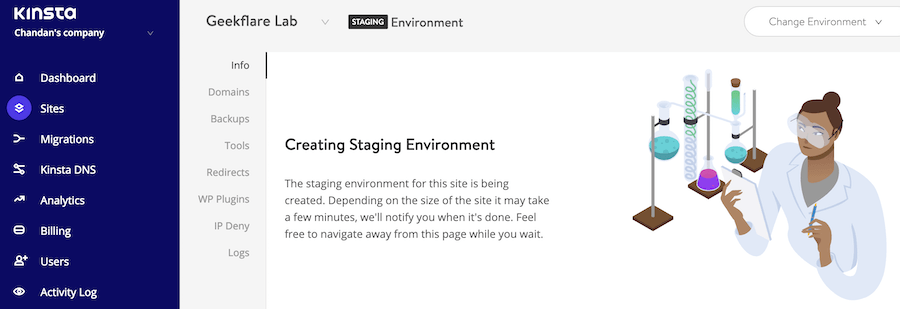
After this, you will get a confirmation that the site is getting created.
- Refresh the page.
You will see the staging site details. The URL is shown in the domain tab.
Now, this is it, your staging site is already.
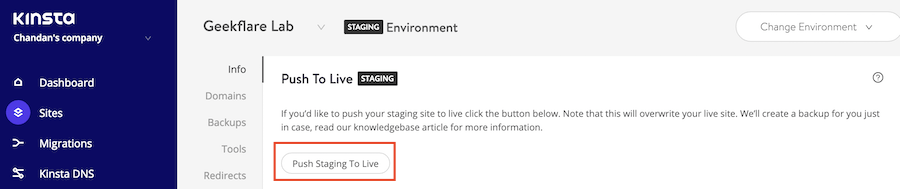
Go ahead and make changes to a staging site and once you’re satisfied with all the changes, get ready to apply them in the live button.
You necessarily don’t have to apply the changes, you can only test them. The changes will not be applicable if you don’t click on Push Staging To Live button.
In this way, you can create a Staging Site on Kinsta in a few easy steps.
Create a Staging Site on WP Engine
WP Engine is the leading hosting provider. WP Engine Staging Site is simple and easy to create. It is the best-managed hosting company in the world. It takes care of your WordPress site. WP Engine offers a one-click staging solution. So, if you’re using WP Engine to host your website, you can set up a staging environment for your site simply and easily.
As a first step,
- Log in to your WP Engine Dashboard
- Select the Sites Page and your website by clicking on it.
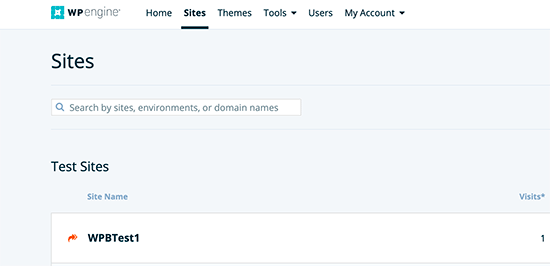
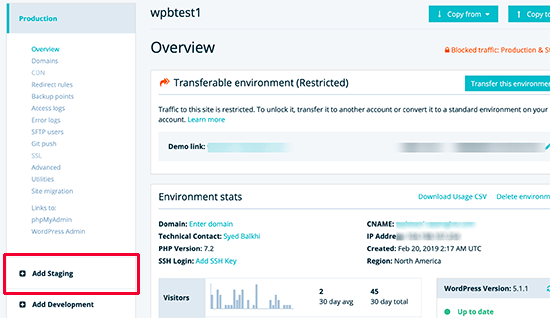
On the page, you can see three different options – Add Production, Add Staging, and Add Development.
- Select Add Staging
- Enter the name of your site
- Click on Create Environment
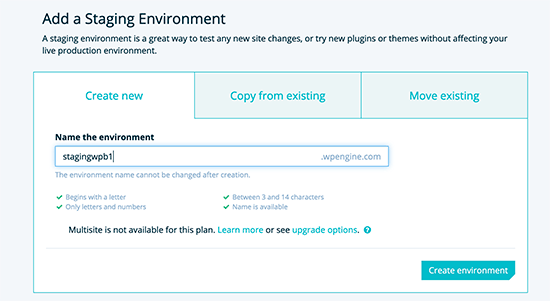
WP Engine will begin to create your staging environment right away.
[Note: WP Engine allows you to use the name only once. You cannot reuse the names after you’ve deleted the staging site from your dashboard. So, be sure to use a different name to create a staging site.]
The WordPress staging site that you just created doesn’t have any content on your live website. It is an empty site. So, you need to get the content of your main site into it.
To do so,
- Switch to Production Environment by clicking on production from the left column.
- Click on the Copy to button.
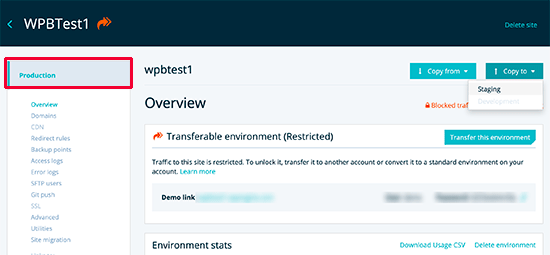
Here you will be asked to select the backup point that you want to use for your staging site.
- Select the preferable backup of your site.
[If you’re not sure, go with the most recent backup.]
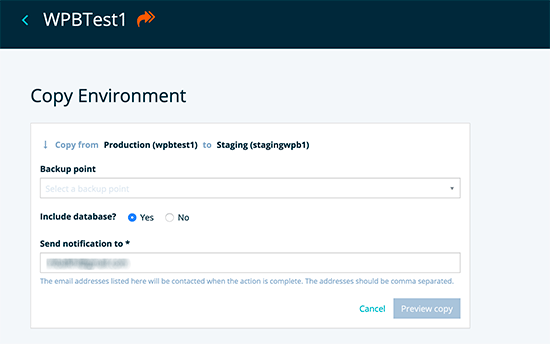
- Click on the Preview Copy button.
- Click on the Copy Environment button to proceed.
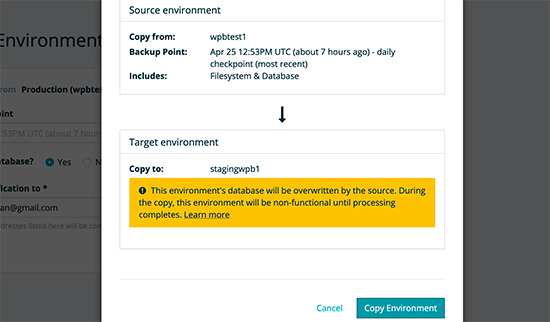
This is it. You can create a staging site environment of your WordPress site on your WP Engine hosting service in these simple steps.
The staging site built from hosting services is the basic site to work with themes and plugins. But, if you want to get more into code-heavy experiments, you need to create a WordPress staging site manually on a subdomain. Here’s how you do it!
Build WordPress Staging Site using Plugin
Using a Plugin for any function on the site is simple and safe. The case with the WordPress Staging site is no different. You can select a plugin and get started with creating a WordPress staging environment for your website.
WP STAGING is the best WordPress plugin used for creating a WordPress staging environment. It is a duplicator, staging, and backup plugin that creates an exact copy of your entire website in seconds. It is a great and popular plugin for your website. WP STAGING creates a clone of your website into a subfolder or subdomain (Pro) of your main WordPress installation. You can create a WordPress testing site before going live using this plugin.
As a first step, Install the Plugin on your website. Follow our tutorial guide on ‘How to Install New WordPress Plugin?’
- Activate the Plugin.
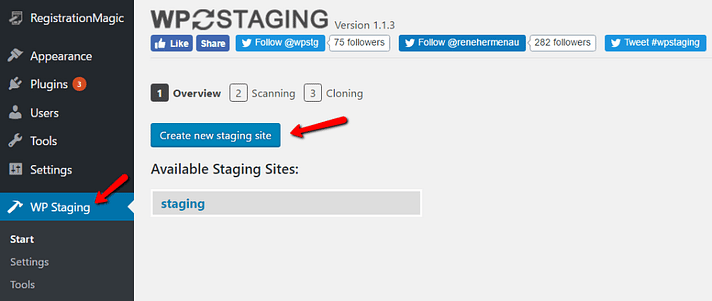
You’ll see the WP Staging on the dashboard of your site.
- Click on WP Staging and select Create new staging site button.
- Give a name to your site and click on Start Cloning.
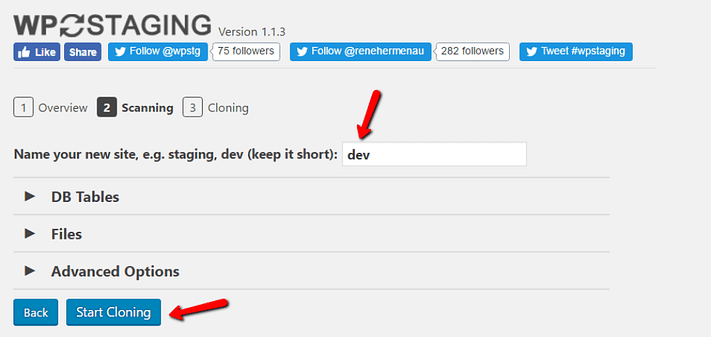
Your WordPress Staging site is getting ready. It might take a few minutes depending on how large your site is.
Once finished, you can access your staging site by following the prompt.
- Login to the site with your normal username.
Here you’re free to start testing. You can simply differentiate the staging site by viewing the orange admin bar.
[Note: Only the users with admin accounts can access your staging site.]
Wrapping Up
This is the end of the tutorial guide on ‘How to Create a Staging Site?’ I have tried to mention some of the easiest methods to perform this action and get you started with the use of WordPress and create a stunning website. While there are various other ways you can use to create a testing site, this method suits the best to beginners and even advanced users that need a testing site real quick.
In the end, it is a testing site that will help you create a beautiful website as you get to test all the components of the site. You can practice creating a website and gain experience in setting up a website. To create a better website, make sure to preview the appearance of the site every time you change it. You can try to create a beautiful site testing many components on the testing site to get the perfect fit for the site you will live in someday.
Also, Check-Out: