How to add Responsive Video Slider in WordPress website using WP1 Slider Pro? (Step by Step Guide)
Adding responsive sliders are a great way to engage your visitors on your WordPress website. They offer truly valuable methods to showcase your website’s important contents in a beautiful and elegant slideshow. By doing so, you can make your content more visible to your audience and get more click-through rates. And more click-through means your audience will stay on your website for a longer period which can play a vital role in decreasing your site’s bounce rate.
Slider, being an important tool for any type of website comes with an inbuilt option on many premium WordPress templates. However, if the template you are using for your site does not have any inbuilt sliders or contains limited slider options then, you can take the help of WordPress slider plugins to create and add attractive sliders to your WordPress website.
Here, in this article, we will use WP1 Slider Pro – a premium WordPress slider plugin to show you how to add responsive sliders to your WordPress website.
So, let’s get started and add a responsive slider to the WordPress website
WP1 Slider Pro: Brief Introduction
WP1 Slider Pro is a versatile WordPress plugin to add multipurpose sliders to your WordPress website. It comes with cool designs and easy-to-use options for allowing the layman to create and add stunning sliders without touching any codes.
Some of the Major Features of WP1 Slider Pro
- 13 Different Slider Types
- Add Unlimited Slider on One Page
- 15+ Animation Layer Layouts
- 23+ Slider Animation Effects
- 16+ Layouts for Thumbnail Pager
- Lightbox Effect in Carousel Image, Video, and Post Slides
- 6 Slider Transition Effects
- Shortcode Ready for Easy Usage
Checkout Full Features and Details of WP1 Slider Pro
Installation and Activation: WP1 Slider Pro
Purchase the WP1 Slider Pro WordPress plugin from the CodeCanyon marketplace at the price of $18.
After you have purchased the plugin, install it on your WordPress website and then, activate it. If you face any difficulty while installing the plugin, you can refer to its documentation.
Adding New Slider in WordPress Using WP1 Slider Pro
Now after you have successfully installed the plugin, you will see “WP1 Slider Pro” on the left menu of your WordPress dashboard. Click on it to add a new slider to your WordPress website.
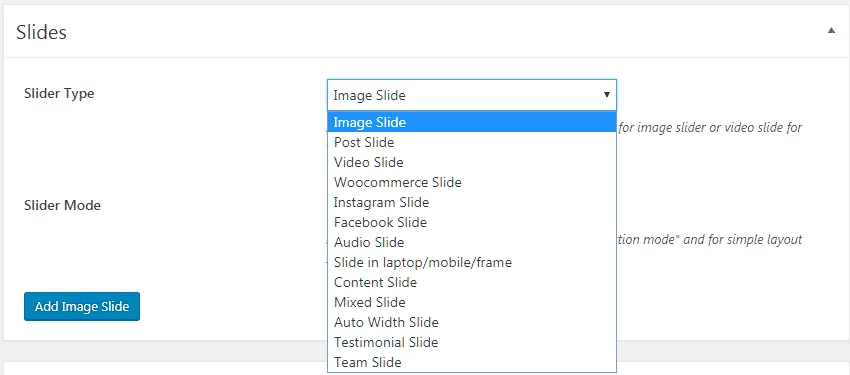
WP1 Slider plugin supports 13 different slider types i.e. image slide, post slide, video slide, WooCommerce slide, Instagram slide, Facebook slide, audio slide, slide in laptop/mobile/frame, content slide, mixed slide, auto width slide, testimonial slide, and team slide.
You can choose any slider type as per your preference as each slider type consists of its set customization and configuration option. Here, in this article, we have chosen a video slider to create the slider.
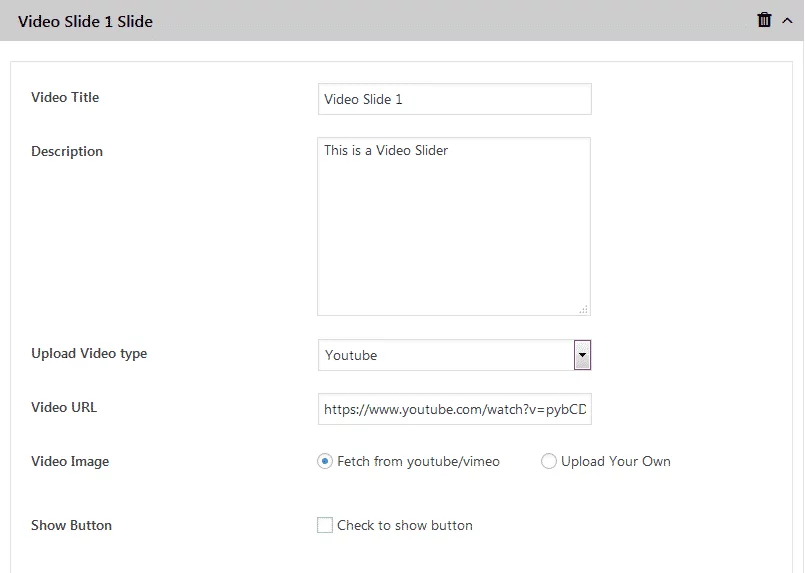
Video Slides
After selecting the video slider type, add as many video slides as you want for embedding videos on your slider. Then, add the title and description for your video slide. After that, upload your video by selecting the video type and adding the video URL. Also, set the video image for your uploaded video. You can also show a button on your video.
Settings of Video Slides
Here, you can choose your slider style and then configure the settings for your video slides. The settings include:
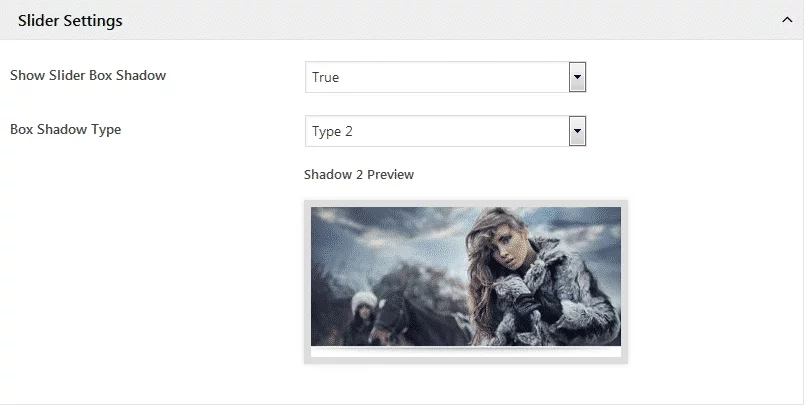
Slider Settings
Here, you can select the box shadow of your video slider.
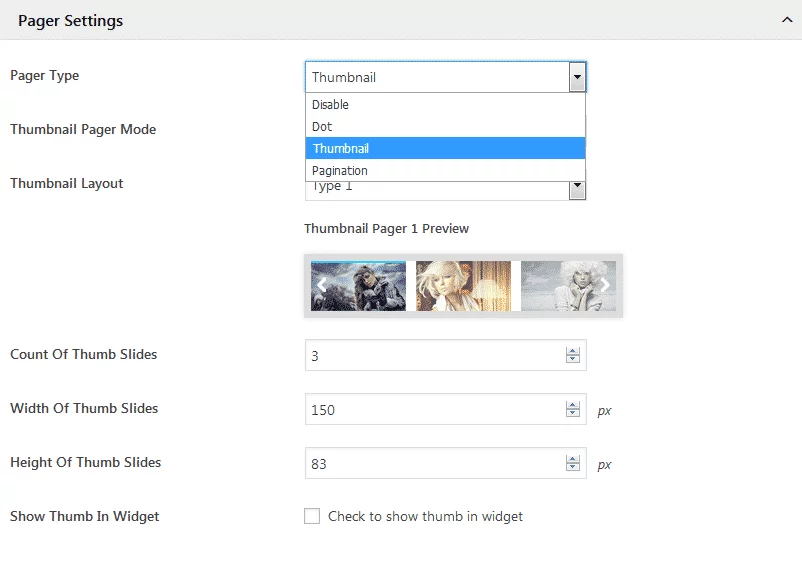
Pager Settings
The pager settings will let you add pages for each of the slides. You can either choose to add dots, thumbnails, or a pagination pager for your slider.
Navigation Arrow Settings
Here, you can set the navigation arrow for your video slider. Choose any of the existing arrows, your custom arrows, or the image arrows.
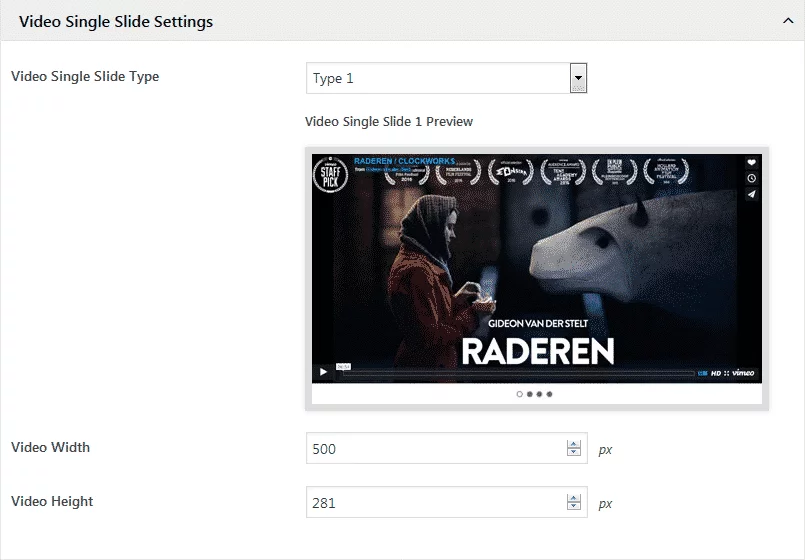
Video Single Slide Settings
Here, you can choose any of the 3 pre-available video single slide types. Then, set the height and width of the video. Also, set the colors for the title, description, button, and background.
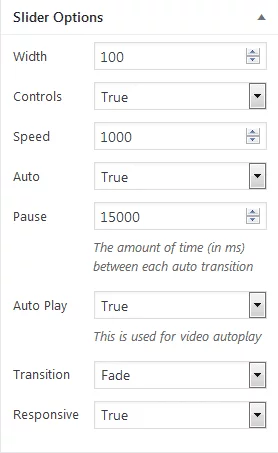
Slider Options
The slider option will let you set the width, speed, and transition of your slider.
After you have finished configuring and customizing your slider, click on publish button to save your slider.

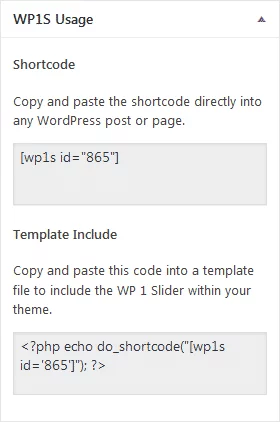
WP1S Usage
After you have published your slider a unique shortcode will be generated in the WP1S Usage section. Copy the code and paste it on any page, post, or custom post type to add a slider.
Wrapping Up
In this way, you can add video slider on your WordPress website in few minutes. A slider that contains cool videos can provide a huge boost on the engagement rate of the website. So, if you want to add a responsive video slider then, you can purchase the above mentioned plugin at a reasonable price and follow this tutorial.
You can also check out similar tutorials:
How to Add Beautiful WooCommerce Product Slider on your WordPress Website? (Step-by-Step Guide)