How to add a Viber/Messenger/WhatsApp/Skype Contact Button on the WordPress website? (Step by Step Guide)
If your site’s main goal is to attract customers, then you will need to make yourself available so that potential clients can easily contact you. There are several ways to do this like adding contact forms, emails, and many more. Among them all, the most trending and effective one is adding contact buttons on popular social media networks. It is because, through the social media contact buttons, people can instantly start a conversation with you from their social and get their queries or pre-questions solved quickly.
Social media contact buttons can be added to your WordPress website by using WordPress plugins. So, you need to be careful in choosing the right one as you can find lots of WordPress plugins for adding the contact button. While choosing the plugin, you need to consider the features available on the plugin including the availability of social media channels, templates, position options, customization options, responsiveness, etc.
Here in this article, we will be using the Ultimate Contact Buttons – Premium WordPress plugin by AccessPress Themes to add some eye-catching contact buttons to the WordPress website. The plugin will allow you to add 4 of the most popular social media contact buttons i.e. Viber, Messenger, Whatsapp, and Skype in different positions. So let’s get started:
Installation and Activation

Buy the Ultimate Contact Button from the CodeCanyon marketplace at the price of $15. Then, install and activate it. If you face any difficulties while installing the plugin then, you can check out the article: How to install a new plugin on WordPress website?
Adding Viber/Messenger/WhatsApp/Skype Contact Button on WordPress using Ultimate Contact Buttons Plugin
After you have successfully installed the plugin, a tab “Ultimate Contact Button” will appear on the left menu of your WordPress dashboard. Click on it.
You will land on the settings page of the plugin. It contains all the configurations and customization options available on the plugin. You can mutually activate the social media of your choice and then start its customization.
All social media contains some common tabs. They are:
User Detail
Here, you have to add the user details of your social account. The detail includes a username for Facebook and Skype and a contact number for Viber and WhatsApp.

Floating Button
This tab will let you add the floating contact button on your WordPress website. It consists of 5 sections to configure and customize your floating contact button. They are:
Display Settings
Here, you can enable/disable your floating button for mobile and desktop. Besides, you can also enable the button text and tooltip for your contact button.

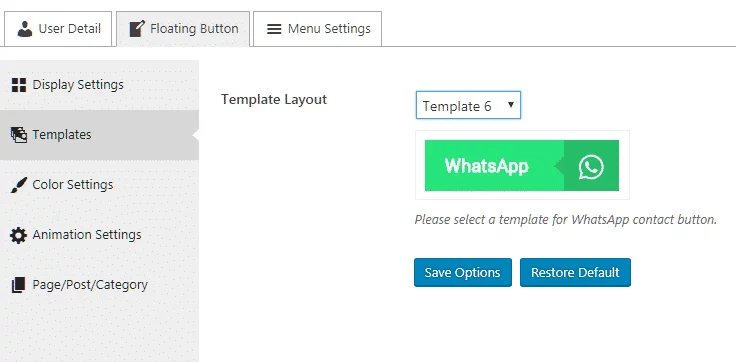
Templates
This section will let you choose the template for your contact buttons. Each of the social media comes with 10 pre-designed templates. So, choose the best one to make your contact button attractive to your users.
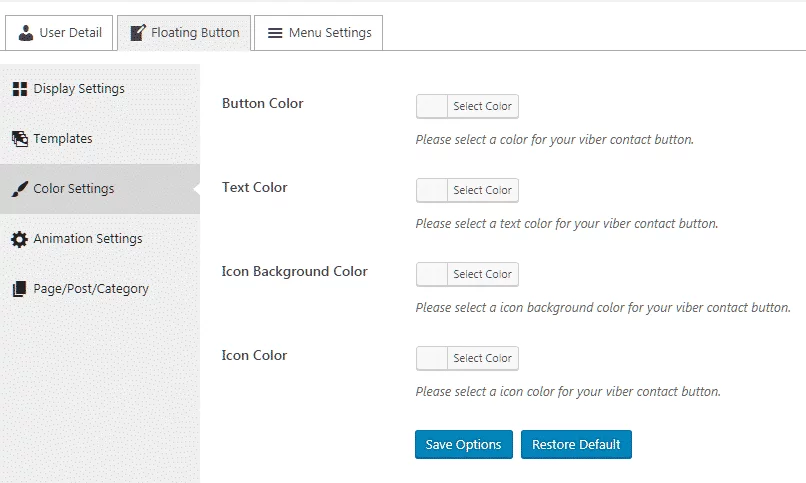
Color Settings
Here, you can configure the color of your button, button text, icon, and icon background.
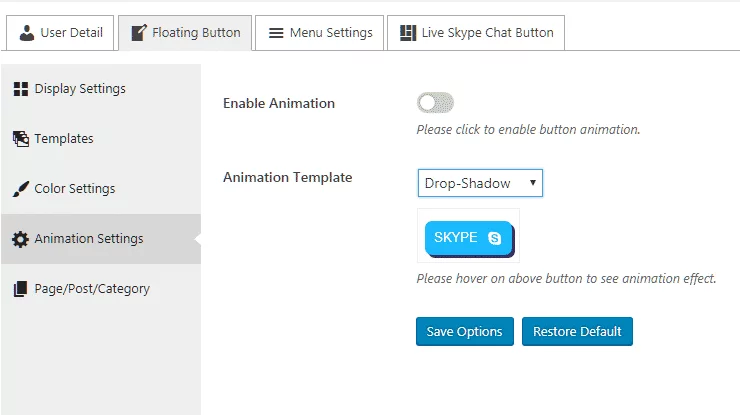
Animation Settings
This setting section will let you add the hover-over animation for your contact button. The plugin provides 10 attractive animation effects for each of the templates. So, select the most suitable one for your WordPress website.
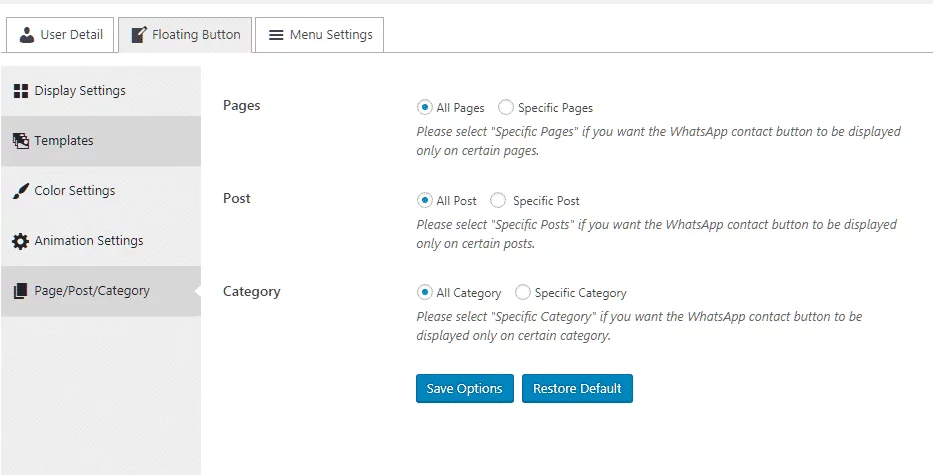
Page/Post/Category
Here, you can select the specific page, post, or category where you want to display your contact button.
Menu Settings
This tab will let you click your contact button on the navigation menu of your site. It consists of 4 sections to configure and customize the contact button of your menu. They are:
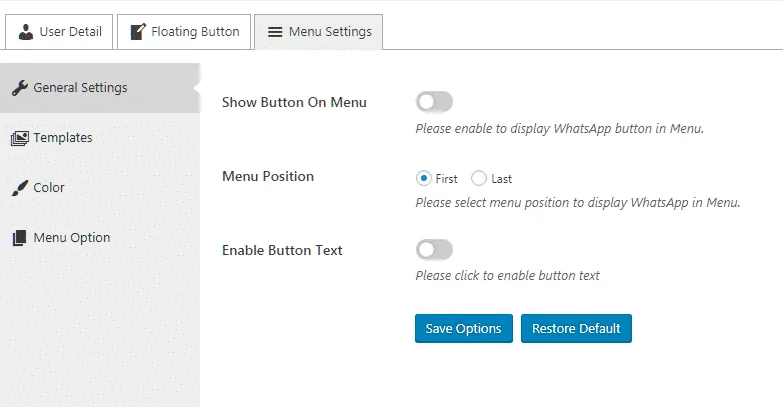
General Settings
Here, you can select the position of your contact button on your menu. Also, you can enable the button text.
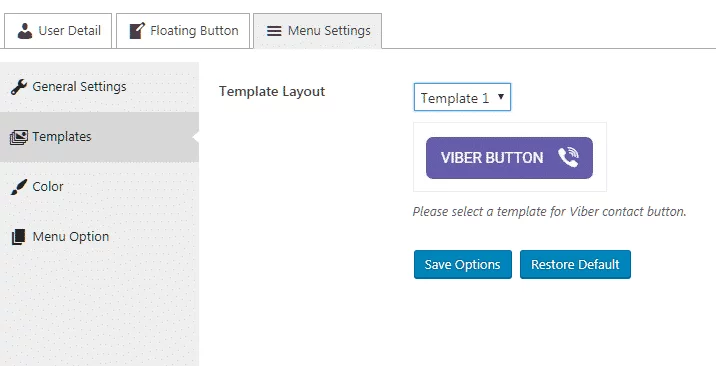
Templates
This section will allow you to choose the template for your contact button on your site’s menu. The plugin comes with 5 pre-designed templates. So, pick the best one that matches the overall design of your navigation menu.
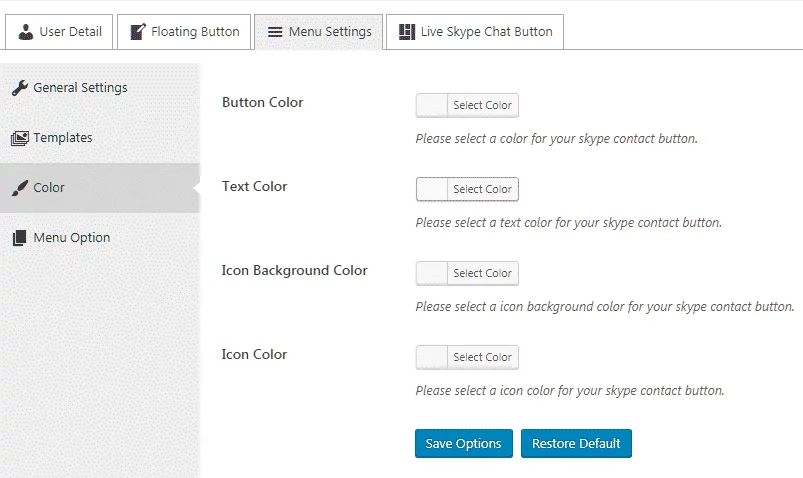
Color
You can configure the button color, text color, icon color, and icon background color of the contact button on your navigation menu.
Menu Options
Here, you can select the menu in which you want to display your contact button.

If you are looking to upgrade your navigation menu or want to add an extra menu on your WordPress website then, you can check out our article: 10+ Best Premium WordPress Mega Menu, Custom Menu Plugins (Make your WordPress website navigation 75% more effective)
Live Chat Button for Page
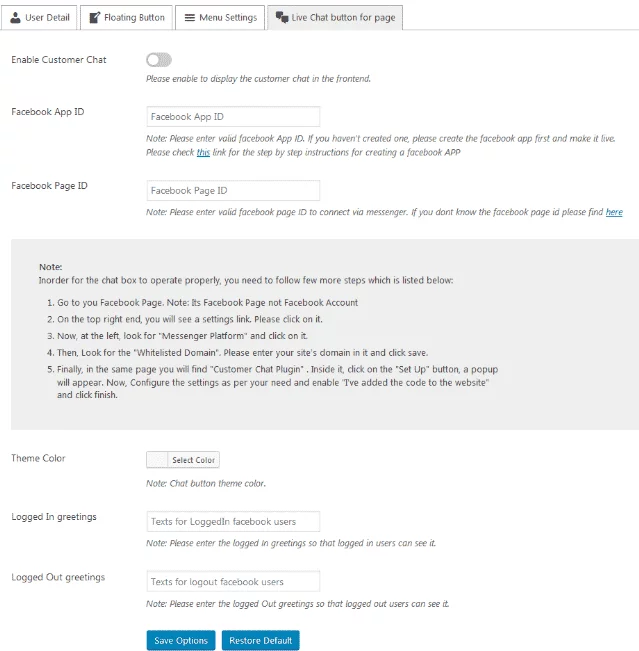
This tab is only available on the Messenger Contact Button. Enabling this will allow you to chat with your client from the Facebook page.
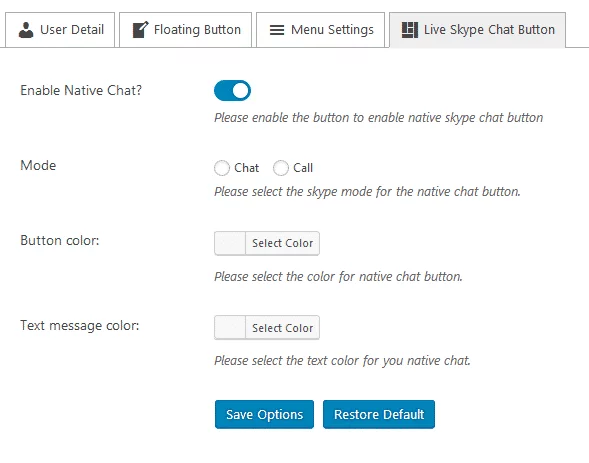
Live Skype Chat Button
This tab is available only on the Skype Contact Button. Enabling this will allow your client to contact you directly from your site.
If you are looking for a WordPress plugin to add Skype Contact Button then, you can check out our collection of 5+ Best WordPress Skype Contact Button Plugins.
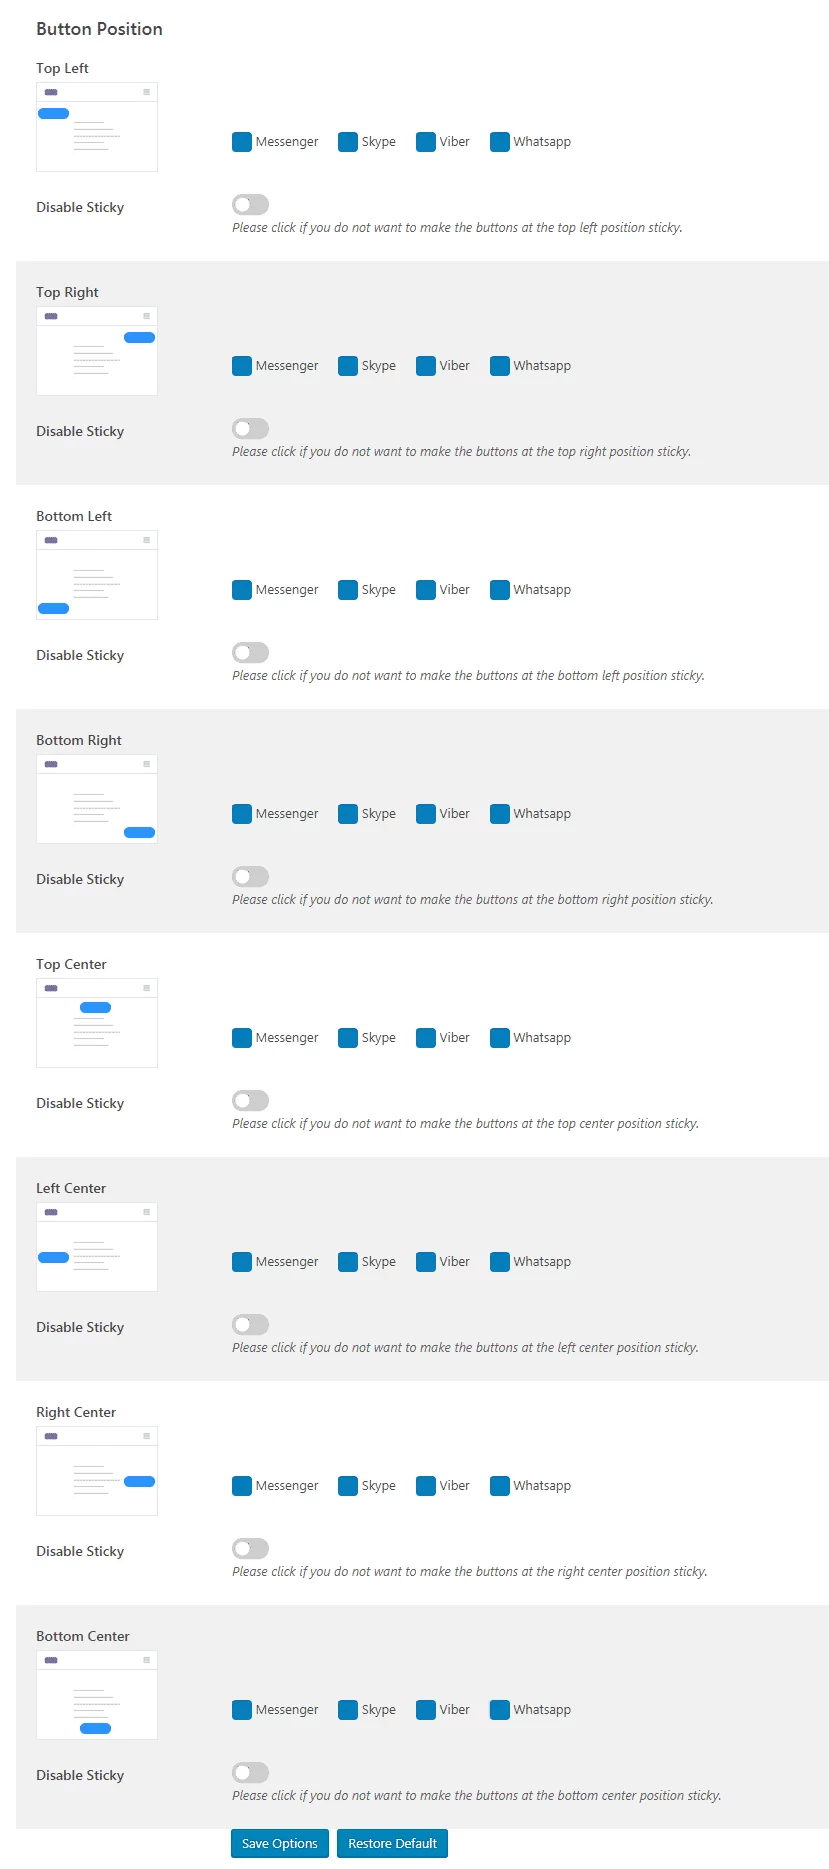
Floating Button Position
The floating button position settings section will let you configure the button position of your floating contact button. You can mutually enable any of the social media and place them on any position of your WordPress website.
If you want to add a floating tab on your WordPress website then, you can check out our collection of 5+ Best WordPress Floating Side Tab Plugins
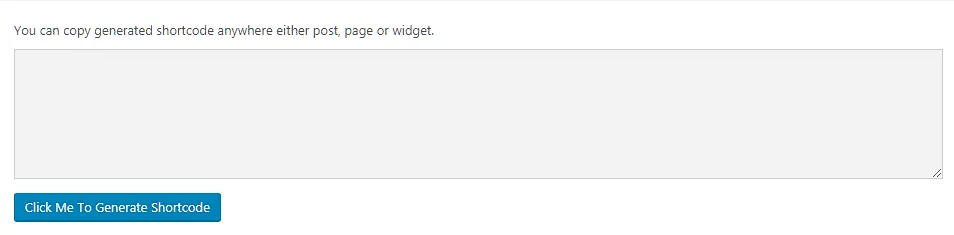
Shortcode Generator
The shortcode generator page will allow you to add the contact button on any pages, posts, or widgets of your WordPress website. Just enable the social media, configure all its settings, set its template, and then, click on “Click Me to Generate Shortcode” to generate the shortcodes. Then, paste it anywhere on your site where you want the contact button to be displayed.
Wrapping Up
In this way, you can add the social contact button on your WordPress website in no time. So, if you are interesting on adding contact button for easy chat and call functionality on your WordPress website then you can follow this step by step tutorial.
You can also check out a similar step-by-step tutorial on How to add a Skype contact button on your WordPress website using the WP Skype Contact Button plugin?